Manage refund items
In Vitae, in the following scenarios, refund items are
automatically generated by the system:
• Fee
adjustment after payment and results in excess payment
• MECT
request refund evaluation fee
•
Successful grade review
• Course
cancellation
•
Learner withdrawal
•
Approval of module exemption/credit transfer request
There will also be occasions when the required refund does
not comply with the refund item automatic generation process. Therefore, admin
can also manually create refund items, for example, manually refund the excess
odd-cent amounts.
In Finance > Finance process, click
Refund item in the left navigation, and manage the refunds by the
following approaches.
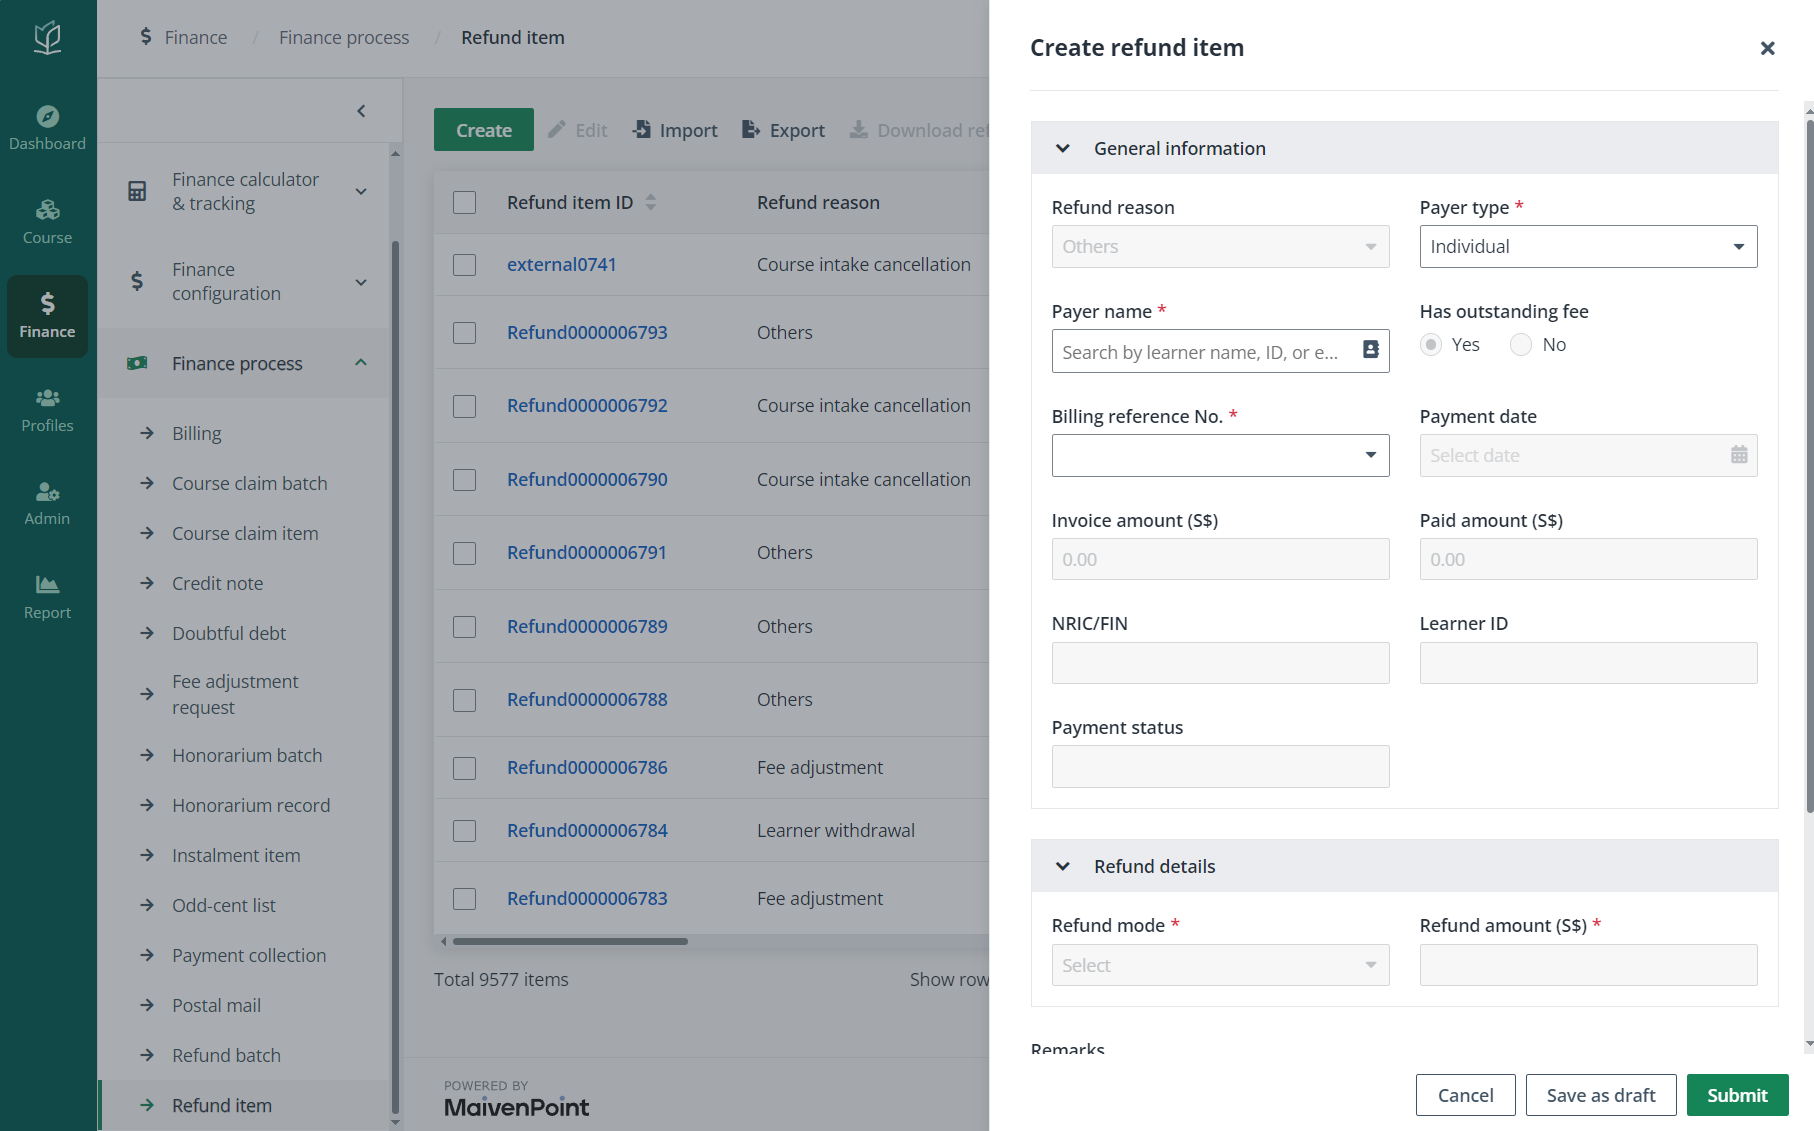
Create a refund item
To create a refund item, complete the following steps:
1.
On the Refund item page, click Create.

2.
In the Create refund item panel, complete the configurations.
3.
Click Submit and click Confirm in the pop-up window. The refund
item will be created and the manual refund request will be submitted.
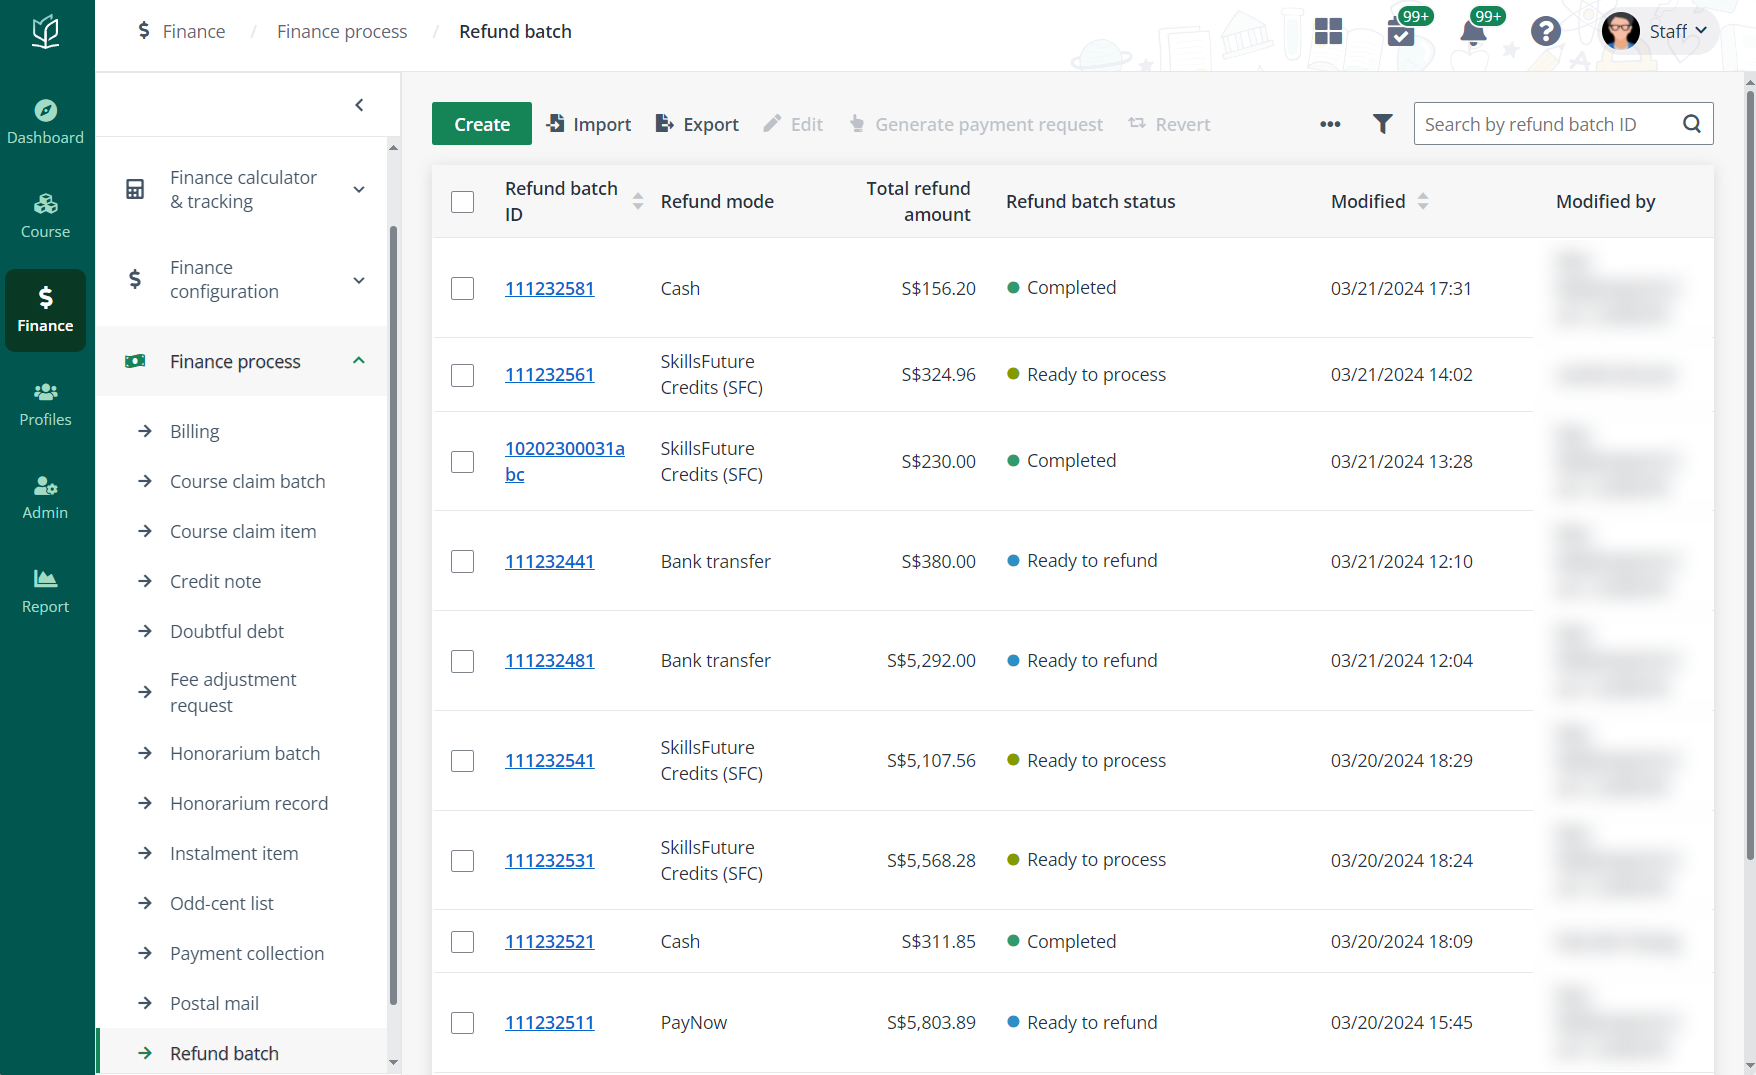
Generate a refund batch from refund item
When there are multiple refund items that are in the Ready
to refund status or refund items whose payment modes SkillsFuture
Credits in the Ready to process status with the same refund mode,
admin can generate a refund batch to process them in bulk.
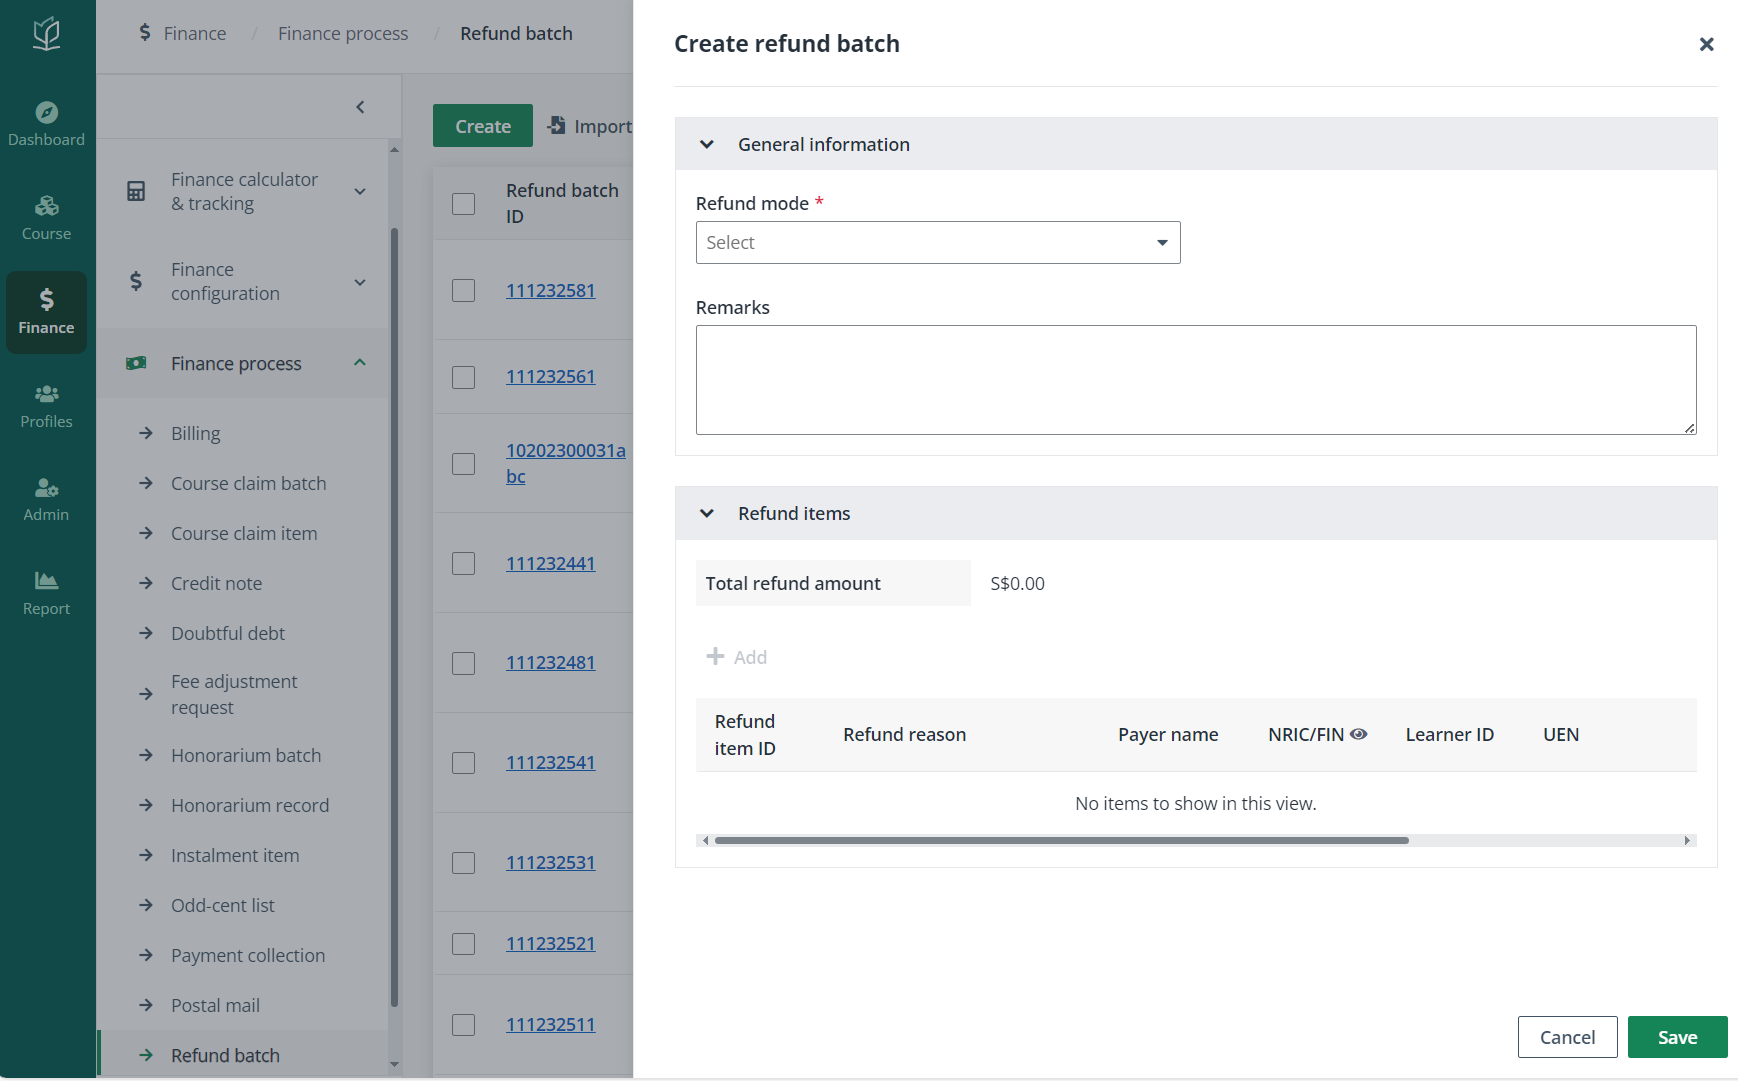
To generate the refund batch, complete the steps below:
1.
Select the refund items. Ready-to-refund items with the same refund mode can be
found by the Refund item status and Refund mode filters.
2.
Click Generate refund batch.

3.
In the Generate refund batch panel, enter the remarks and add excessive
refund items.
4.
Click Save.
Offset billing from refund
If the refund recipient has outstanding fees to pay, Admin
can offset the unpaid fees from the refund amount.
On the Refund item page, to offset all existing refund
items that can be offset, click Offset all above the table. After
confirmation, the system will perform offset against the bill with the earliest
payment due date within each available item, and against subsequent bills with
the remaining refund amount.
To offset billing from a specific refund item, follow the
steps below:
1.
Select the refund item to offset. The refund item with outstanding fee and are
ready to refund can be found with the Refund item status and Has
outstanding fee filters.
2.
Click Offset.
3.
In the Offset panel, select the billings to offset the refund from.

4.
Click Confirm.
Manage refund expiry
For the accounting management process and refund status
tracking, admin can enable the refund expiry setting to process the refund items
that are expiring to avoid unprocessed items from piling up. To enable the
refund expiry setting, admin needs to go to Admin > Service
management > Finance services. For more details, refer to How to configure finance services?
After a refund item is expired, the status of the refund item
will be Refund expired. According to the service configuration, the refund item
expiry may be approved automatically by system or manually by the specified
approver. Once approved, the status of the refund item will be Refund written
back to mark the temporary written back of the refund item and the refund
amount.
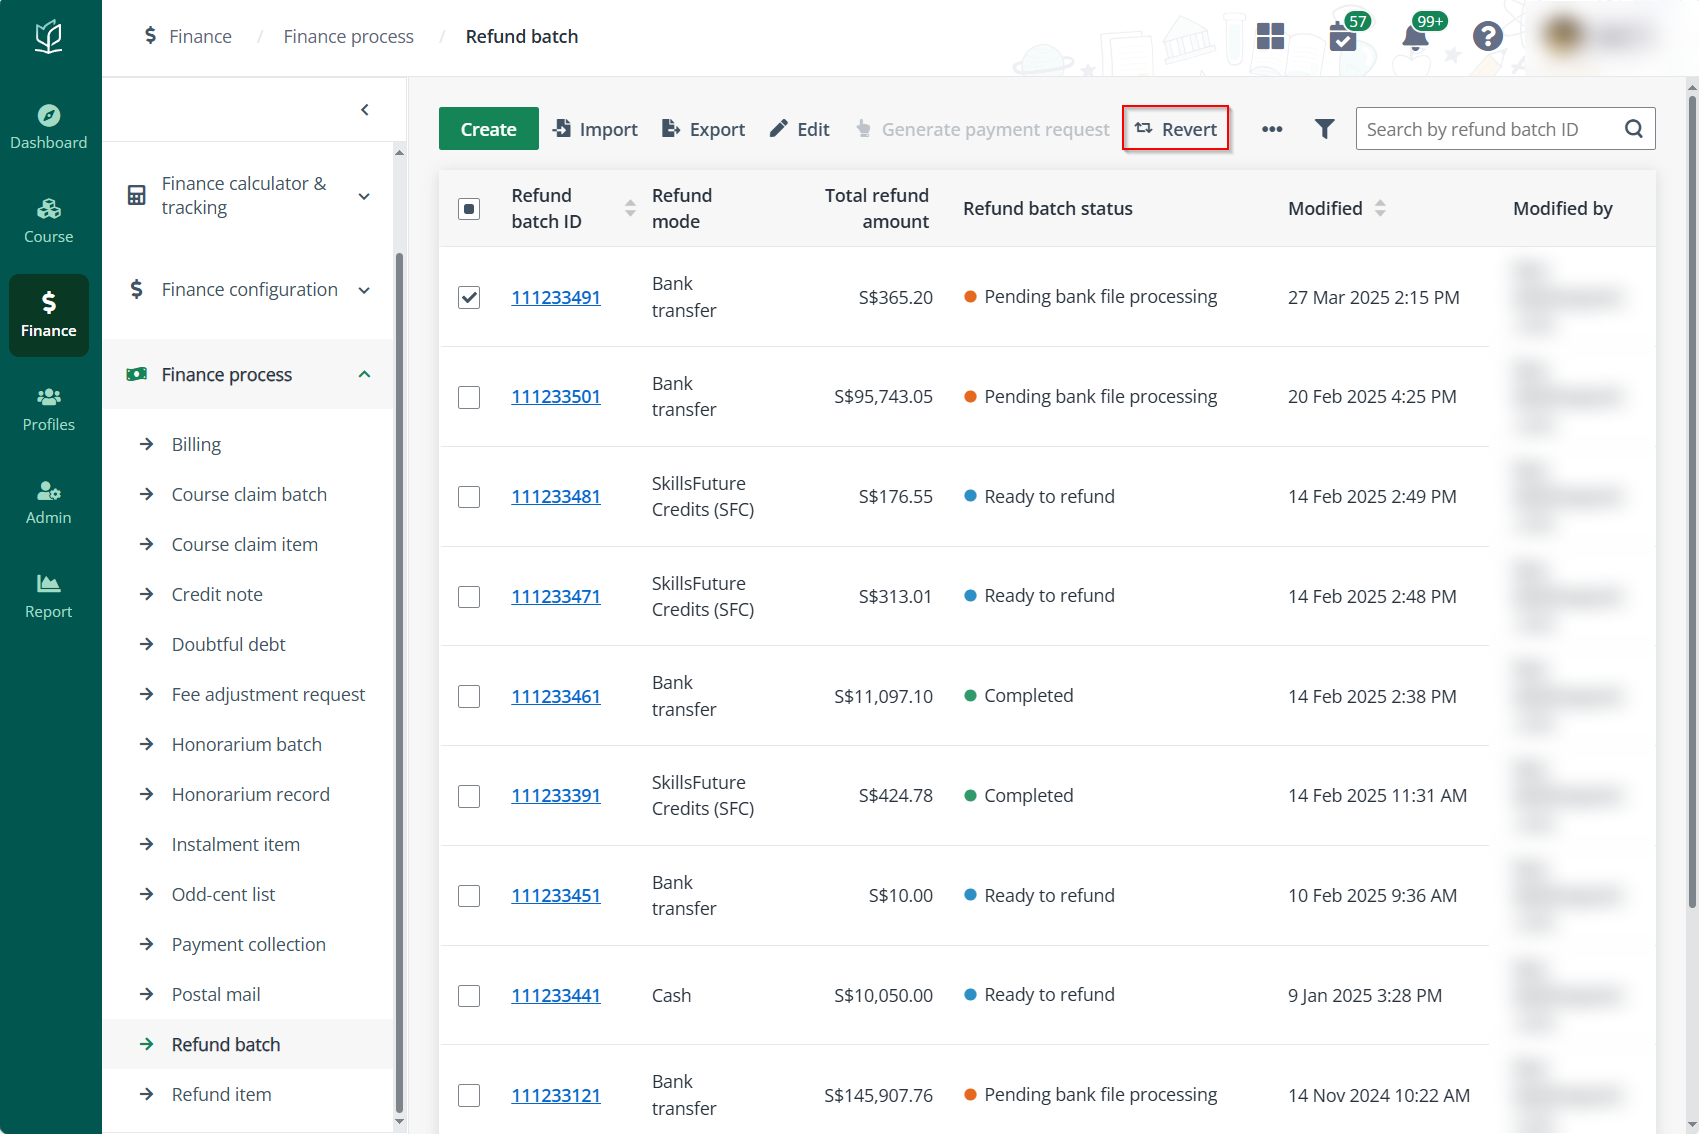
When the written back refund item is requested to be refunded
again, admin can edit the refund item status according to the actual refund
process by following the steps below:
1. Select the target
refund item in the Refund written back status. The written back refund
items can be found with the Refund item status filter.
2. Click the refund
item ID to view the refund item details.
3. In the Refund
item details panel, click Reversal in the bottom right.

4. After
confirmation, the refund item will be reversed and be in the Ready to
refund status.


