最初に、Zoom App Marketplace でサーバー間認証 (Oauth) アプリを作成します
Zoom との統合には、サーバー間認証 (Oauth) アプリが必要です。サーバー間認証 (Oauth) アプリは、ユーザー承認を必要とせず、Zoom サービスとサーバー間の統合を可能にします。Zoom は、トークンの生成に使用できる固有の資格情報セットを生成することができます。トークンは、Curricula からの各リクエストの承認に使用されます。
Zoom App Marketplace でサーバー間認証 (Oauth) アプリを作成するには、以下の説明を参照してください。
1. Zoom アカウント所有者または管理者を使用して、Zoom App Marketplace にサインインします。
2. 右上の [Develop] をクリックし、Build App を選択します。
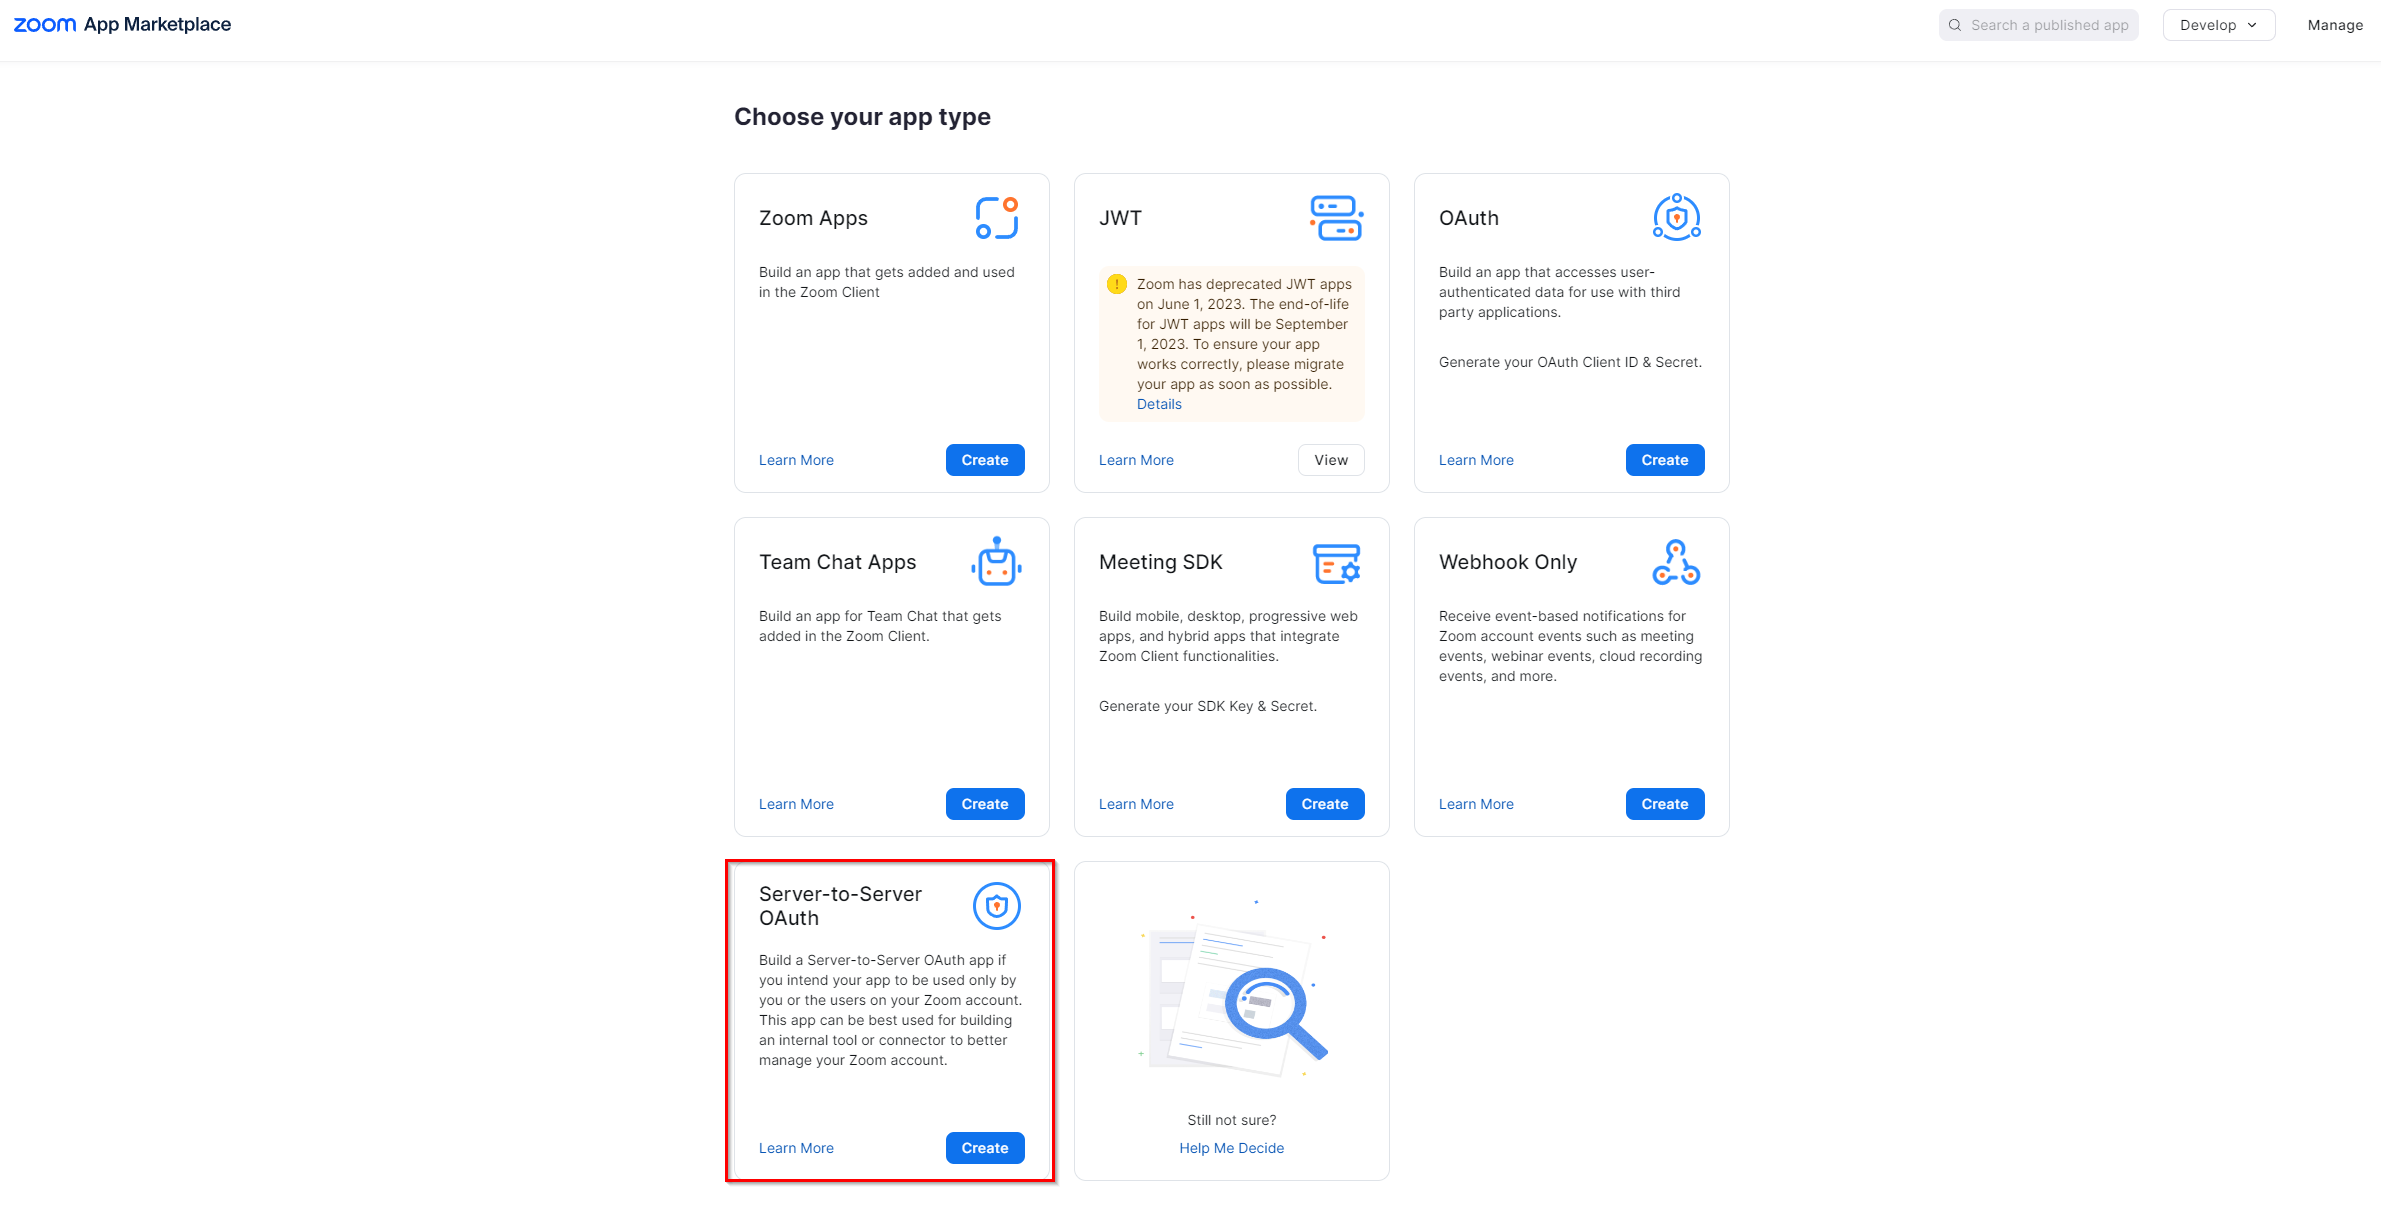
3. アプリ タイプ Server-to-Server Oauth App を選択し、[Create] をクリックします。
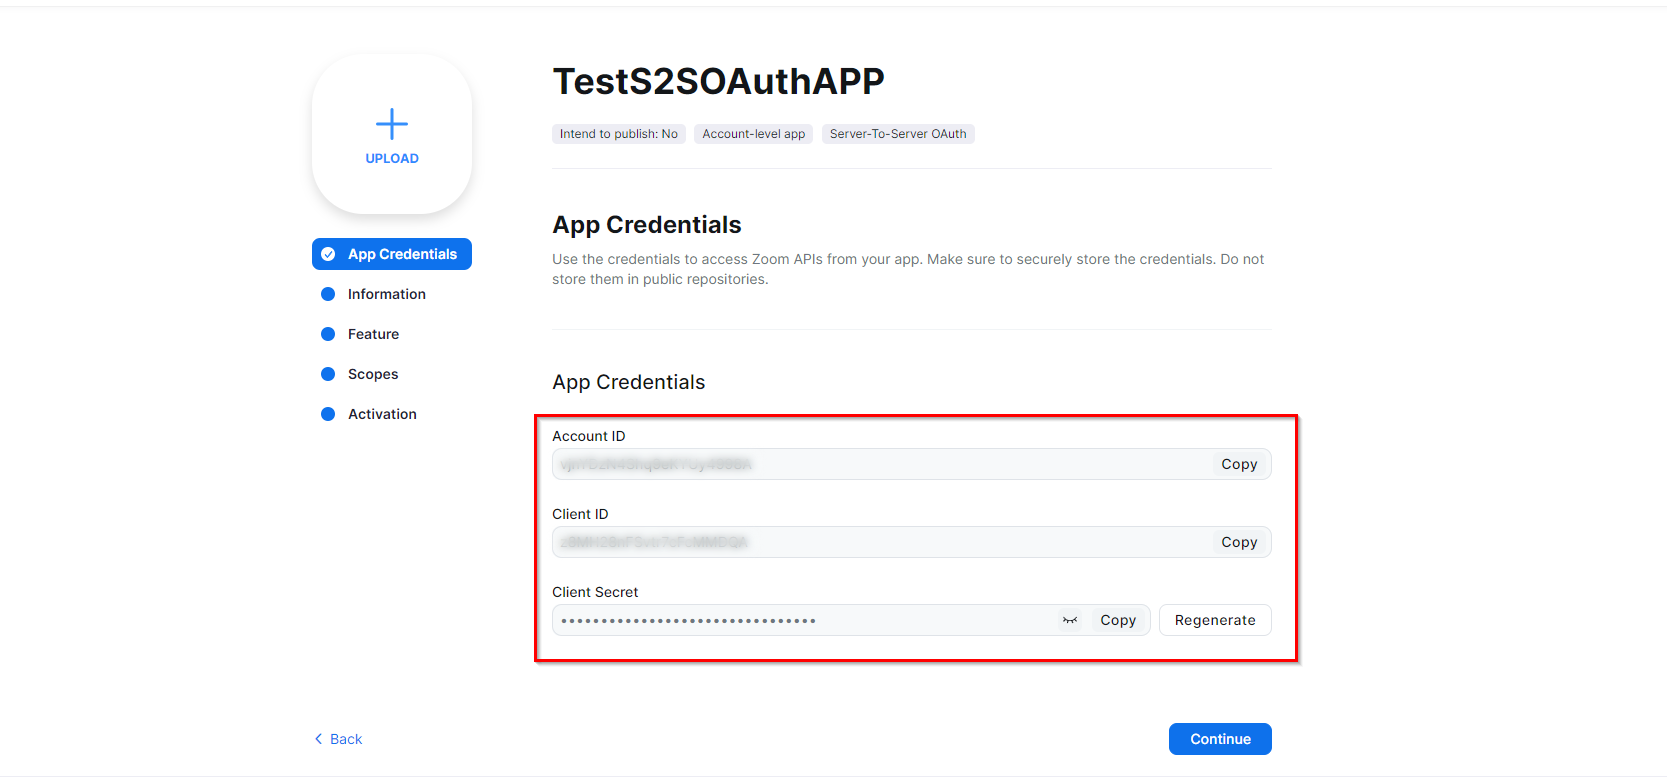
4. アプリ名を入力して、[Create] をクリックします。
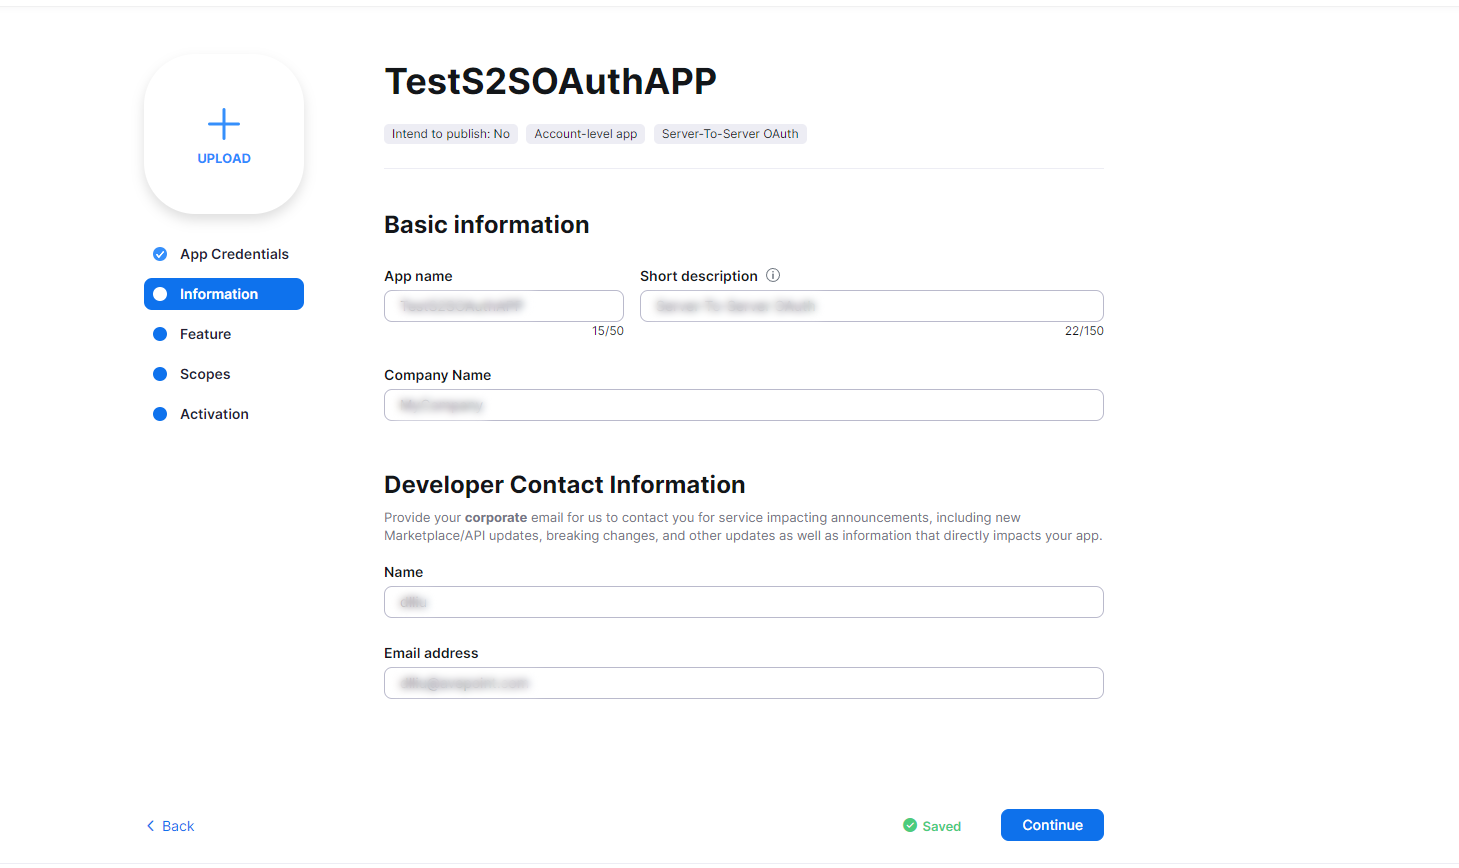
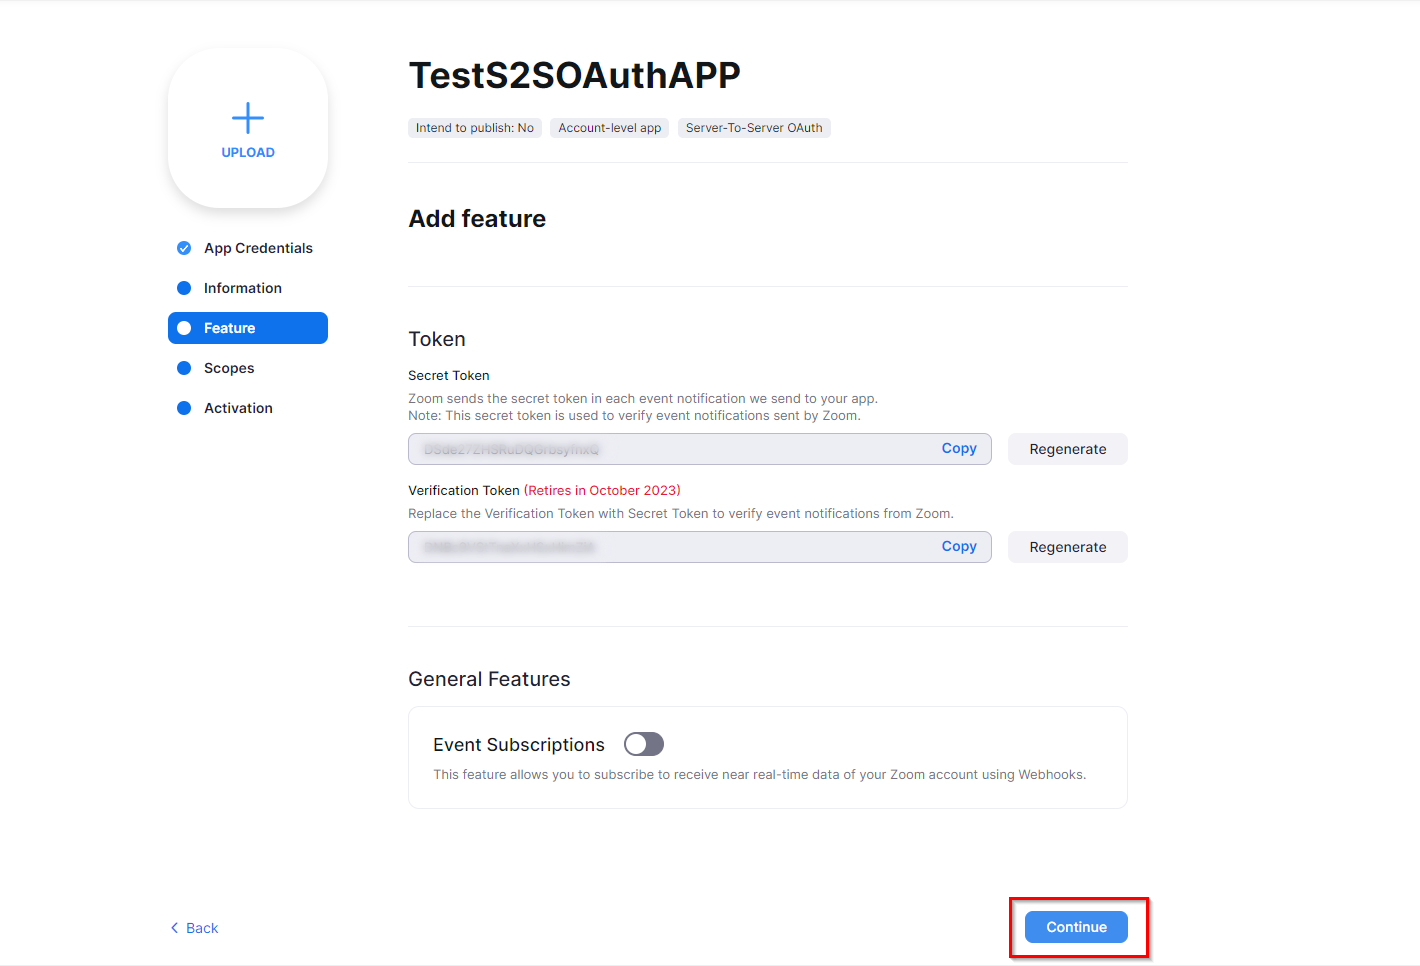
5. Zoom との統合をサポートするには、Zoom によってトークンの生成に使用できる一連の固有認証情報が生成されます。これらのトークンは、Curricula からの各リクエストの承認にも使用されます。Account ID、Client ID、Client Secret をコピーして、メモ帳などの目的の場所に貼り付けます。[Continue] をクリックします。
6. 基本情報と連絡先情報を記入します。[Continue] をクリックします。
7. [Continue] をクリックします。
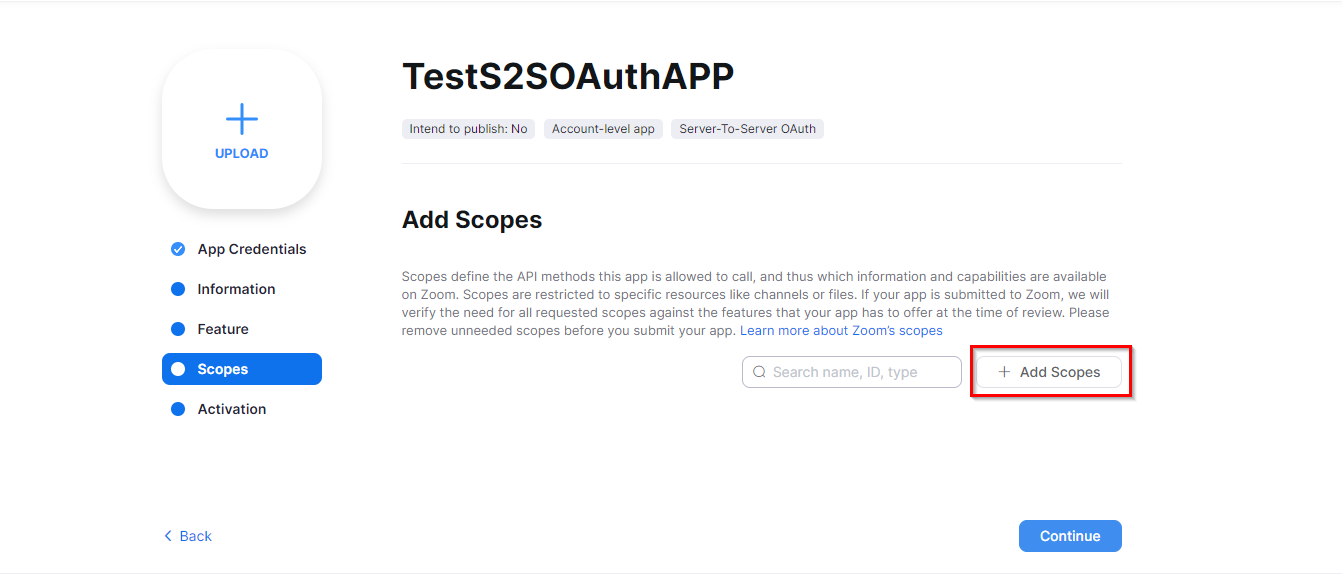
8. [Add Scopes] をクリックします。
9. Add Scopes ウィンドウで、Product リスト内の Account を選択します。
10. Account 範囲で、[View account info] をクリックして、View an account’s settings (account:read:account_setting:admin)、View an account’s lock settings、View an account’s settings (account:read:settings:admin) を選択します。
11. Add Scopes ウィンドウで、Product リスト内の Recording を選択します。
12. Recording 範囲で、[View all user recordings] をクリックして、Returns all of a meeting’s recordings を選択します。[View and manage sub account’s user recordings] をクリックして、Returns all of a meeting’s recordings を選択します。
13. Add Scopes ウィンドウで、Product リスト内の User を選択します。
14. User 範囲で、[View all user information] をクリックして、Verify a users’ email、View users、View a user’s settings、View a user を選択します。
15. Add Scopes ウィンドウで、Product リスト内の Dashboard を選択します。
16. Dashboard 範囲で、[View all users' meetings information on Dashboard] をクリックして、View meeting participants’ metrics、View meeting participants’ quality of service、View meetings metrics、View a meeting’s metrics を選択します。
17. Add Scopes ウィンドウで、Product リスト内の Meeting を選択します。
18. Meeting 範囲で、[View all user meetings] をクリックして、View a meeting’s alert、View a past meeting’s participants、View a meeting、View a meeting’s participant、View a past meeting を選択します。[View and manage all user meetings] をクリックして、Delete a meeting、Update a meeting、Create a meeting for a user を選択します。[View and manage sub account’s user meetings] をクリックし、Delete a meeting および Update a meeting を選択して、[Done] をクリックします。
19. 範囲の追加が完了した後、[Continue] をクリックします。
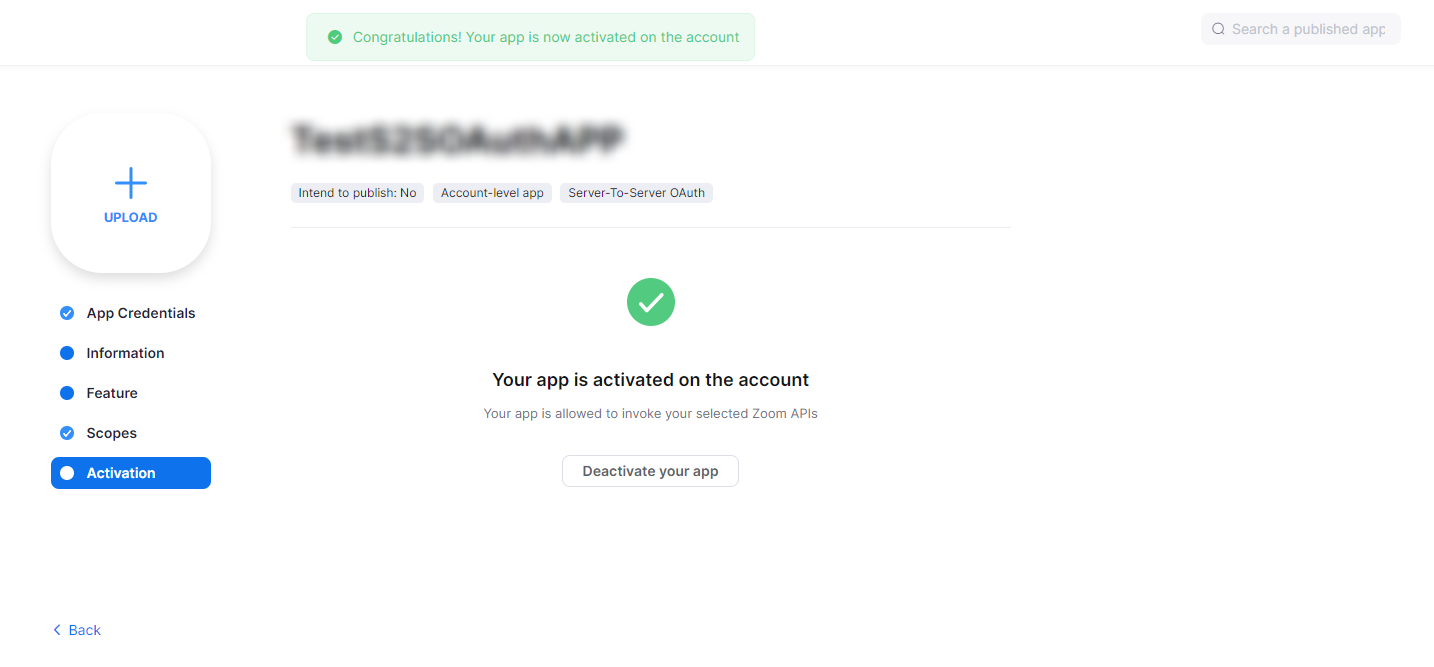
20. [Activate your app] をクリックします。
21. アプリは、すべての Zoom API にリクエストを送信するように設定されています。アプリを承認して Zoom API にリクエストを提出可能にするため、アプリがアクティブになっていることを確認してください。
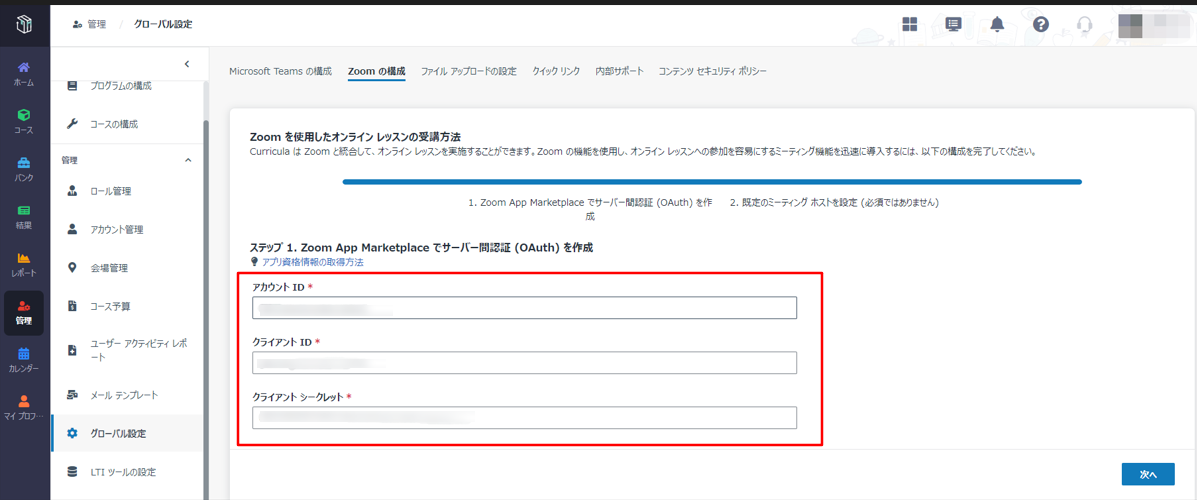
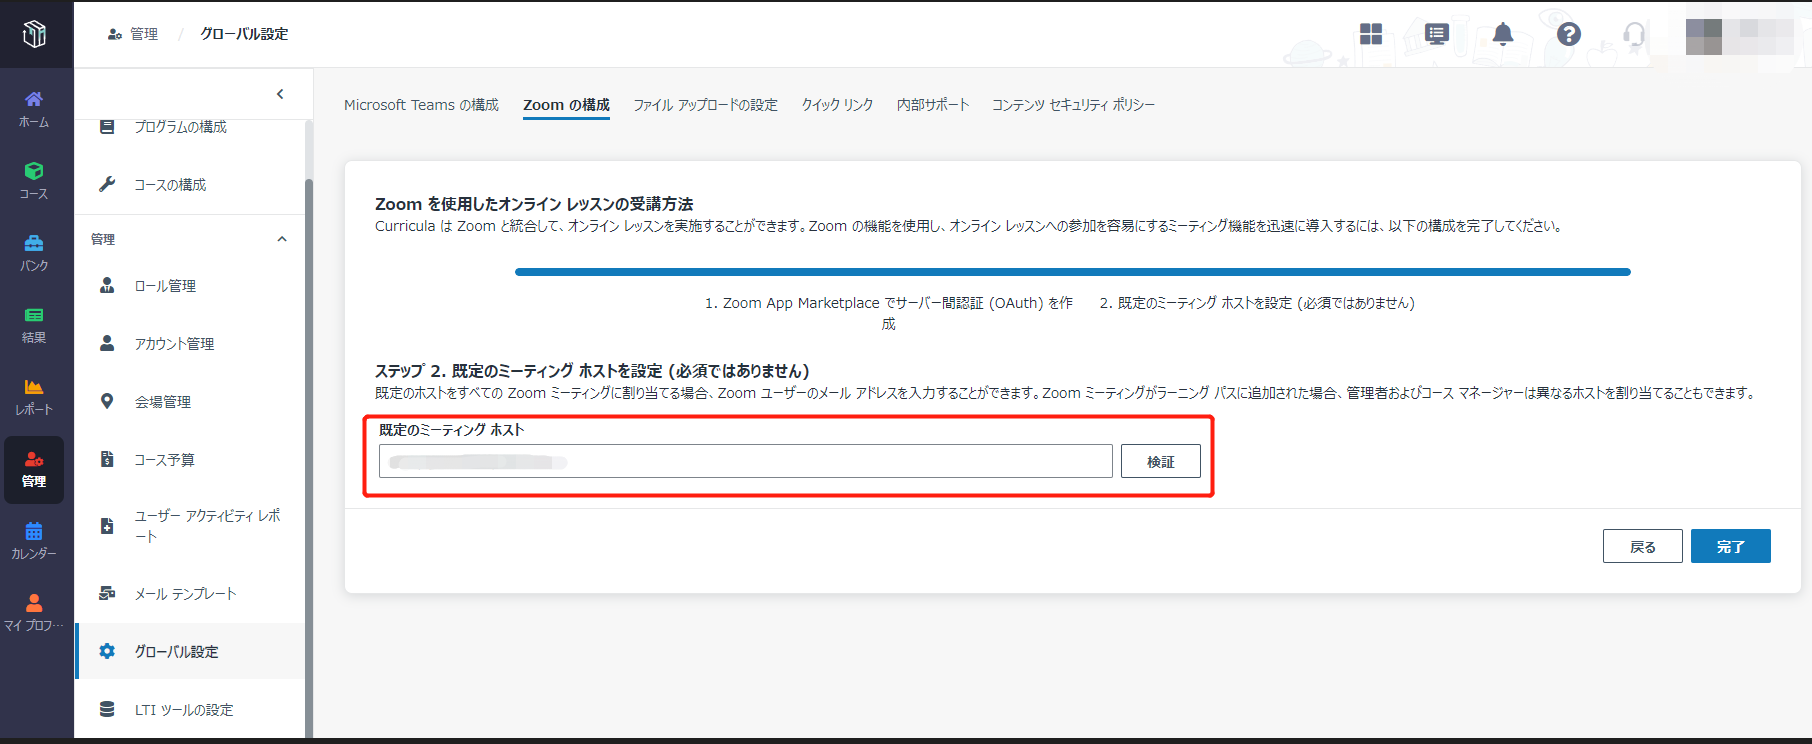
22. Curricula にサインインし、管理 > グローバル設定 > Zoom の構成 に移動します。
23. アカウント ID、クライアント ID、クライアント シークレットを保存場所からコピーして、アカウント ID、クライアント ID、クライアント シークレット フィールドに貼り付けます。
24. API キーと API シークレットの準備が完了した後、[次へ] をクリックします。
