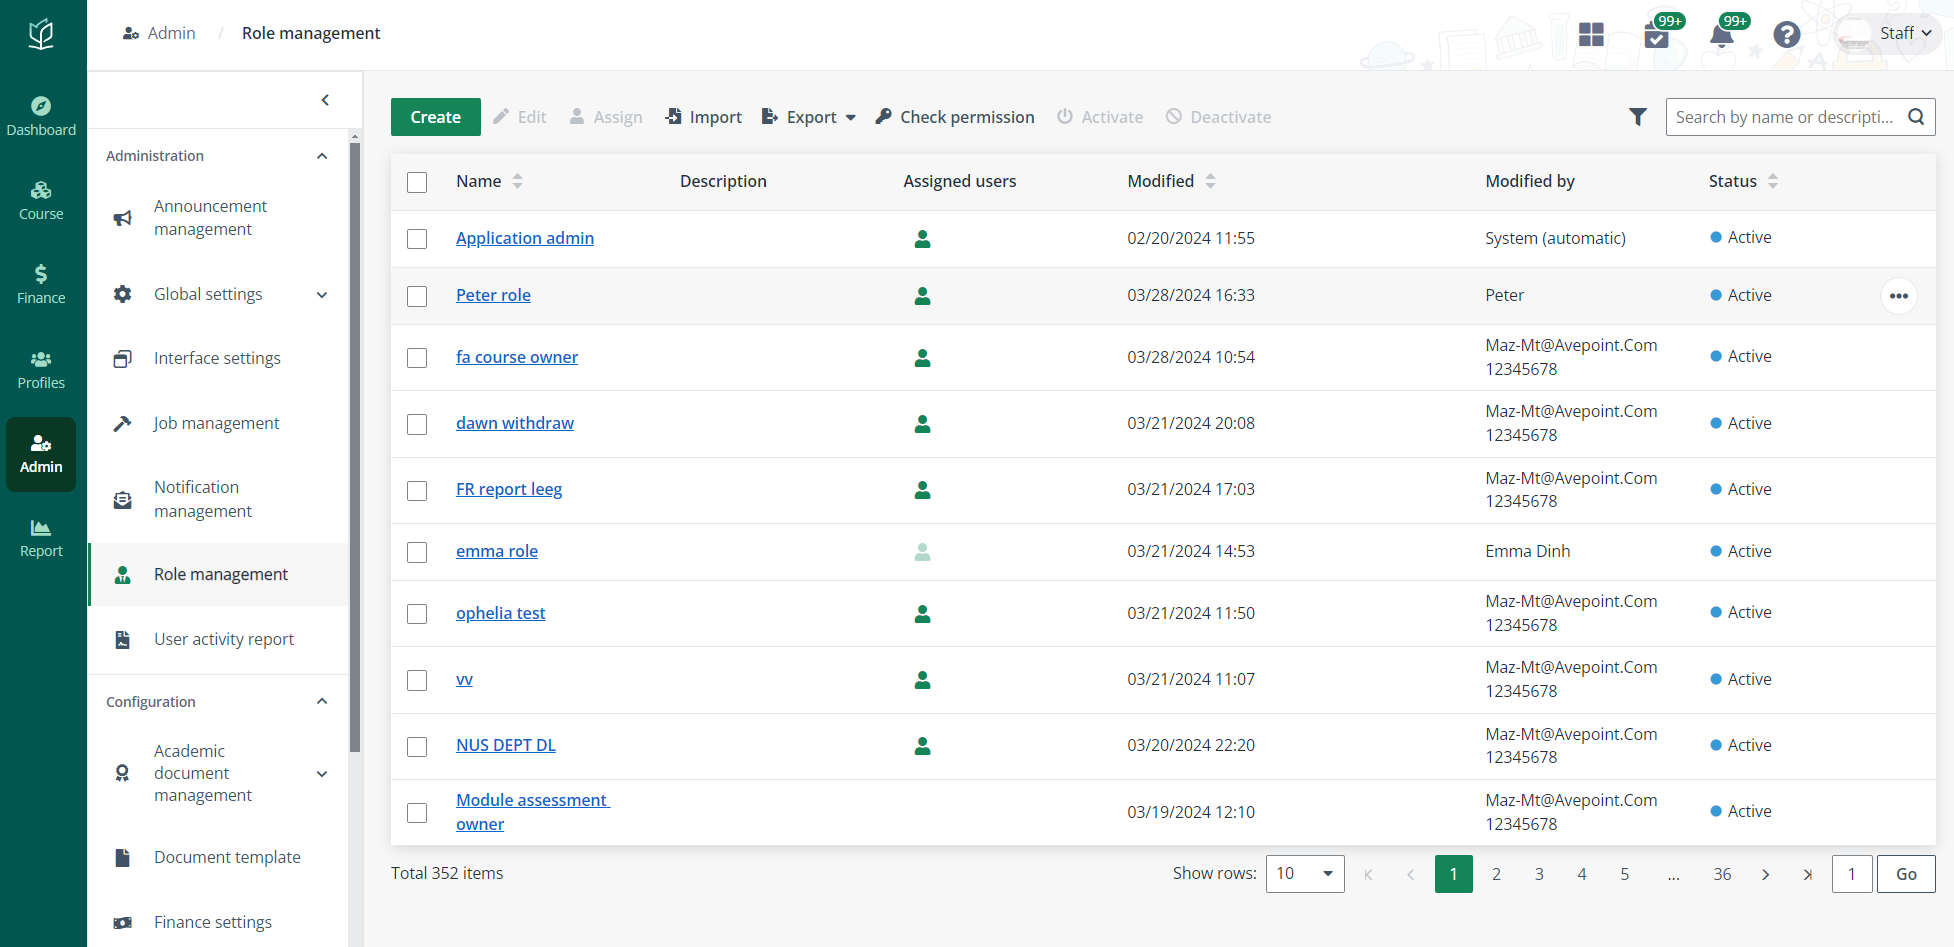
To create roles with different permissions and assign users in their organisation. Vitae allows admin to edit permissions of the following built-in roles:
•Application admin
•Course owner
•Course intake owner
•Module owner
•Module assessment owner
To create and manage roles, complete the following configurations.

Complete the following steps to create a role.
1. Click Admin on the left navigation pane, and then click Role management.
2. Click Create, and then fill in the role information.
3. In the Permissions section, admin can assign or remove permissions.
4. After finishing the configurations, click Save.
Refer to the following instructions to assign users to a role.
1. Click Admin on the left navigation pane, and then click Role management.
2. In the role list, select a role and click Assign.
3. In the User assignment tab, select a scope type.
*Note: If admin selects Custom, click Add scope and specify a scope by selecting specific course categories, course types, branches, or schools.
4. Click Assign user.
5. In the Address book window, select users.
6. When admin finishes the user assignment, click Add.
To check the permissions of a user, complete the following steps.
1. Click Admin on the left navigation pane, and then click Role management.
2. Click Check permission above the role list.
3. Enter the name of a user. Admin can also select the user from the address book.
4. Click Check. All permissions that have been assigned to the user will be displayed.
With the following role and permissions lists provided, overall user assignment in the system can be checked:
•User role list – It allows training administrators to view and export the role assignment of each user.
•User role and permission list – It allows training administrators to view and export the role assignment of each user, as well as the permissions of each role.
•Course management user role list – It allows training administrators to view and export the user assignment details for course owners, course intake owners, and module owners.
To view and export the role and permission list, complete the following steps.
1. Click Admin on the left navigation pane, and then click Role management.
2. Click Export above the role list, and then click Export user role and permission list. The list will be exported to an Excel file.
*Note: Admin can also choose to view and export the user role list or the course management user role list.