Admin can configure course intakes that are available for
applicants to apply to for each offering.
To create a course intake, navigate to Course >
Course intake configuration. On the Course intake configuration
page, click Create, and then configure the following settings.
General information
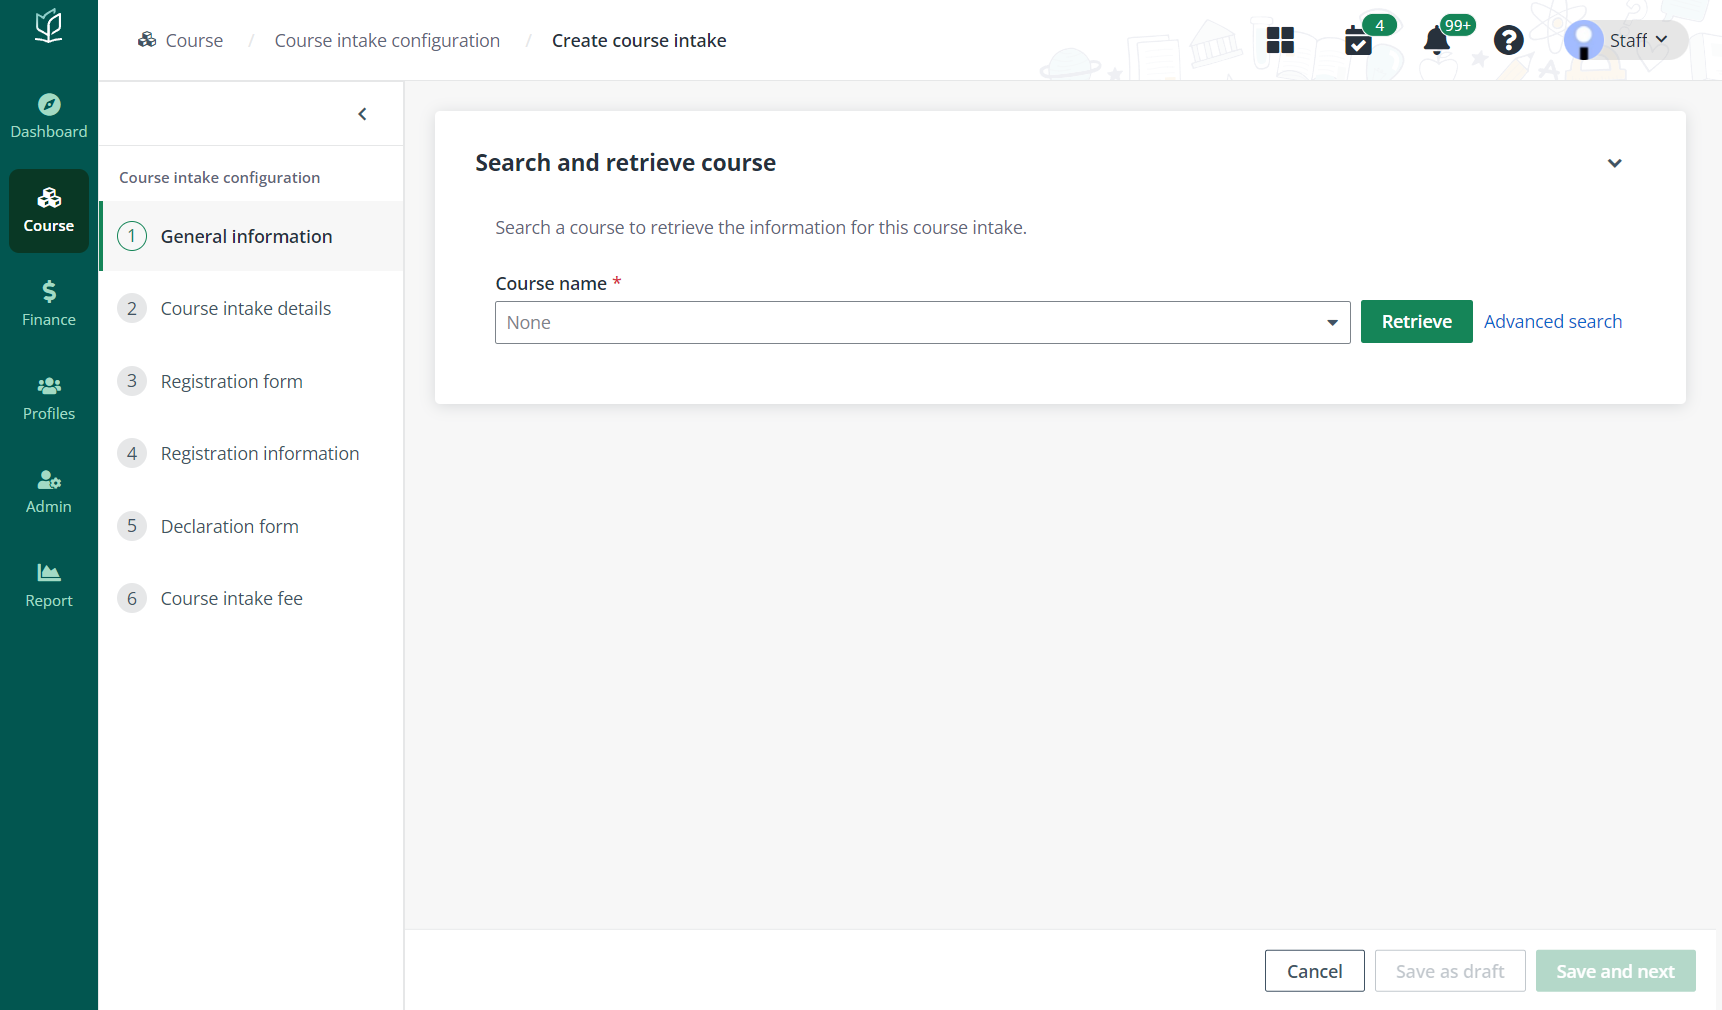
In the General Information section, complete the
following steps:
1.
Select the course and click Retrieve to retrieve the course
information.
2.
Fill in the general information of the course intake.
*Note: If the course is an SCTP course, the
Bundle code is required to complete. Select a bundle code or create a new
one.
3.
In the Schedule details section, configure the schedule information of
the course intake.
4.
In the Additional information section, enter remarks and upload files as
the reference material.
5.
In the Owner assignment section, add one or more course intake owners.
Admin can enter usernames in the text box or select users from the address
book.
6.
If the organisation has customised fields, enter field values in the
Customised fields section.
7.
Click Save and next and proceed to configure Step 2. Course intake
details.
Course intake details
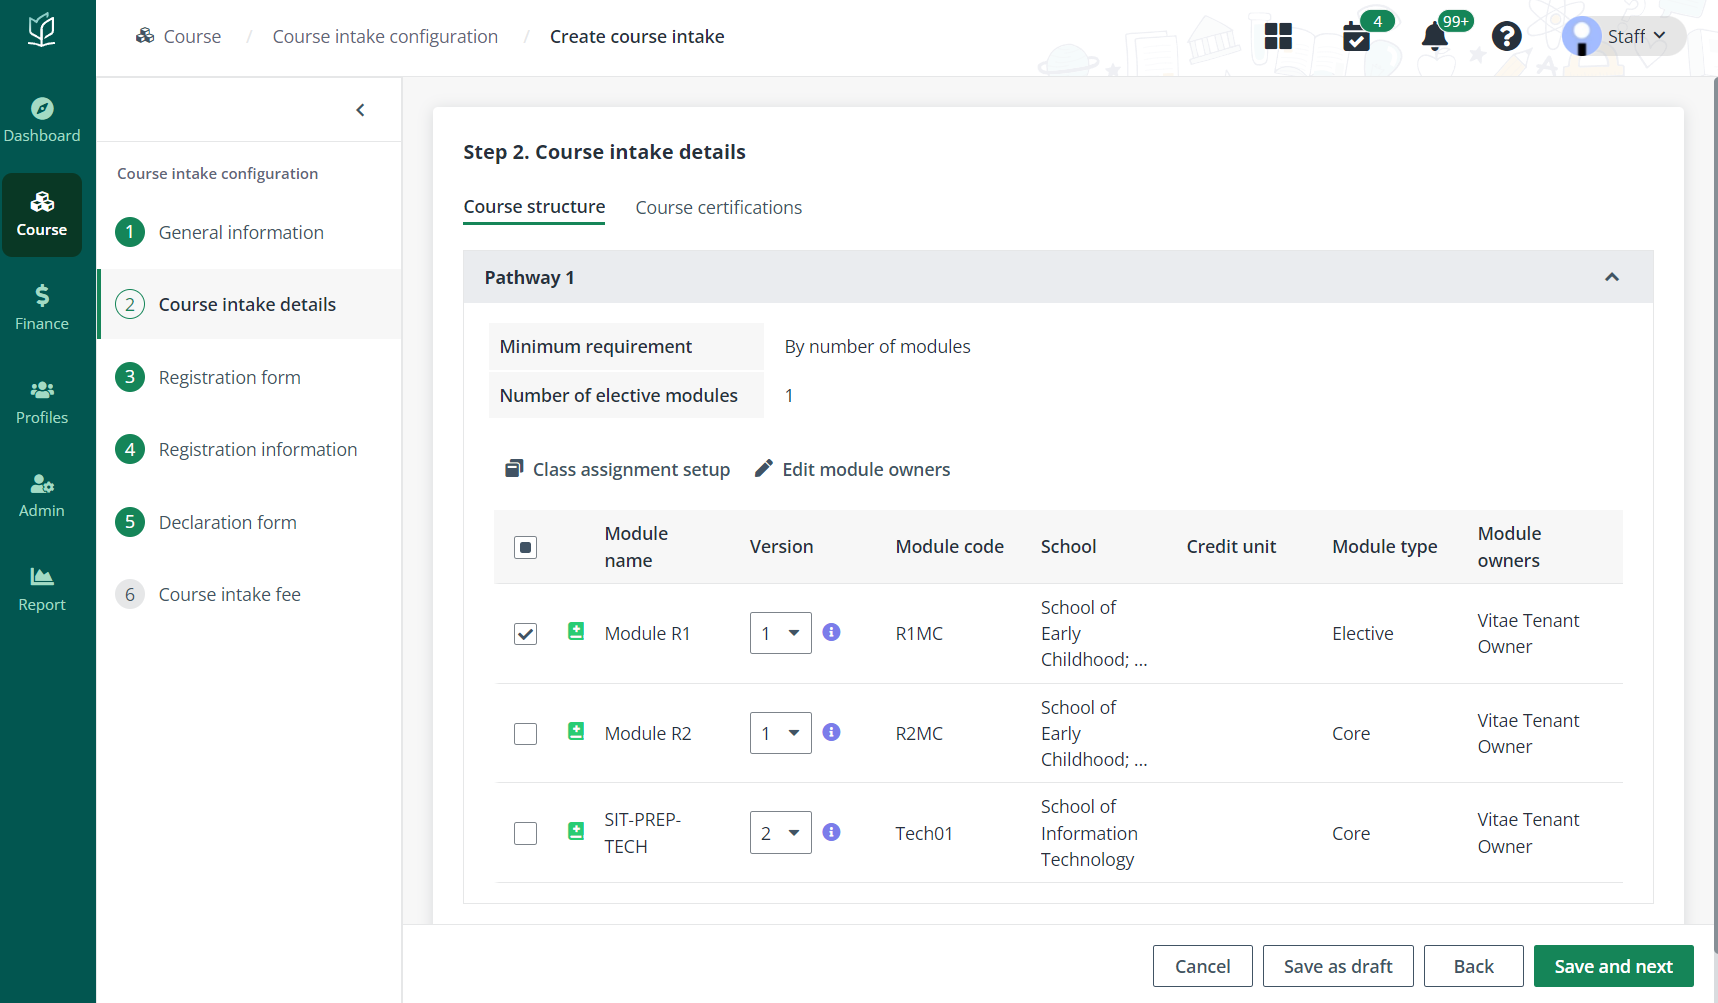
In the Course intake details section, complete the
following steps:
1.
In the Course structure tab, select a version and semester/term for each
module. Select a module, and then complete the following configurations:
•
Class assignment setup – Click Class assignment setup and
select a class assignment rule.
•
Edit module owners – Click Edit module owners and add one
or more module owners. Module owners can be added by entering usernames in the
text box or selecting users from the address book.
2.
In the Course certifications tab, the certification structure of the
course can be viewed.
3.
Click Save and next and proceed to configure Step 3. Course intake
registration form.
Course intake registration form
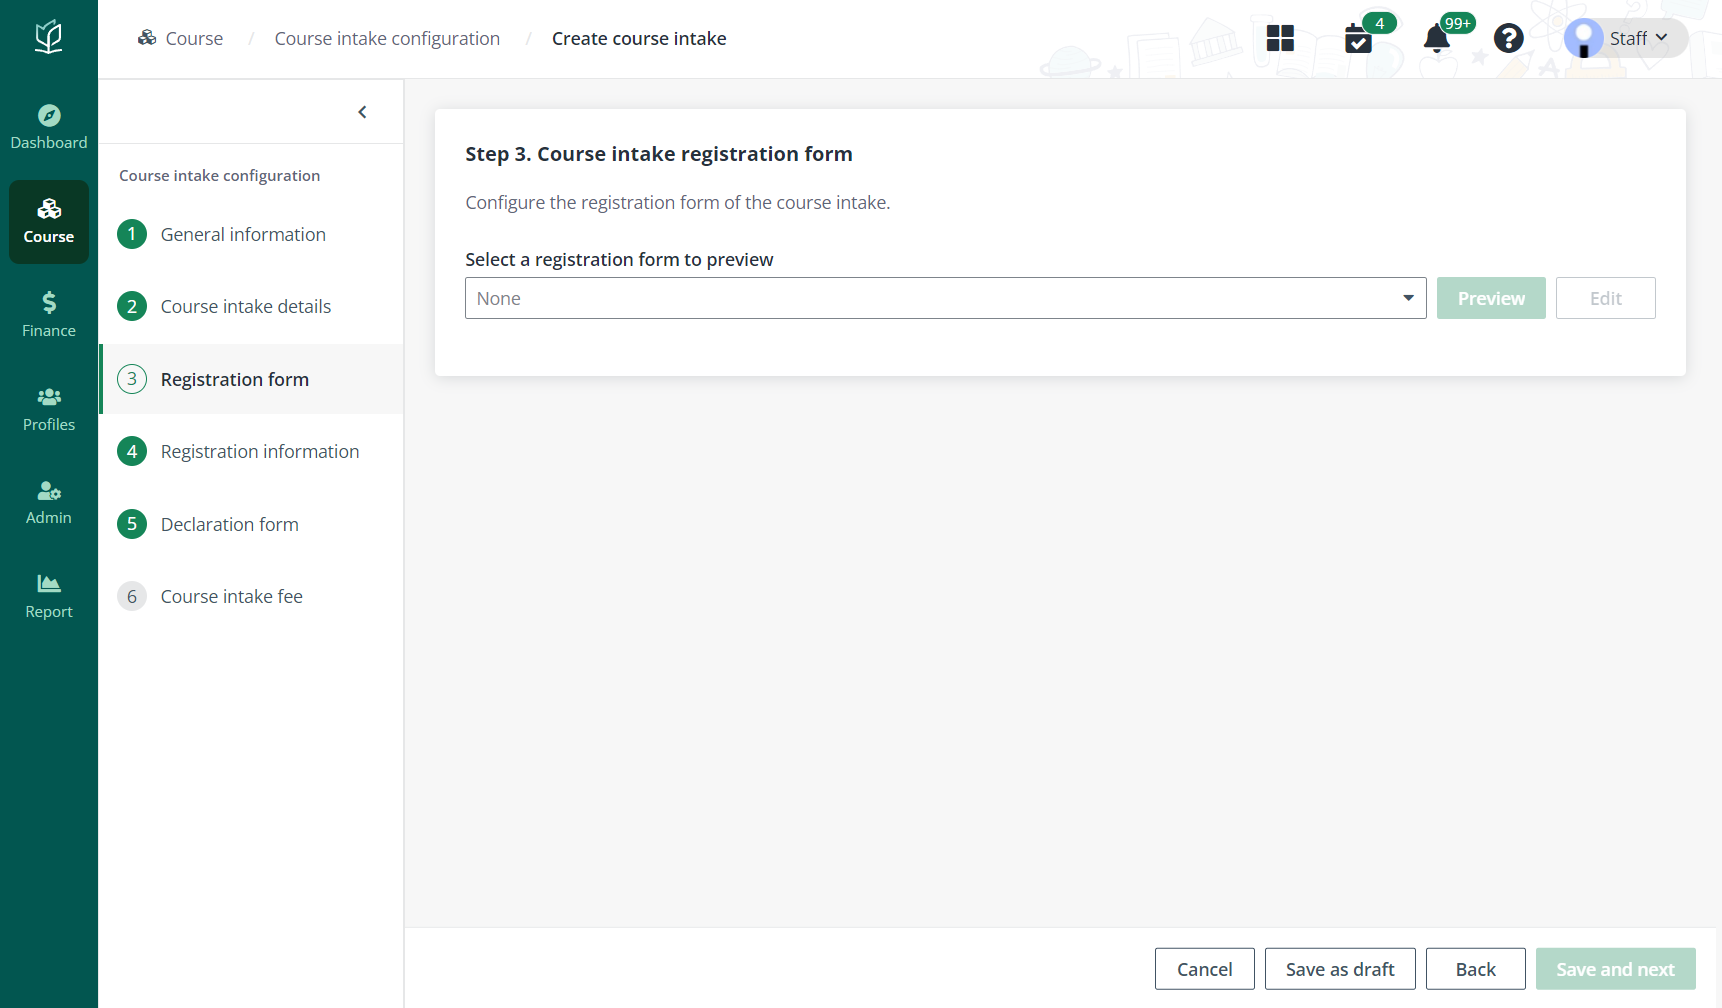
In the Course intake registration section, complete
the following steps:
1.
Select a registration form. To preview the form details, click
Preview.
2.
To update the registration form, click Edit.
3.
Click Save and next and proceed to configure Step 4. Registration
information.
Registration information
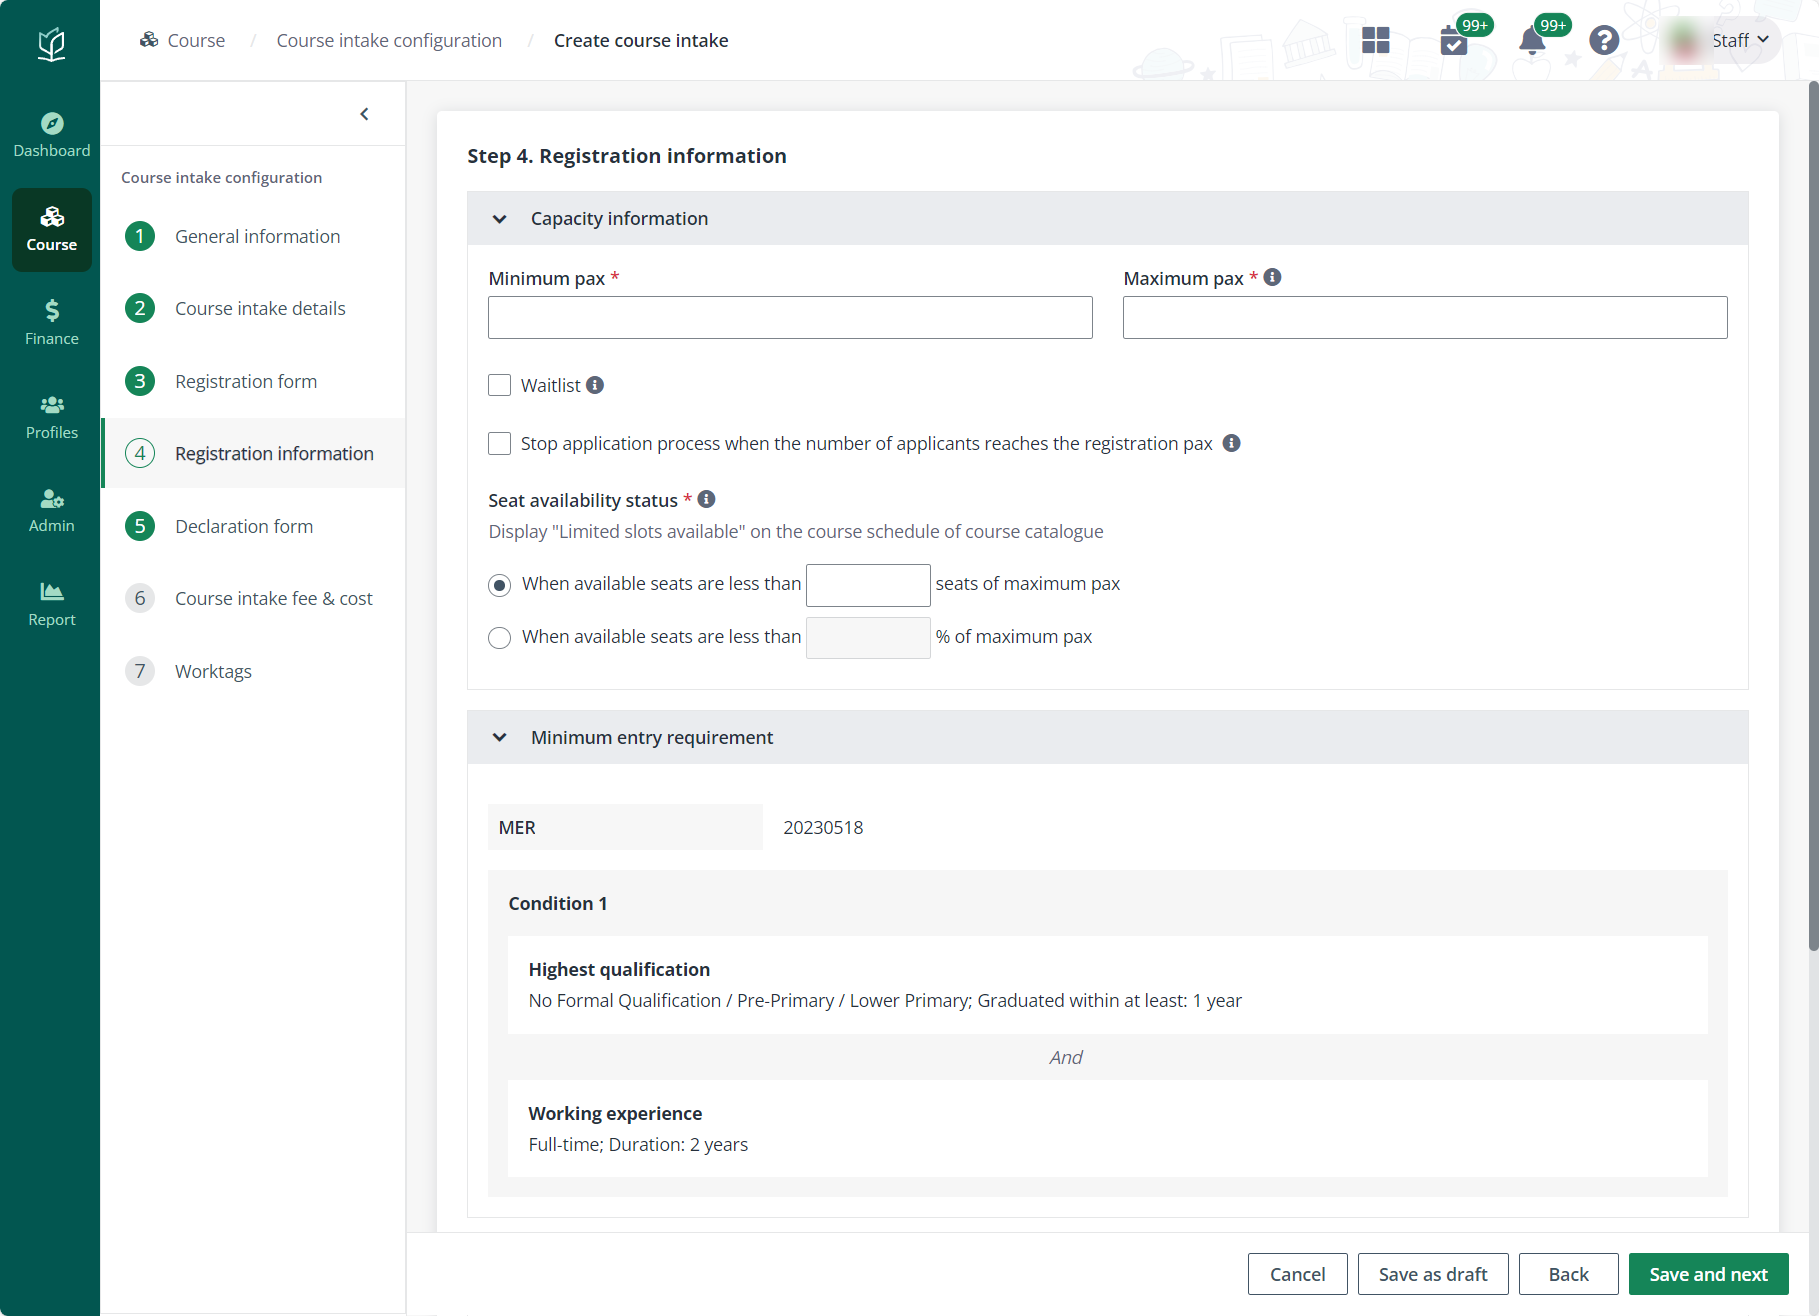
In the Registration information section, complete the
following steps:
1.
Configure the settings for Capacity information and Admission
criteria.
Note the following:
•
Waitlist – Choose whether to enable the waitlist for
additional registration pax. If the checkbox is selected, enter the number.
Admin can also choose whether to enable the Automatic waitlist handling.
If enabled, all waitlist applications will be rejected one day before the course
start date.
•
Stop application process when the number of applicants reaches
registration pax – With this option enabled, the course intake status will
be “Application closed” when the number of applicants reaches registration
pax.
•
Seat availability status – Define when to display “Limited
slots available” on the course schedule of course catalogue. A specific number
of seats or a percentage of the maximum pax can be defined. When available seats
are less than the defined limit, “Limit slots available” is displayed for the
course intakes.
•
Admission criteria – Admin can add admission criteria.
o Add criterion – Click
Add criterion, select a section, and then enter the value for the
criterion. Admin can add multiple criteria.
o Evaluation criteria
description – Enter a description for the evaluation criteria.
2.
Click Save and next and proceed to configure Step 5. Declaration
form.
Declaration form
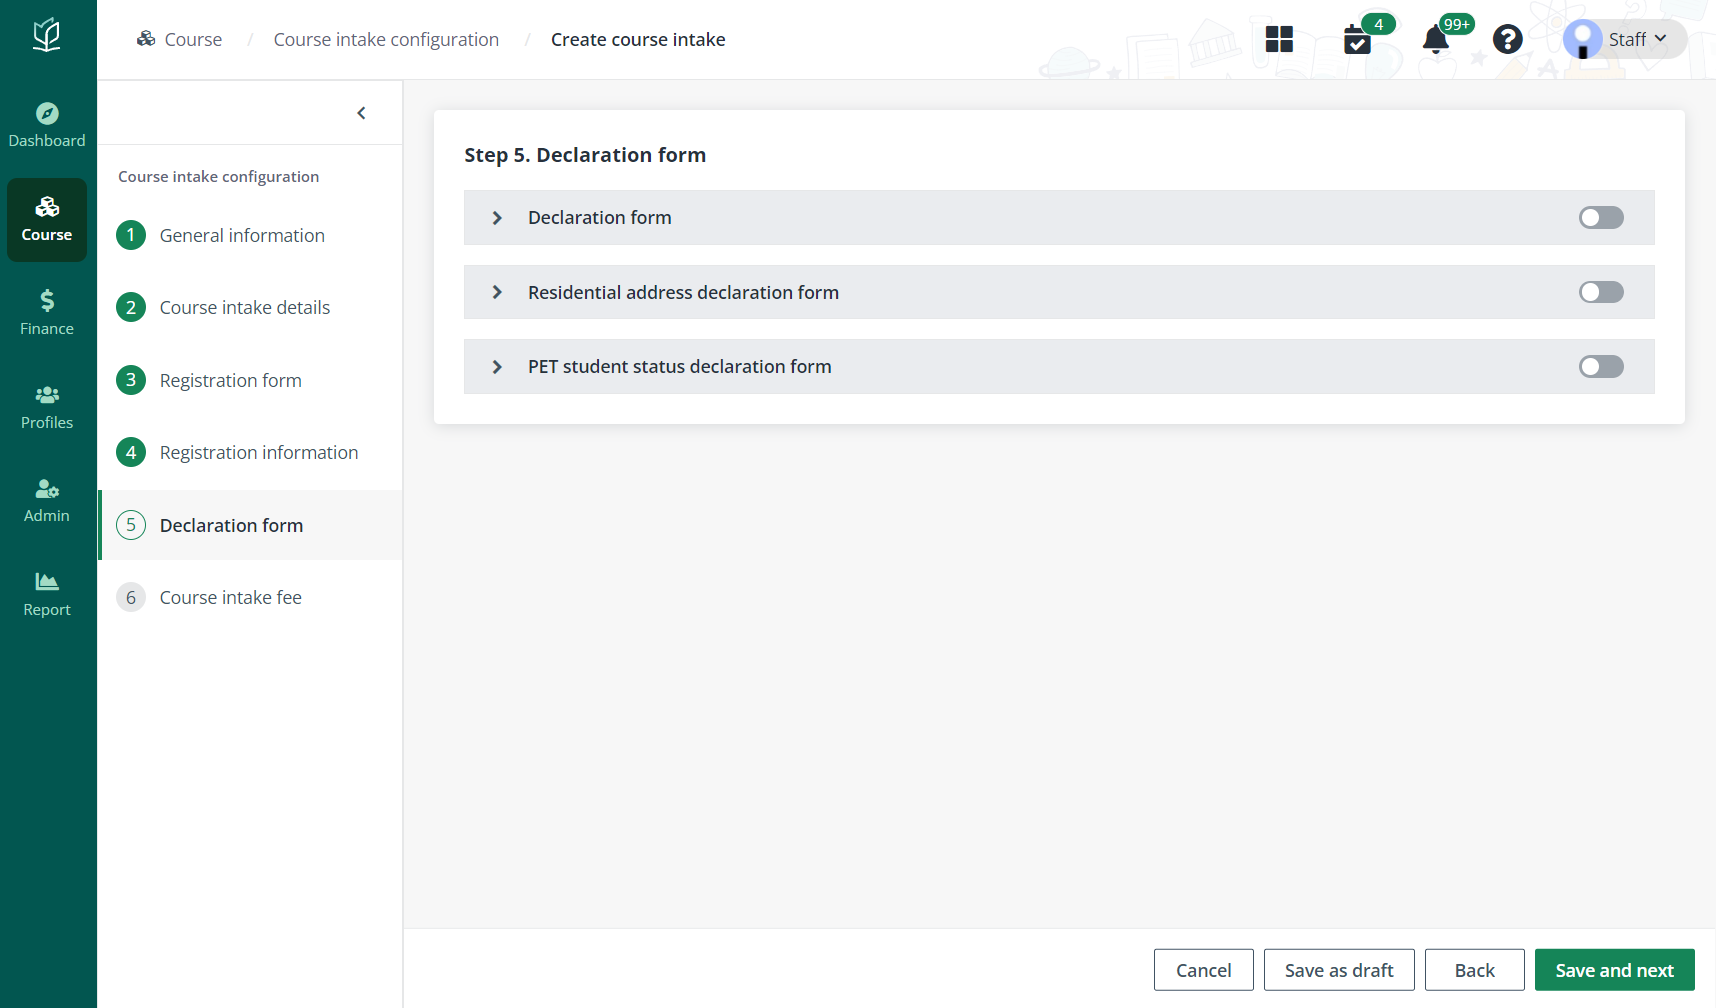
In the Declaration form section, complete the
following steps:
1.
Turn on the toggle to enable the declaration form for applicants to declare.
2.
With the toggle turned on, admin can select a declaration form and click
Preview to view the form details.
3.
Click Save and next and proceed to configure Step 6. Course intake
fee.
Course intake fee and cost
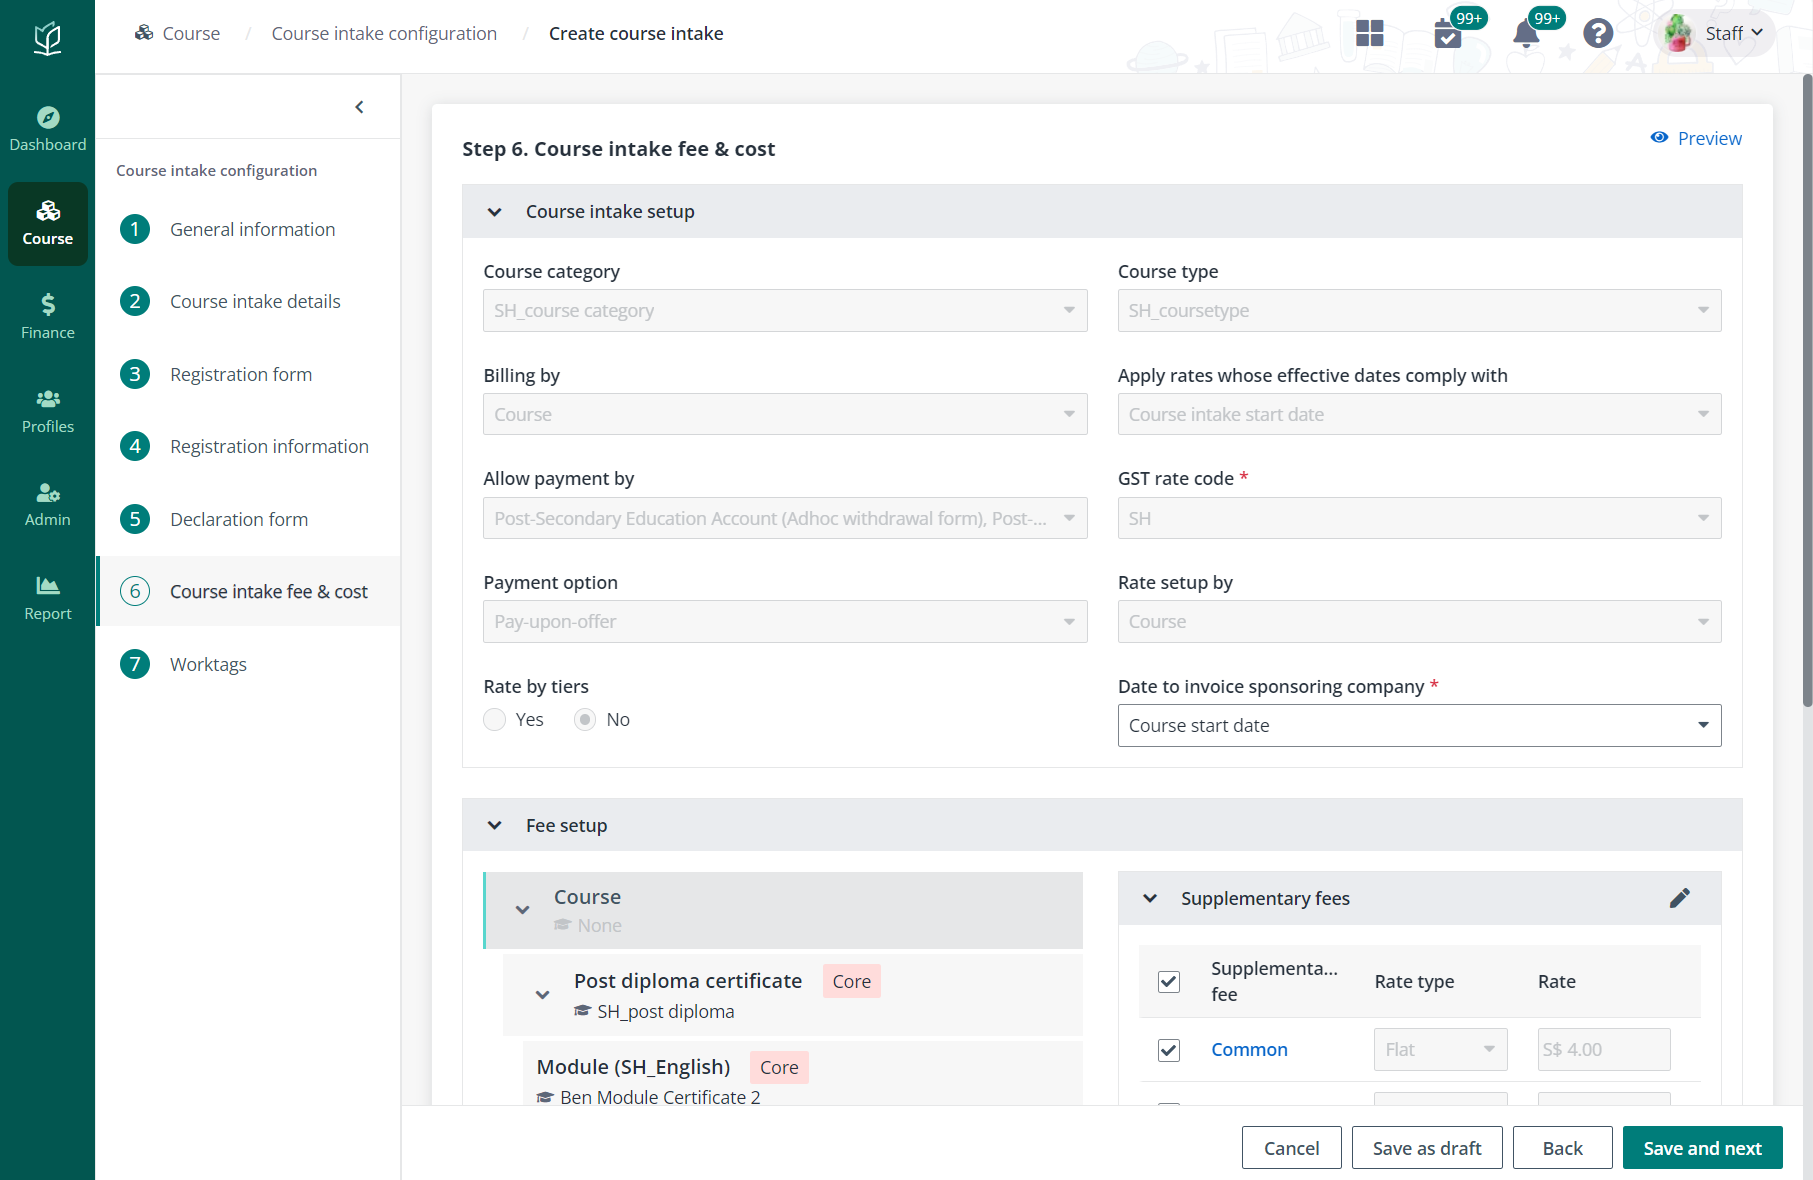
In the Course intake fee & cost section, specify a
day to invoice billing to the sponsoring company, complete the fee setups, and
specify a registration fee if required.
In the Fee setup section, admin can check the course
rate, supplementary fees, and discounts. If necessary, admin can change the
supplementary fee and discount configurations by selecting or deselecting
corresponding checkboxes.
After finishing all required configurations, click Save
and next to go to the worktag settings.
Worktags
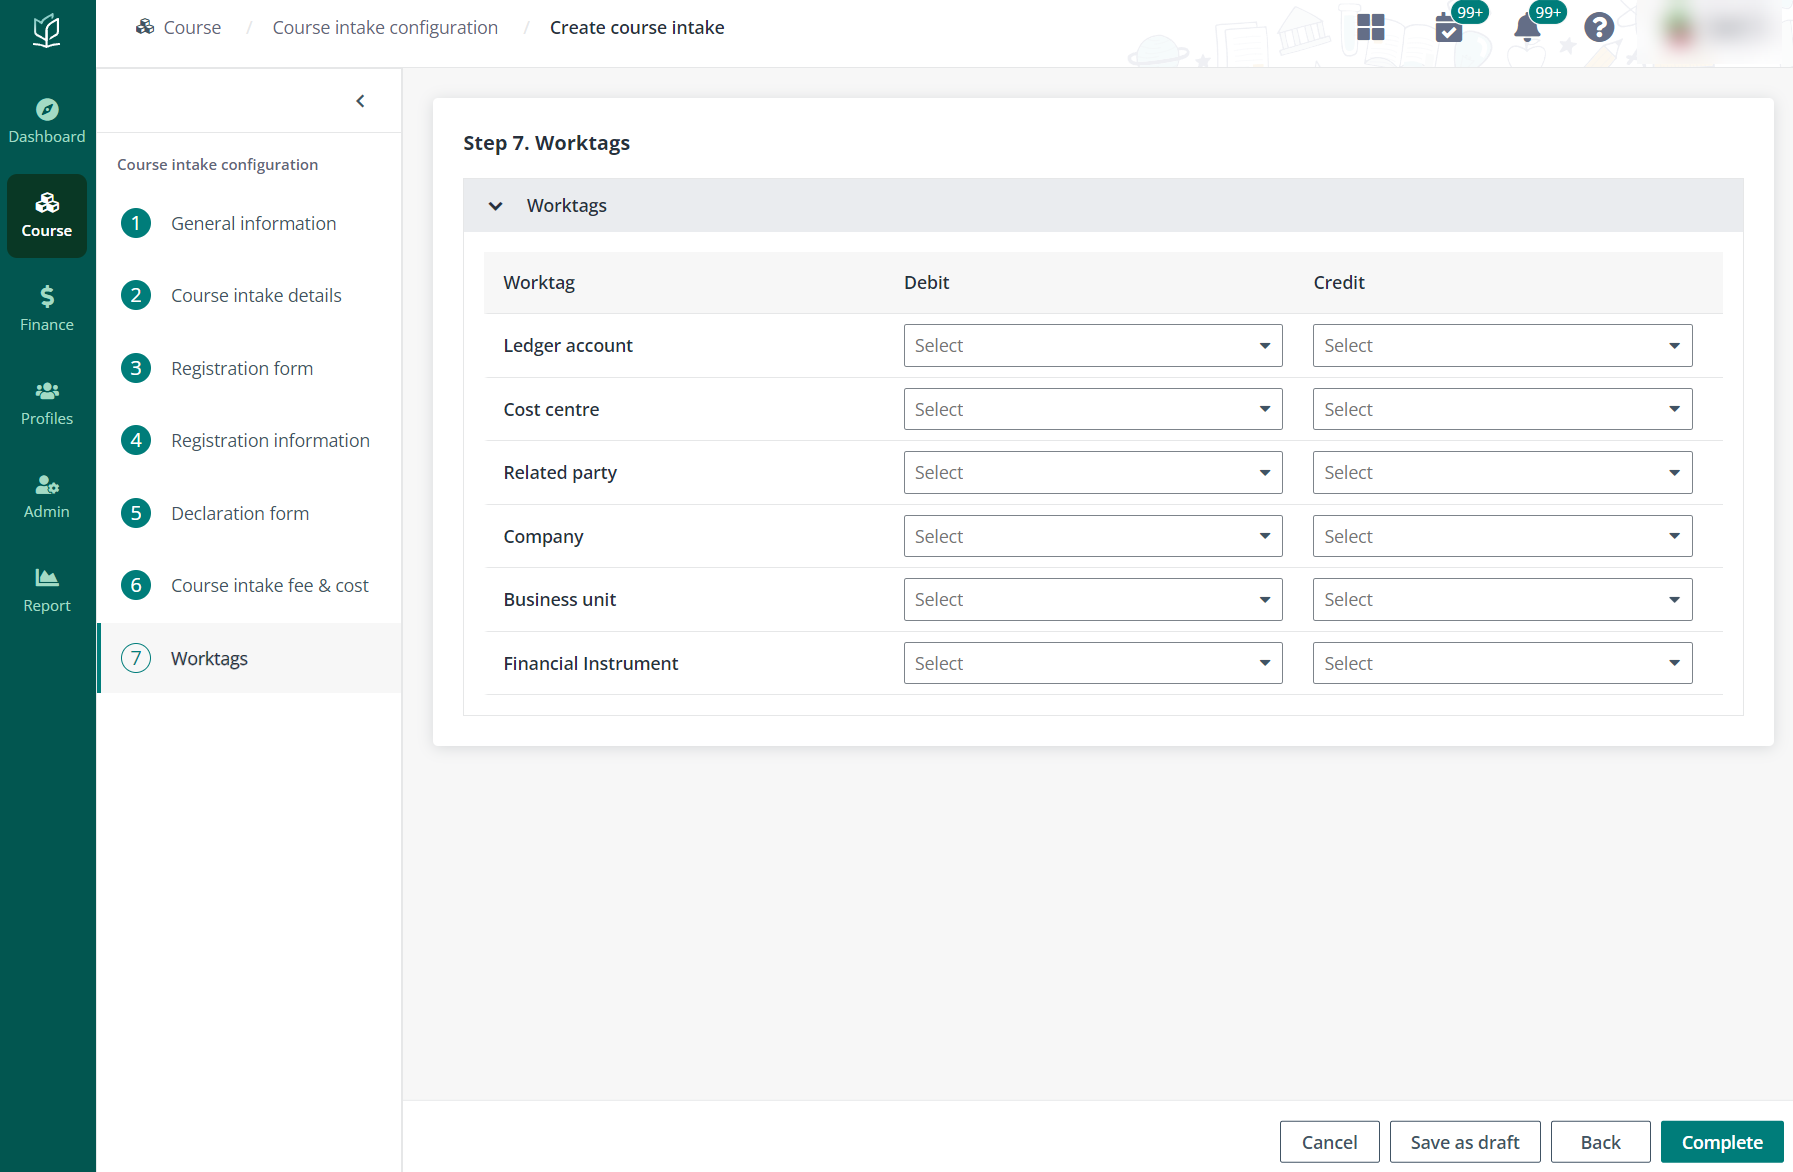
In the Worktags section, complete the worktag
configuration for the course intake. For more details on worktag setups, refer
to Manage worktags.
After finishing the configurations, click Complete.
The course intake can be published directly from the confirmation window or
later.
*Note: The intake will only be available after it has
been published.


