Examena provides a Power BI report template to help administrators visualise data in Power BI desktop. Exam administrator can view Power BI reports.
*Note: Power BI report is separate from other functionalities. You need to obtain a subscription that includes this functionality if you want to view Power BI report. Please contact your MaivenPoint representative if you want additional information regarding support for this functionality.
Before generating a Power BI report, make sure the report database connection for Examena has been configured in MaivenPoint Online Services.
*Note: The tenant owner or service admin of MaivenPoint Online Services has the permission to create a database connection. If you have no permissions for this operation, you can contact their tenant owner or service admin to perform it.
2. On the Examena card, he clicks Connect database.
3. In Authentication, there is a default username. Click Reset password to set a password. This set of credentials is used to create a read-only account in our SQL server to authenticate access to the report data.
4. In Firewall rules, add an IP address or IP segment for which you want to allow to access the report data.
*Note: Make sure the users who need to view Power BI report have their IP addresses added here. Otherwise, the report data cannot be retrieved.
5. Click Save. The connection details are displayed below. The connection details when retrieving data from the report database later.
Now let’s see how to generate a Power BI report in Examena.
1. In Examena, click Reports on the left navigation pane, and then click Download Power BI report Template on the Power BI report card. A power BI report template will be downloaded to the default download location of his current browser.
2. Find the downloaded power BI report template and open it with Power BI Desktop.
3. The SQL Server database window automatically pops up.
Alternatively, you can click Get data > SQL Server under the Data group to open the SQL Server database window.

a. Enter the server and database information.
*Note: The Server and Database information can be found in MaivenPoint Online Services > Settings> Report database > View connection under Examena. If you do not have sufficient permissions to view the information, contact the service admin or tenant owner to provide the information.
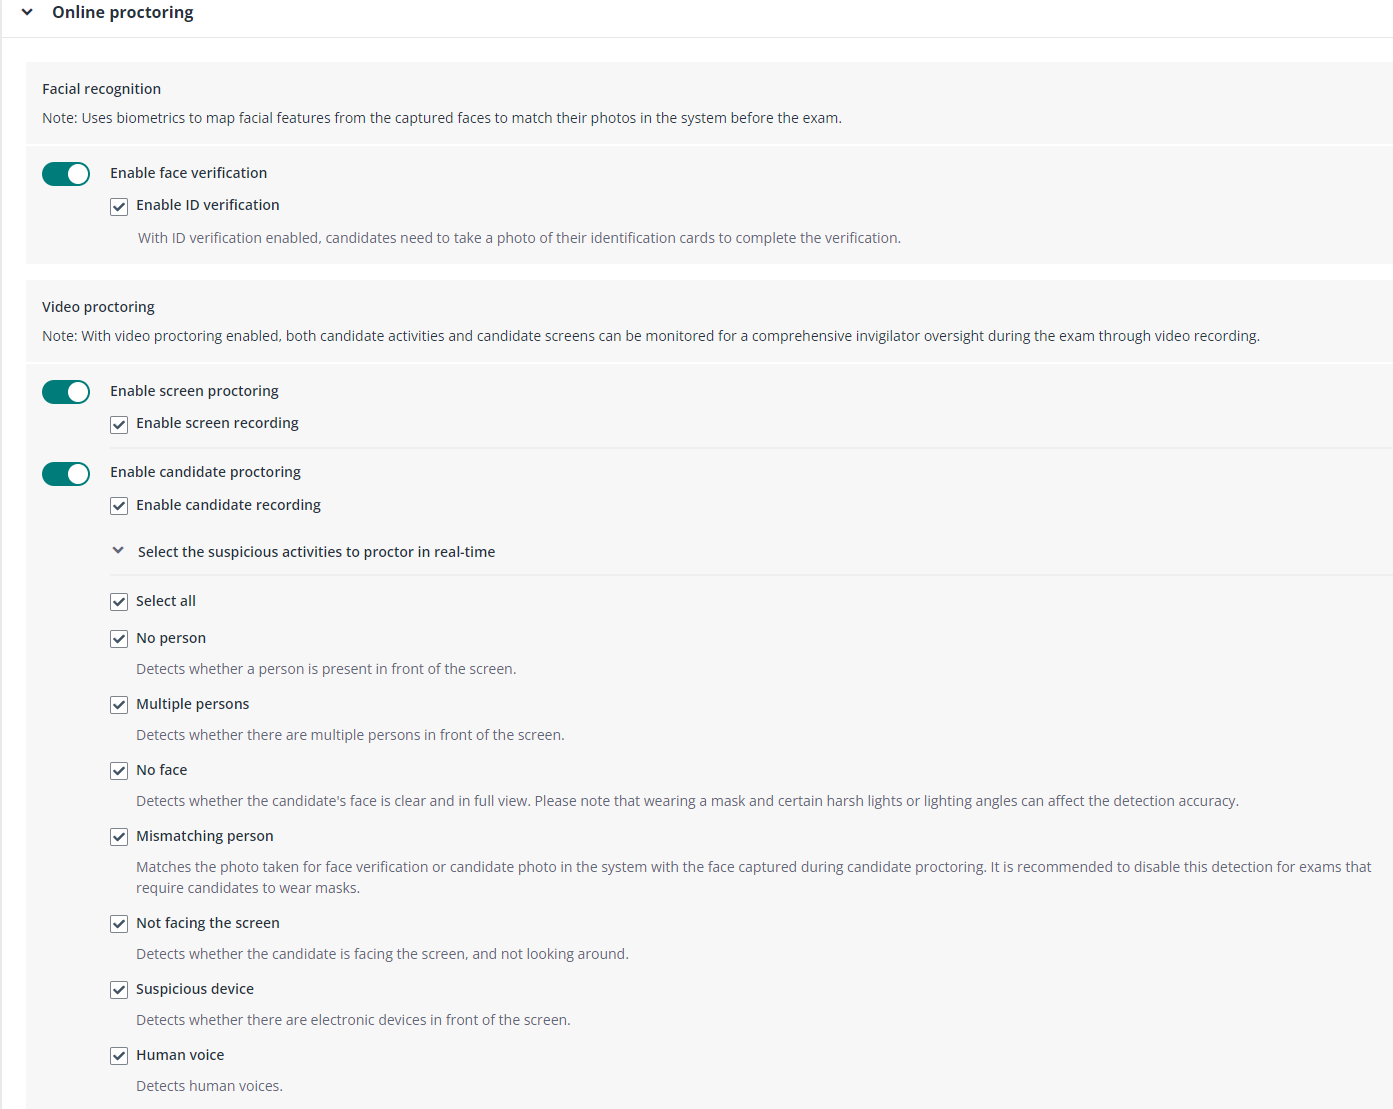
b. Select Import as the data connectivity mode in the SQL Server database window.
4. Complete the SQL server information and click OK.
5. Switch to the Database tab. Complete user credentials and click Connect to connect to the report database.
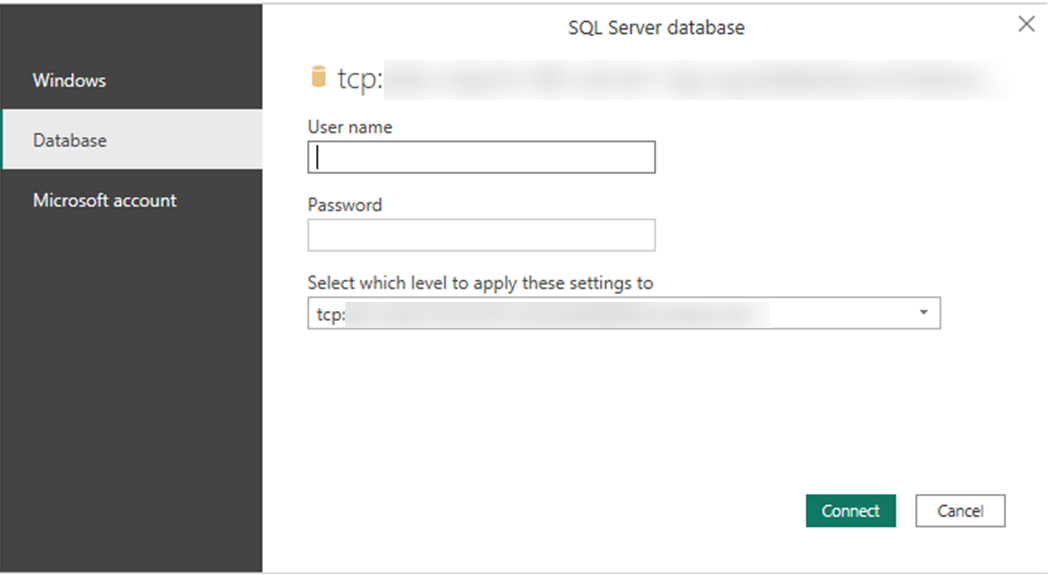
*Note: The user credentials can be found in MaivenPoint Online Services > Settings> Report database > View connection under Examena. If you do not have sufficient permissions to view the information, contact the service admin or tenant owner to provide the information.
6. Select all database tables, and then click Load to load report data.
7. When the loading completes, you can view the generated Power BI report. This might take a few minutes based on the data size.
8. To create a custom report page based on the additional tables and fields from the report database, click the New page button at the bottom.
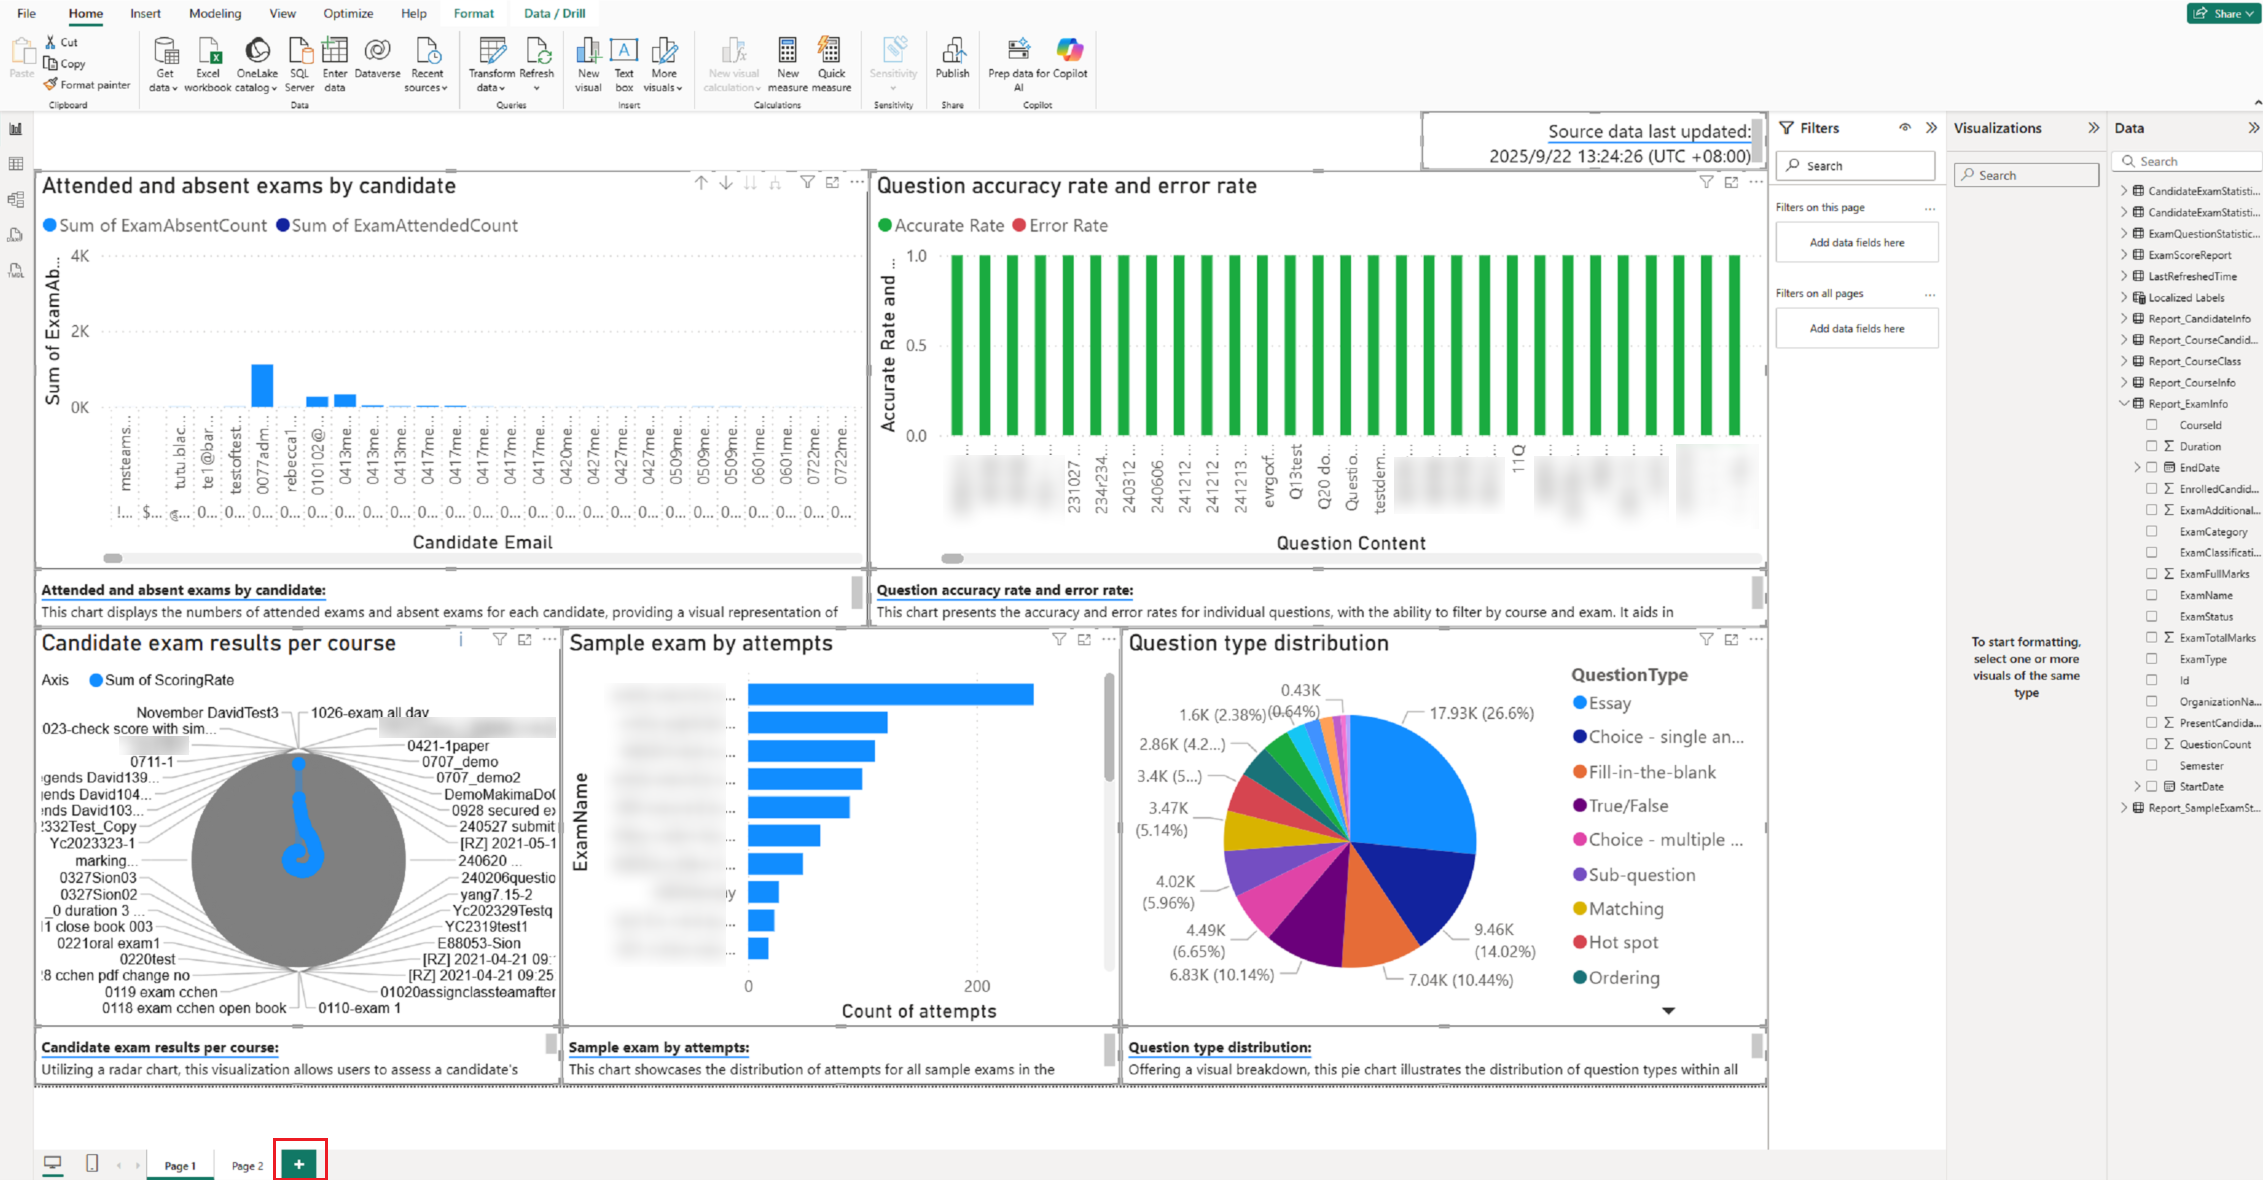
9. Select a type in the Visualizations section, and select the fields that you want to view in the report section from the Data section.
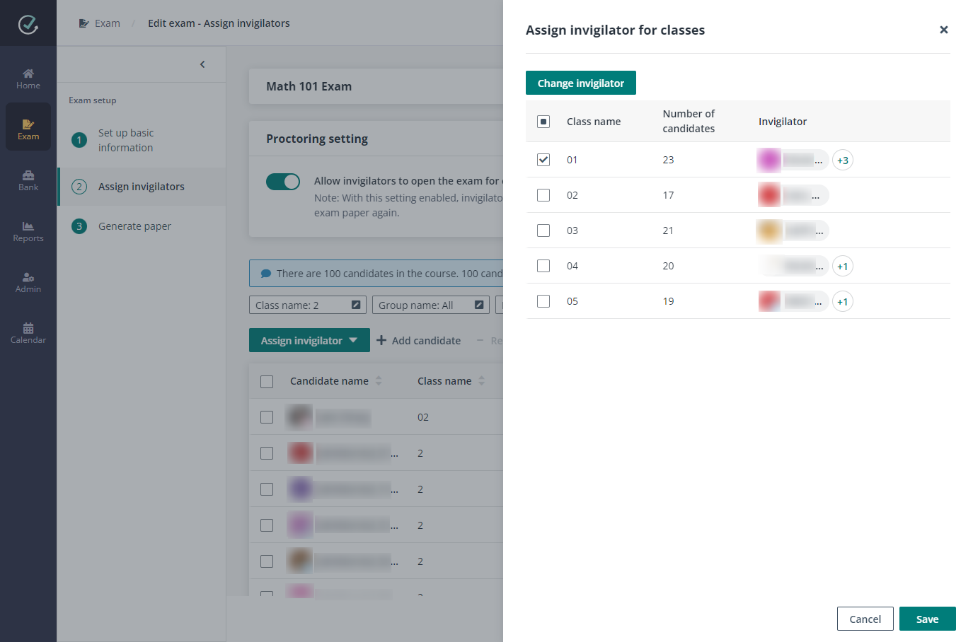
10. In the Filters section, you can apply filters on the visual. For example, use course name and class name to narrow down the displayed data in the report.
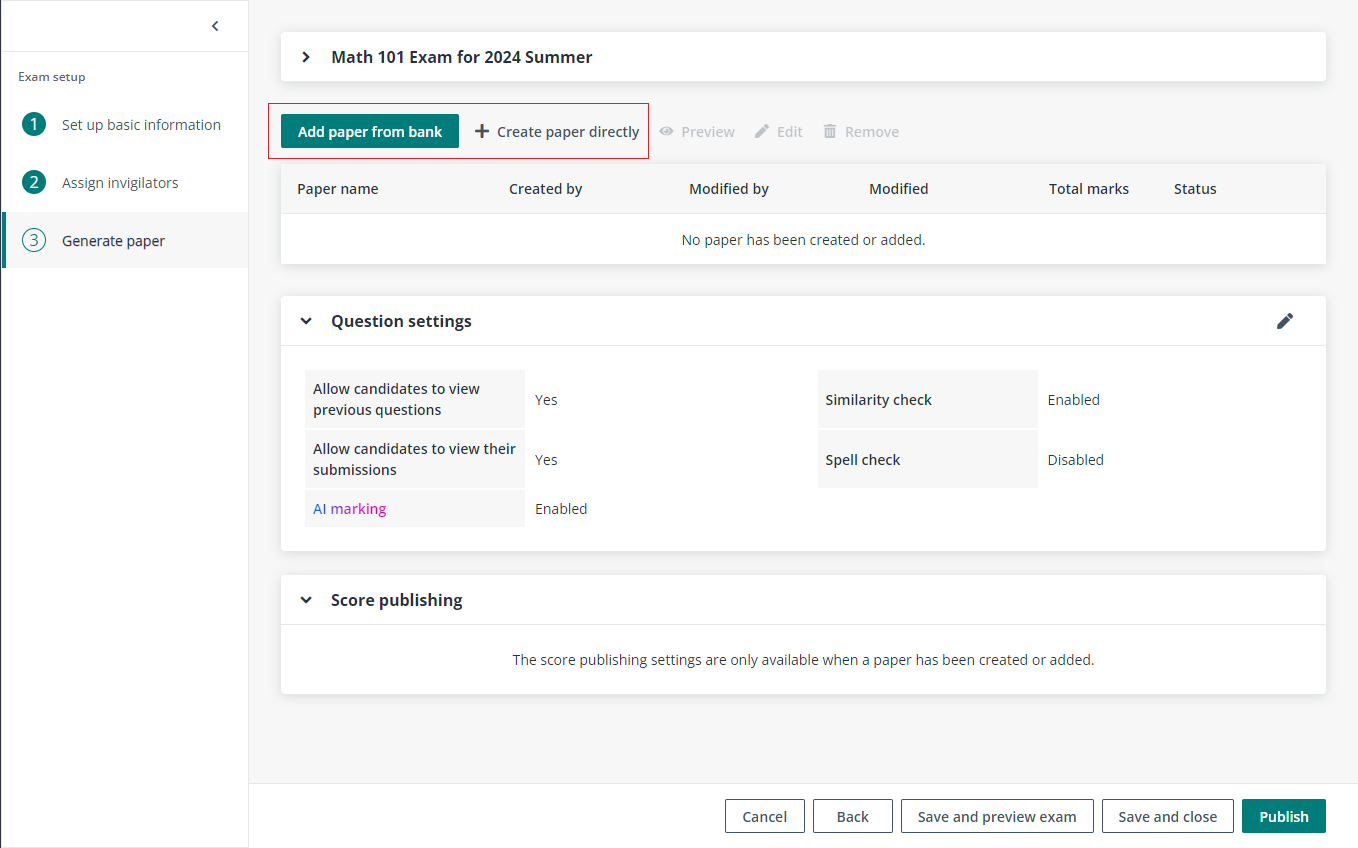
11. Repeat the step above to customise your desired report page.
12. You can export the report into a CSV file by clicking the More options button and selecting Export data.
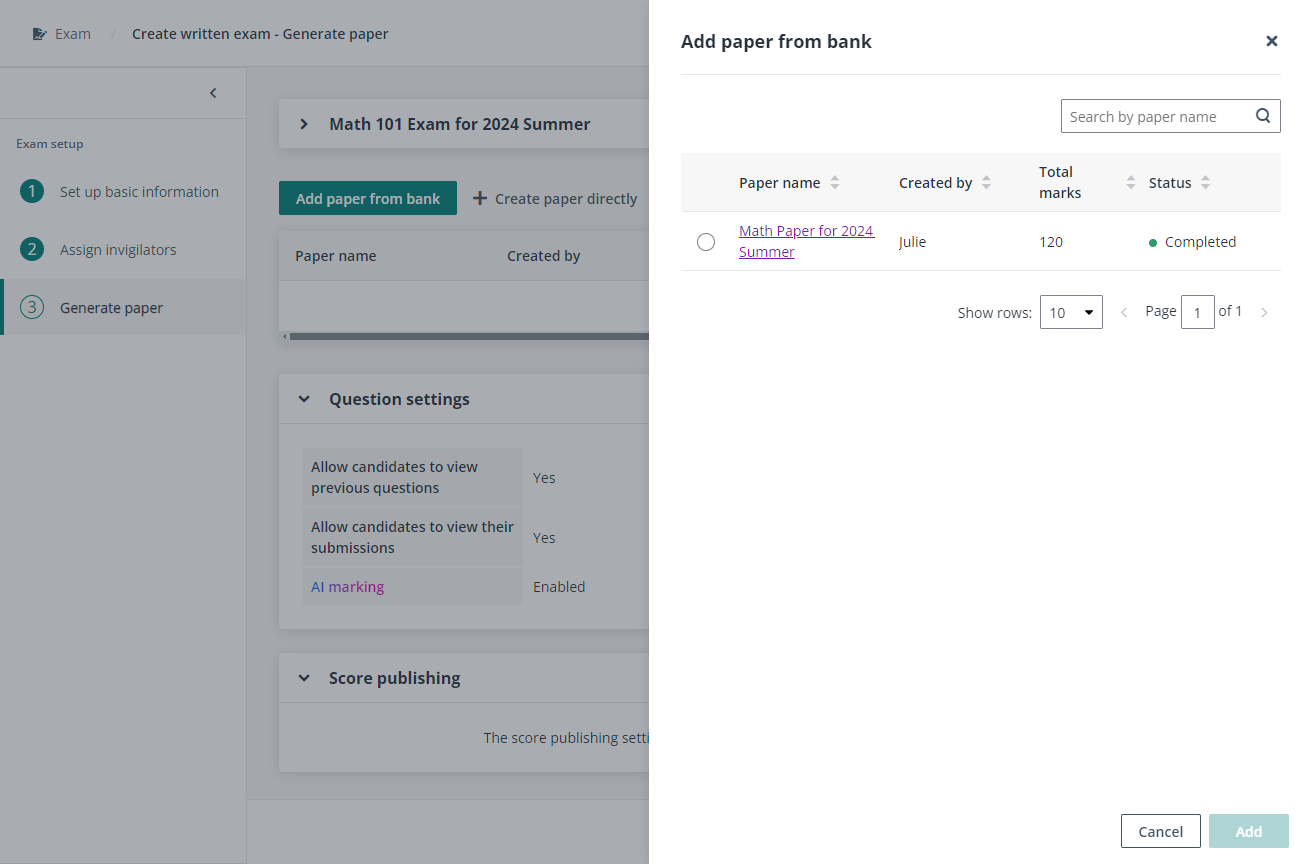
Alternatively, you can click File > Save as to save the report into a Power BI report file.
Data in the report database is not collected in real time. There is a data sync job to sync data from the system to the report database, which occurs daily on the hour. After you click Refresh on the ribbon, the Power BI report will show the data collected by the last data sync job. The last updated time of the report data can be viewed in the report card on the Reports page and in the upper-right corner of the Power BI report.
Alternatively, you can configure a refresh schedule by completing the following steps:
1. Click Publish on the ribbon.
2. In the Publish to Power BI window, select My workspace as the destination, and click Select.
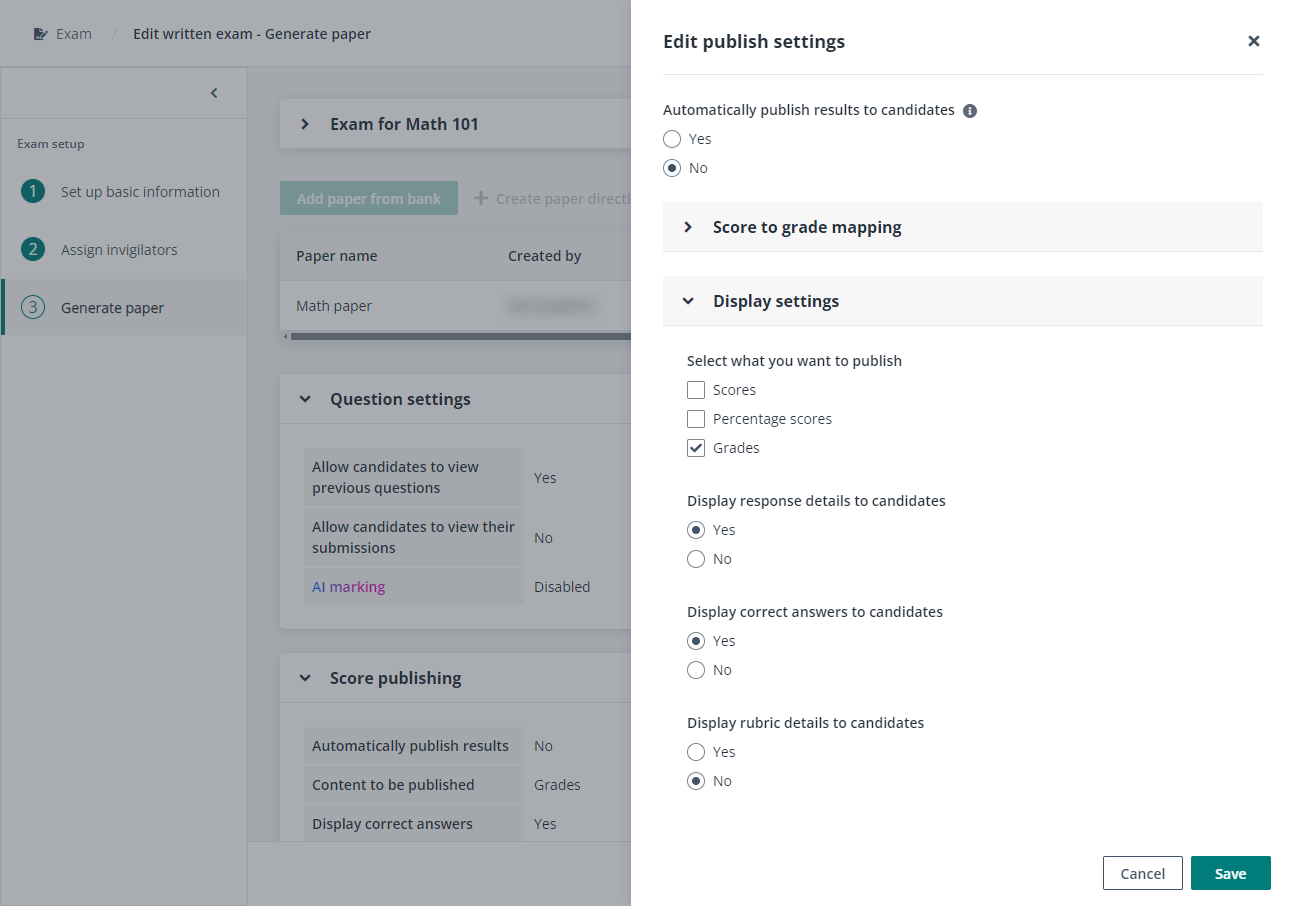
3. When the publishing is completed, click the link to open the report in Power BI.
4. Click My workspace on the left navigation, find and click the report of which type is Semantic model.
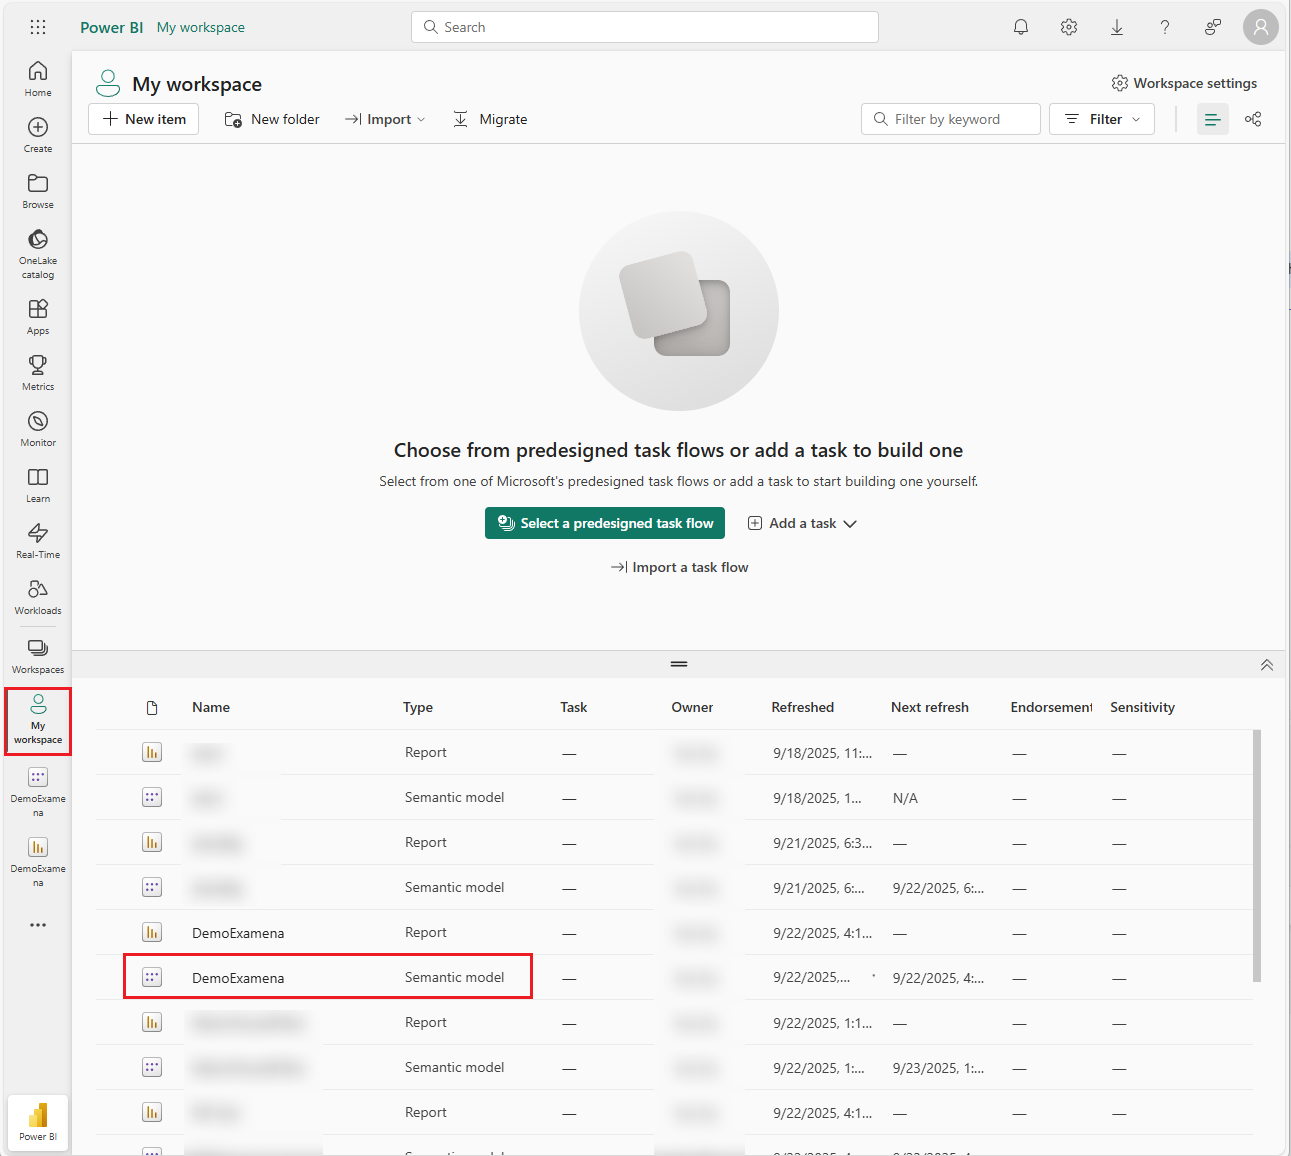
5. Click Refresh on the ribbon and select Schedule refresh from the drop-down list.
6. Expand the Refresh section on the right pane, and complete the settings to configure a refresh schedule.
