Already the fourth week into the spring semester, are you getting used to campus life now? Believe it or not, you are going to have your first mid-semester exam next week. This exam is for an optional course: History and it’s going to be open-book. The professor would like to know how they are doing and get the results back to them before the mid-term research project.
Let’s see how you will take this open-book exam via Examena.
*Note: An open-book exam through Examena web portal does not apply with the screen lock-down. If you want reference for taking a closed-book exam, refer to How to take online exam via Examena app?.
You can take your exam by following the steps:
1. Sign into MaivenPoint Online Services, go to Examena, and find the exam to take.
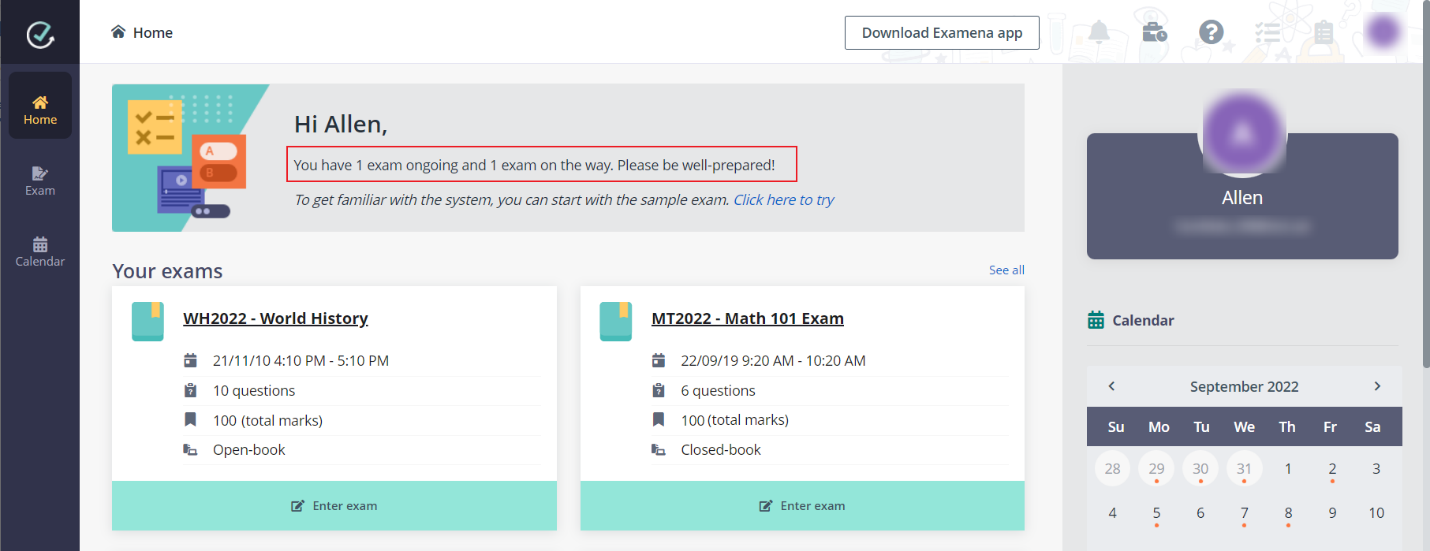
2. On the Home page of Examena, you will see the number of the ongoing and upcoming exams that have been arranged for you on the top banner.

3. You can find the exam to take in the Your exams section and then enter the exam.
4. A countdown timer is displayed on the top for exam start time or exam open time.
5. You can check the exam information, read the instructions carefully and provide acknowledgement, and perform ID, face, and/or environment verification (if any) before the exam starts.
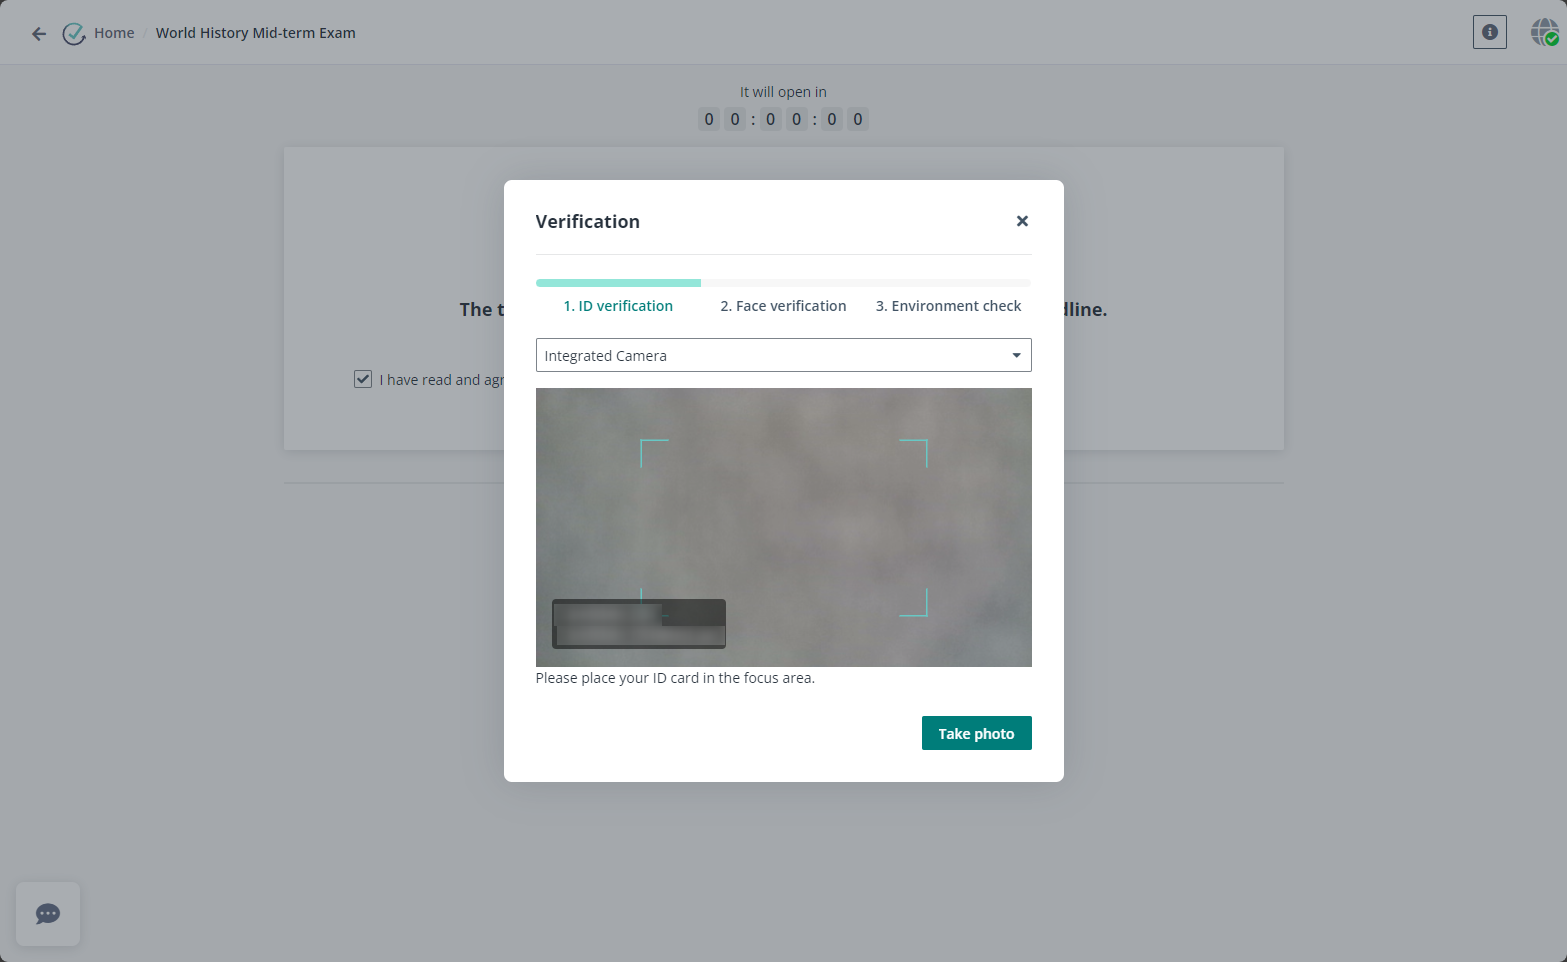
6. After the ID, face, and/or environment verification passed, you need to stay on the page and wait for the exam to start or open.
7. When the exam time reaches, click Start now to take the exam. If the exam has reading time set, Start now is clickable when the reading time or open time reaches.
8. You must complete all of the questions before the countdown is over. To hide the countdown timer during the exam, you can hover your mouse over the timer and click the hide button. To check the remaining time again, you can hover the mouse over and click the show button.
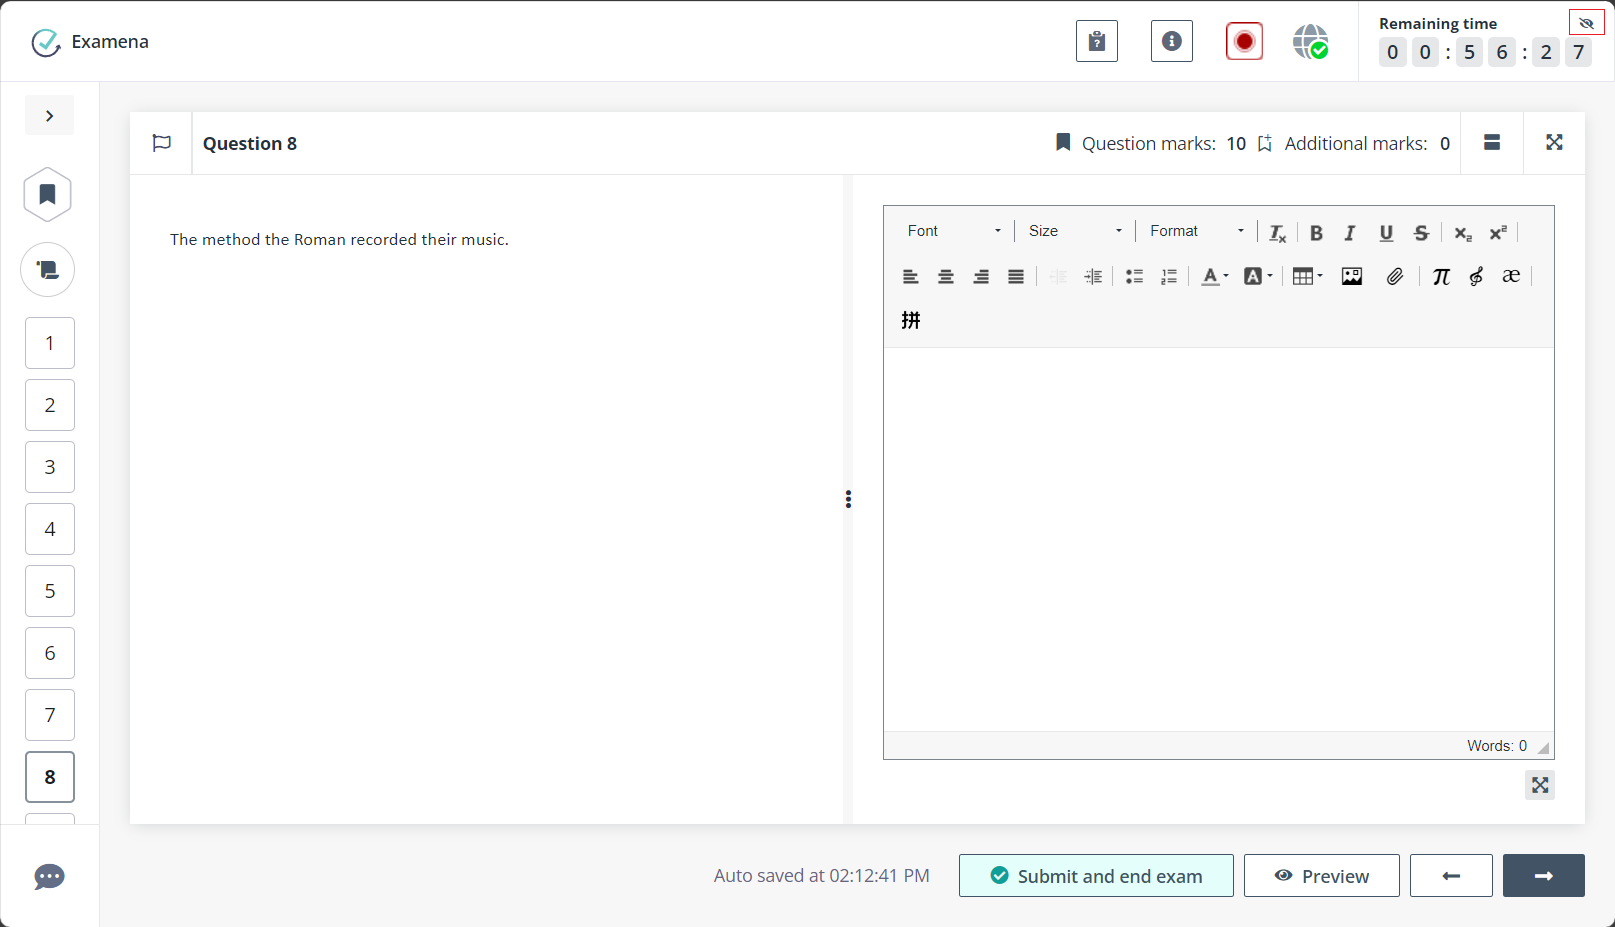
9. You can switch among questions by clicking question indexes on the left. You can collapse the left panel to have a better view of the question content and have an expanded response area.
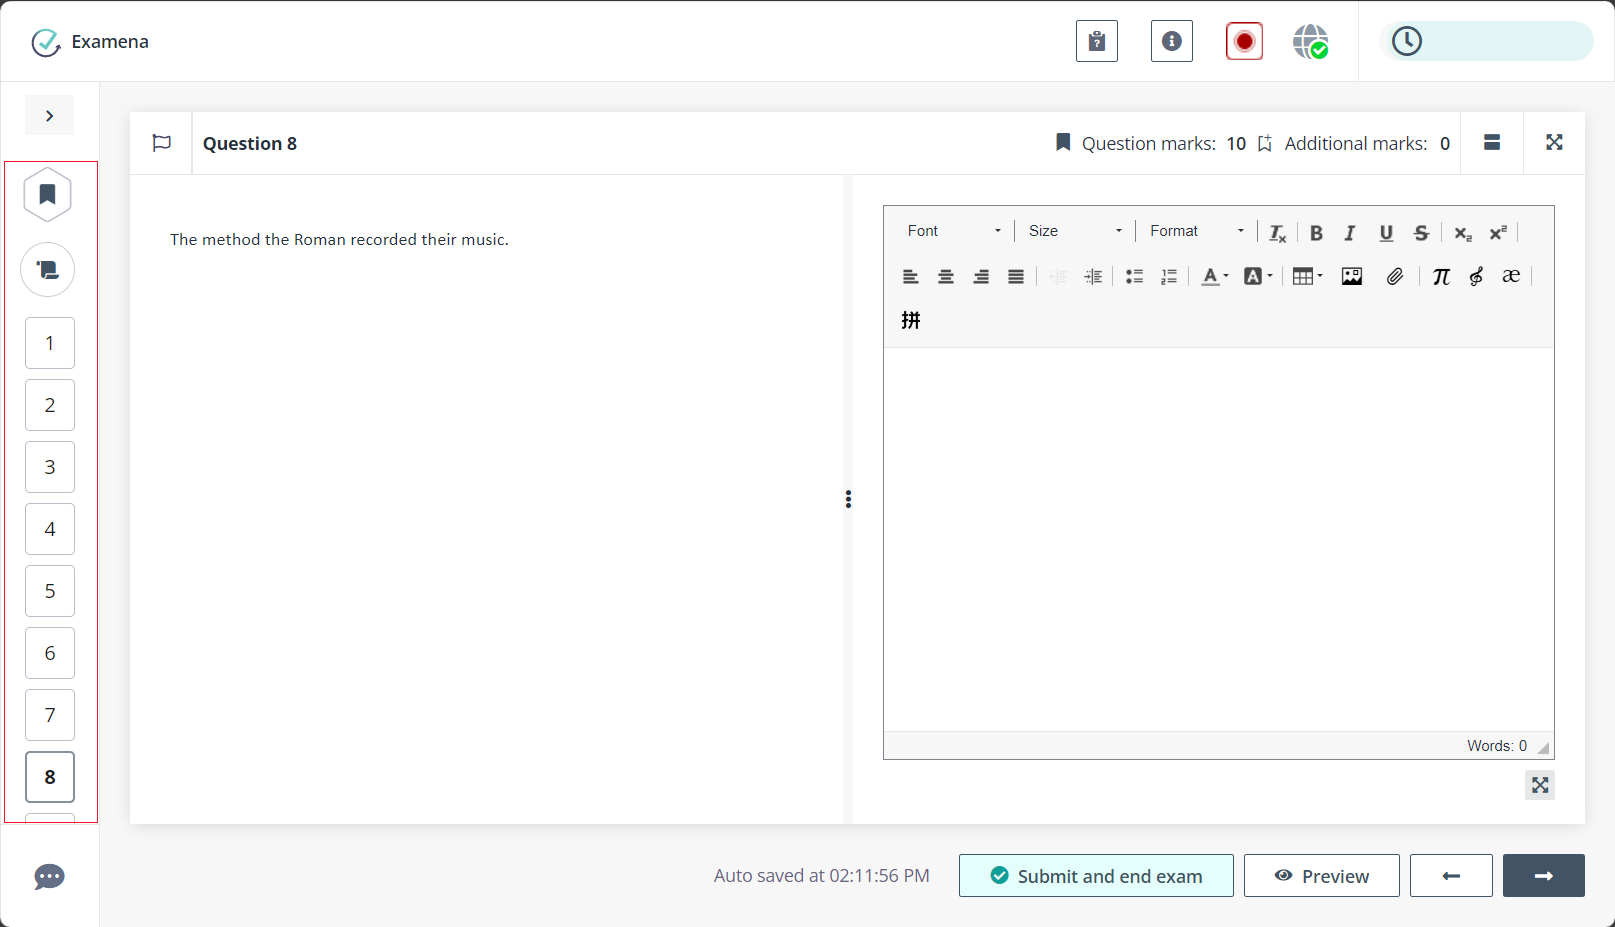
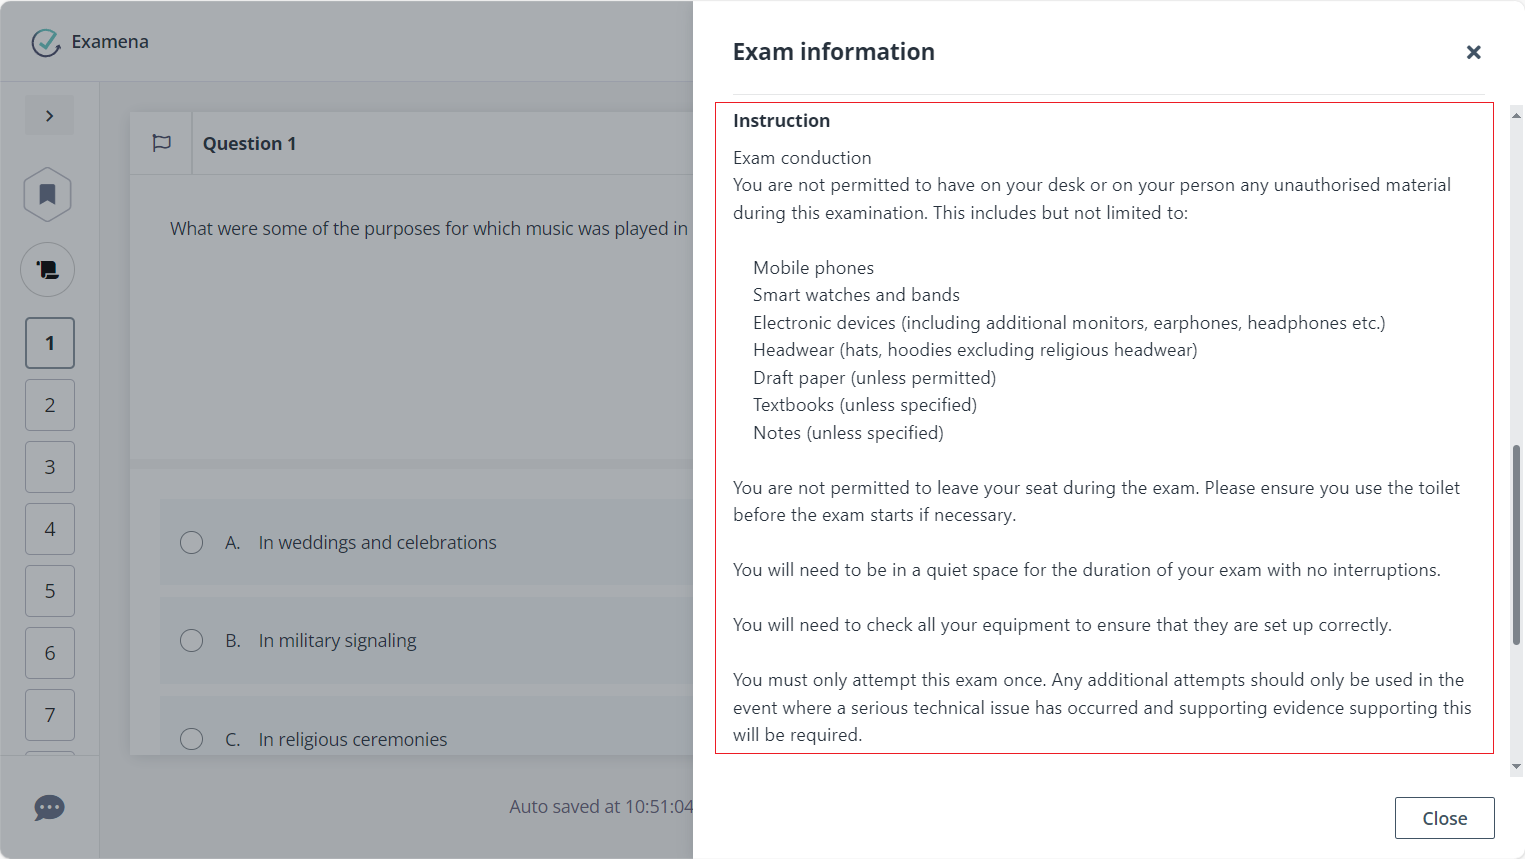
10. You can also find the exam instruction when checking the exam information to check the regulations and rules of the exam.
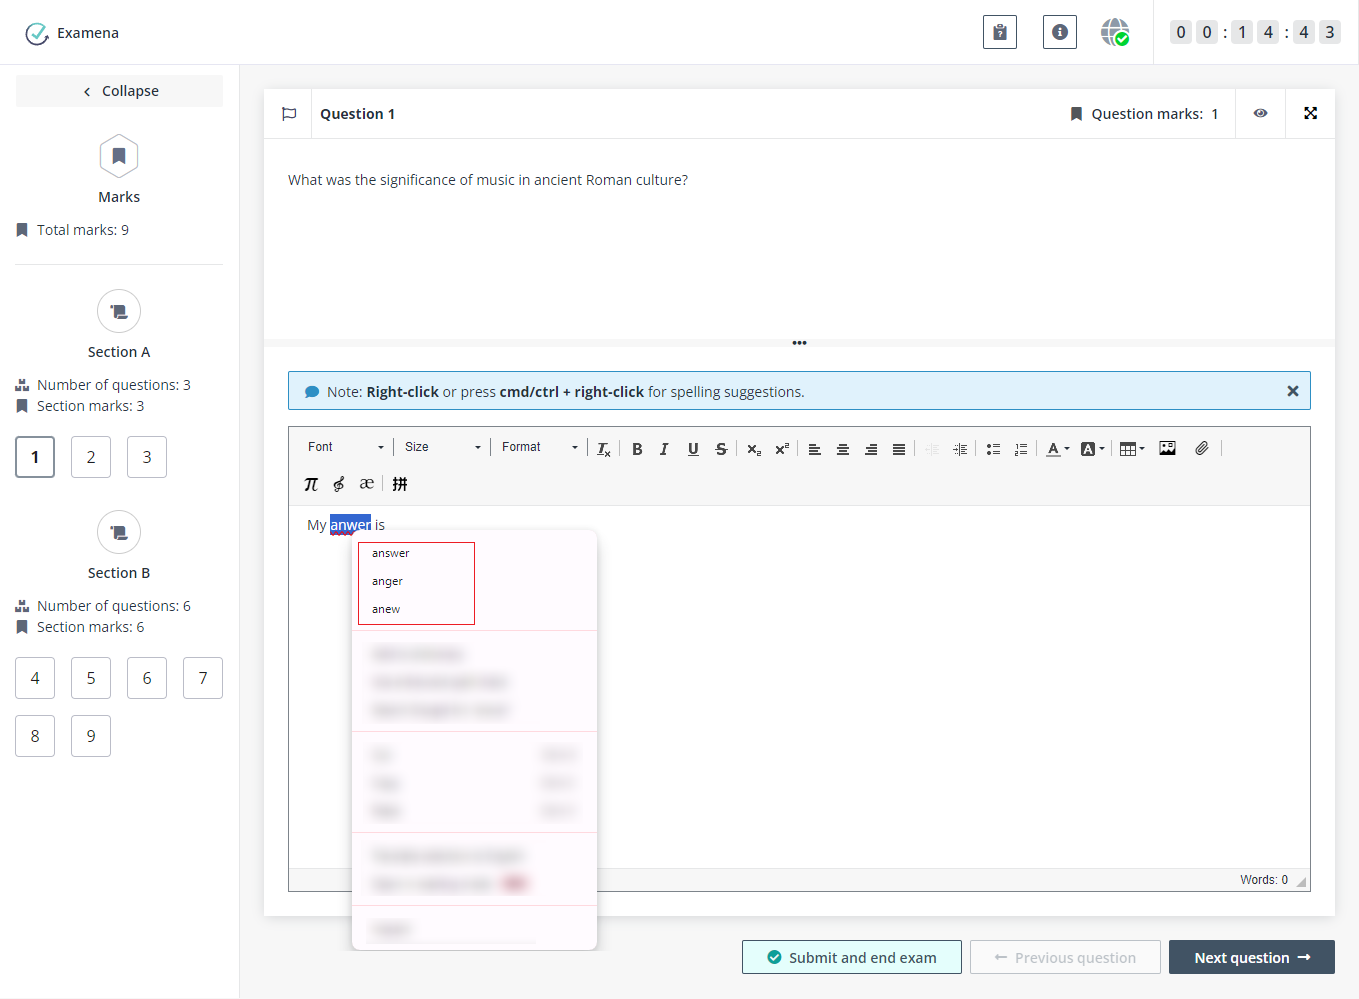
11. If spell check is enabled, the system will check spelling as you types. You can view spelling suggestions of any spelling mistake by right-clicking it in the plain text box, or pressing cmd/ctrl and right-clicking it in the enhanced rich text box as the screenshot shown below.
*Note: Make sure the spell check feature is enabled in the browser’s languages settings for the specific language you want to use for spelling check.
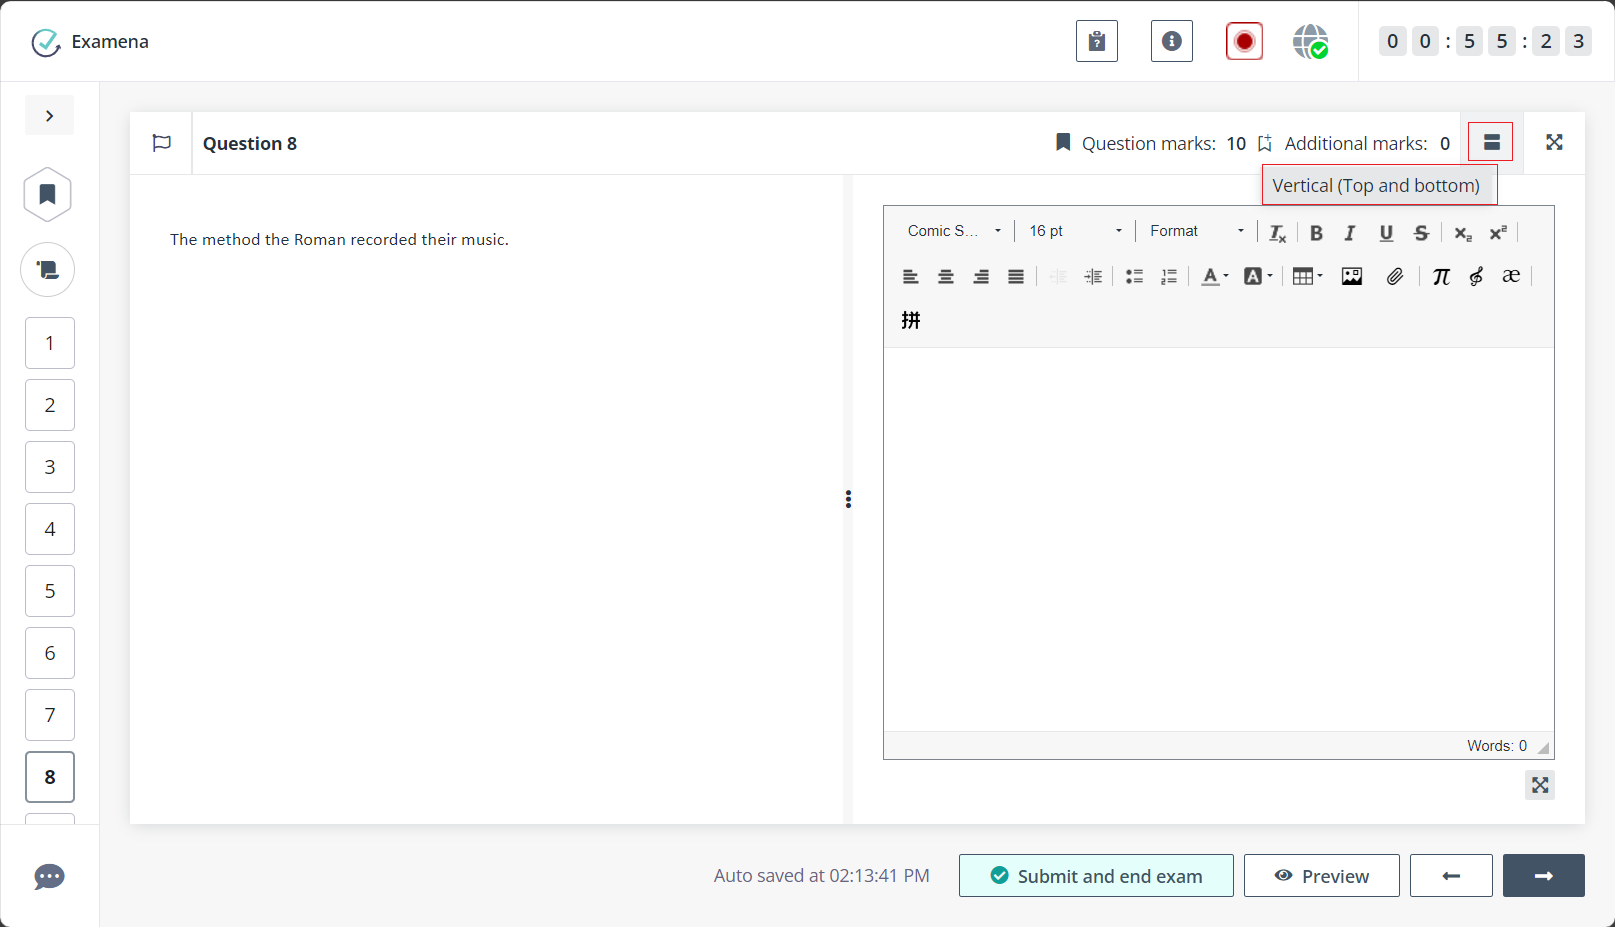
12. You can switch the layout of the question content and response area by clicking the view icon in the upper-right corner of the question between Vertical (Top and bottom) and Horizontal (Side by side) to match your preference.
13. For Essay questions, you can click the Maximise button in the lower-right corner of the response area to maximise the response area to focus on writing detailed answers, or click the Full screen button to enter the full screen mode to enhance your focus with one question displayed at a time. You can also take screenshots of open file content and directly insert them to the response area.
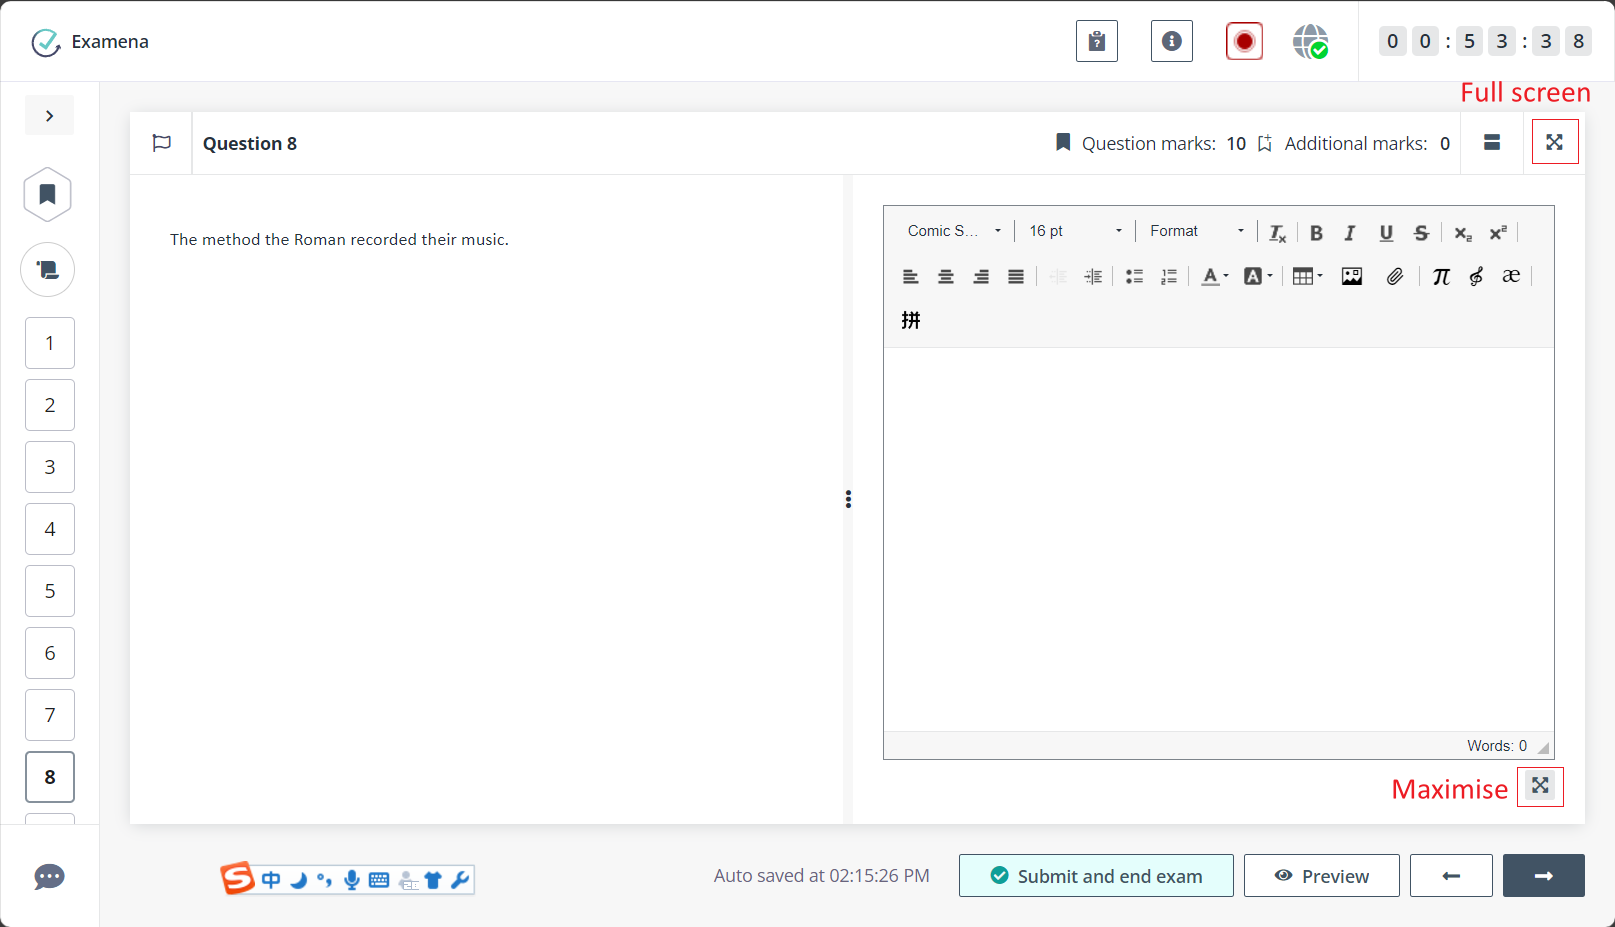
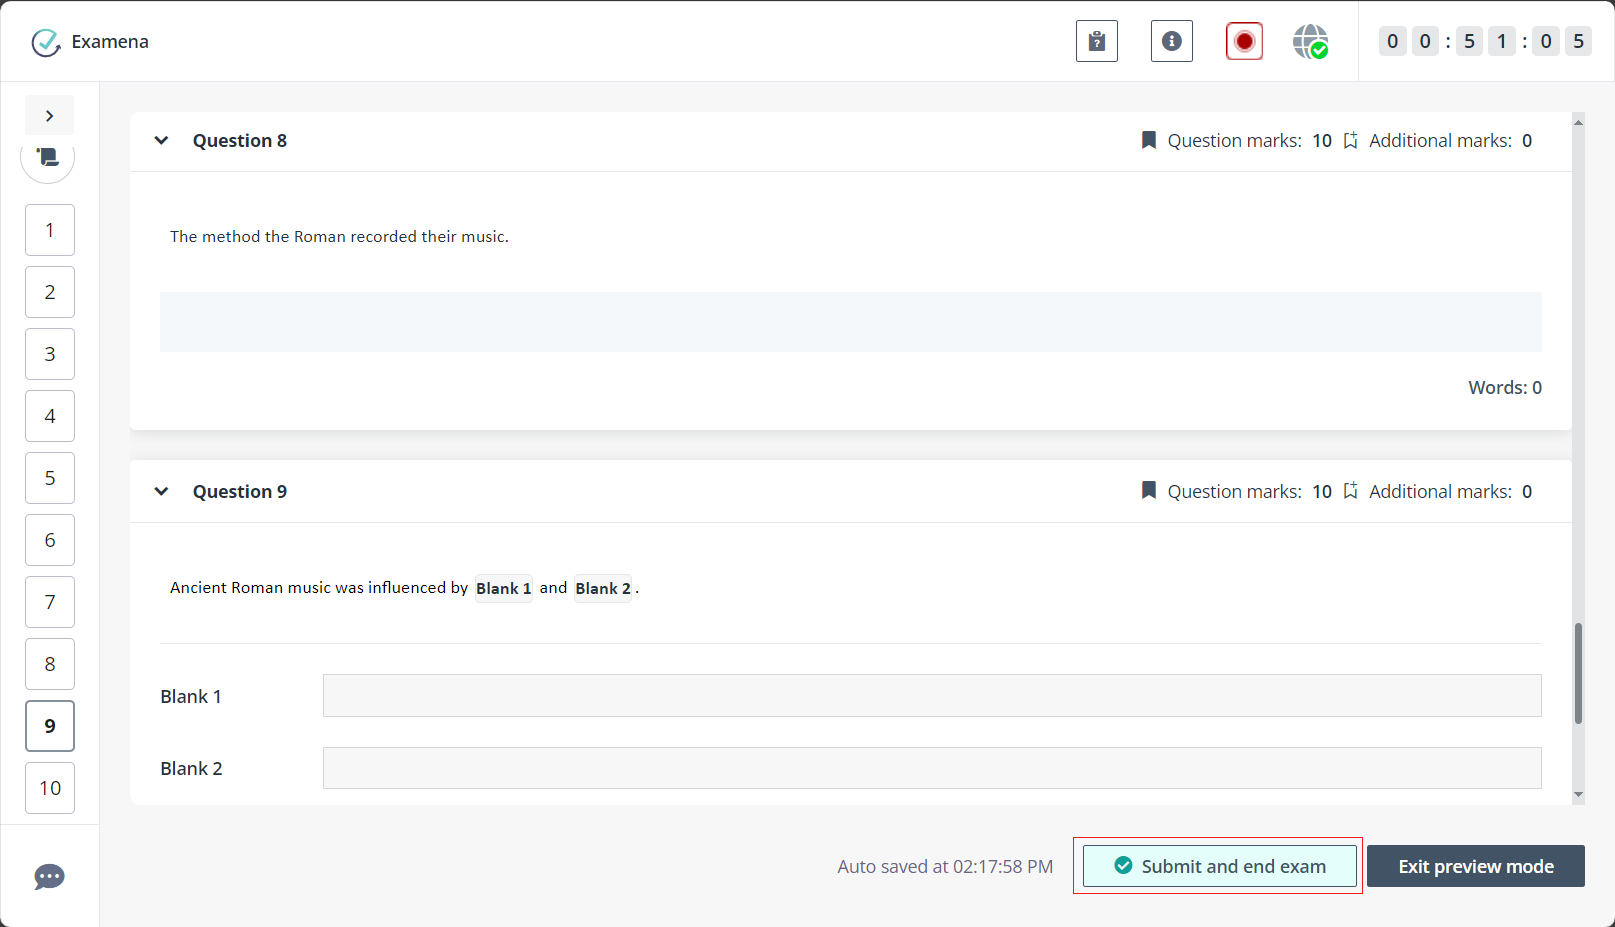
14. You can click Preview in the lower-right corner to have a preview of all questions on one page to understand the structure and identify questions that may need more time before answering to the questions, preview the files you uploaded for Essay and File upload questions, and have a final check before submitting your answers. Click Exit preview mode to go back and continue the exam.
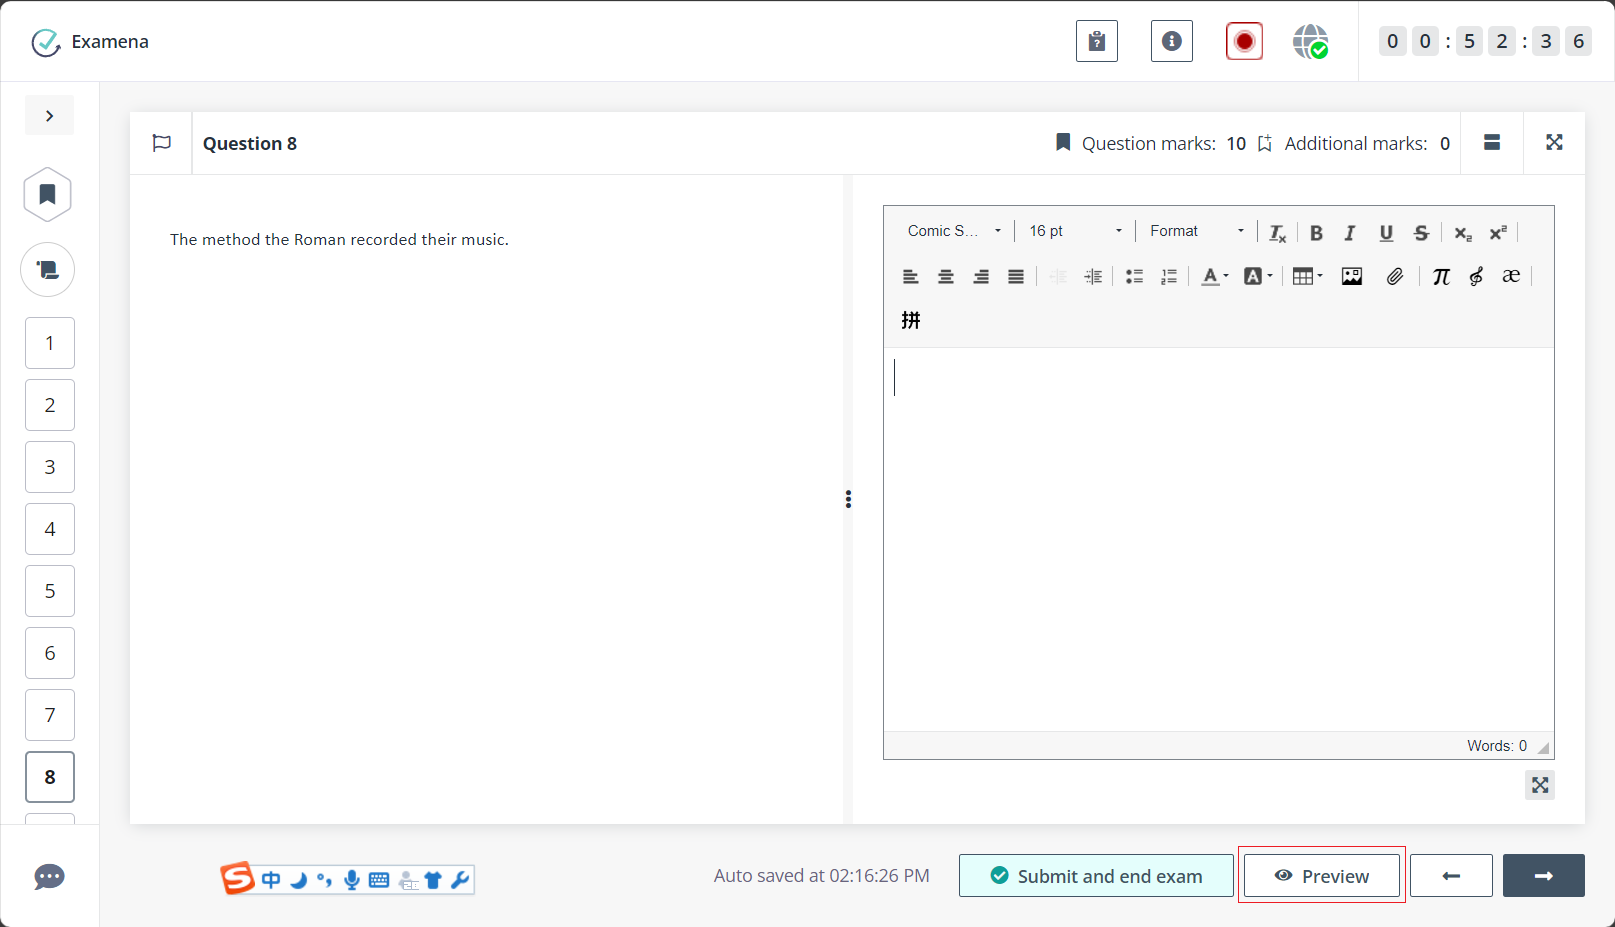
Click Preview to access the preview mode.
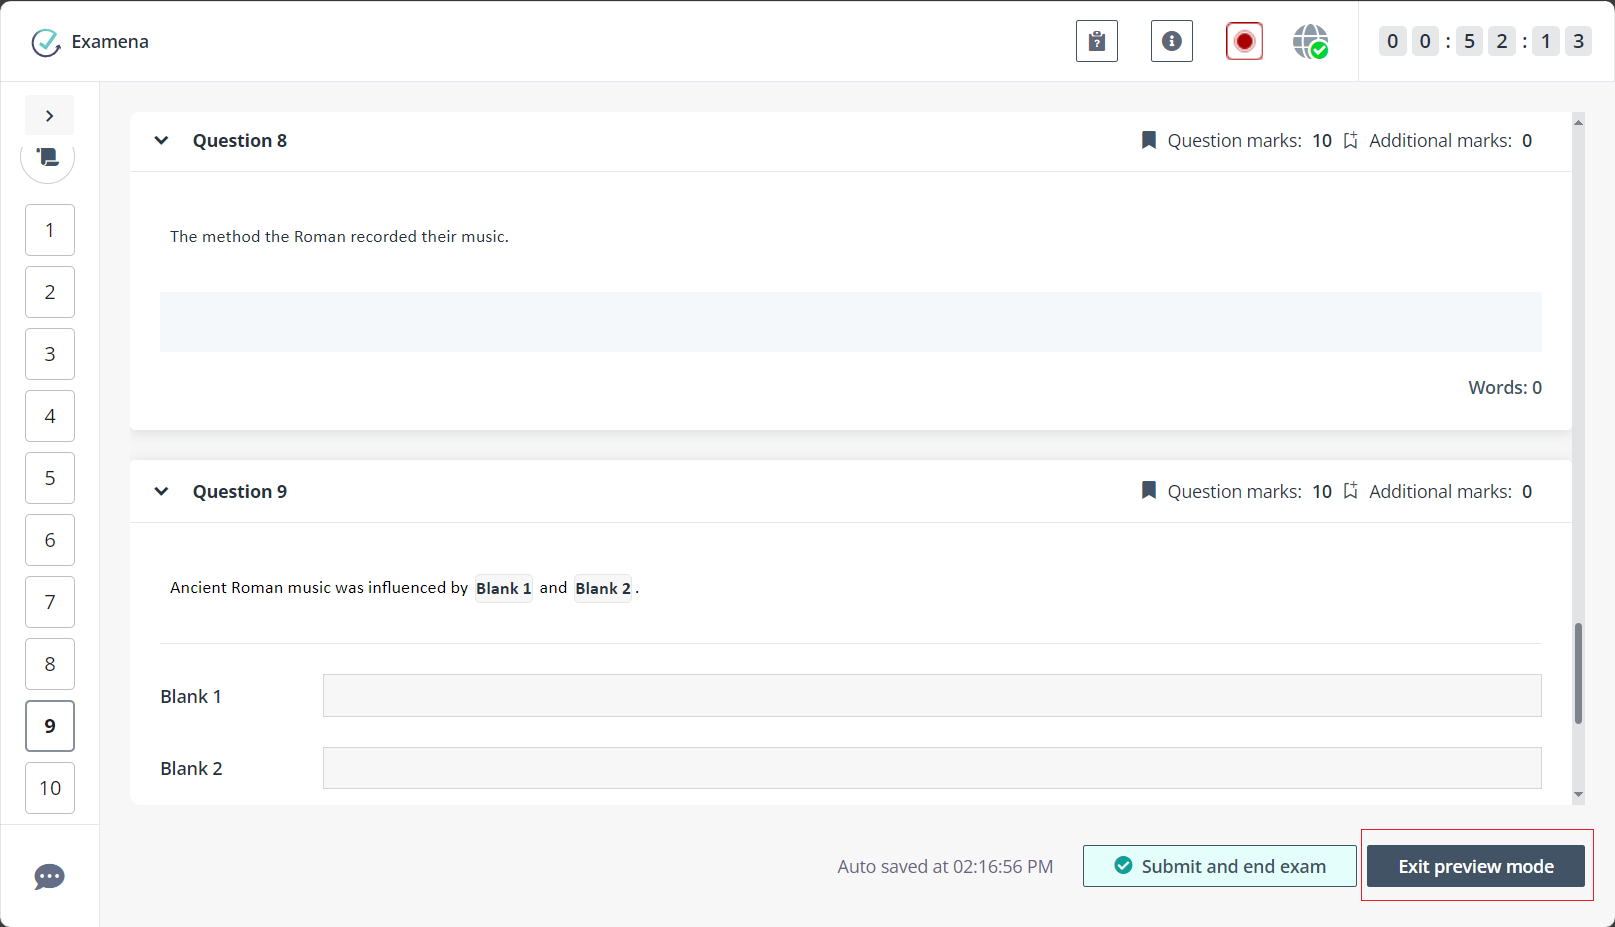
Click Exit preview mode to continue the exam.
15. If the exam has online proctoring enabled, you will receive a warning when the first suspicious behaviour is detected during the exam. You can show the real-time monitoring via the webcam, and adjust sitting position accordingly.
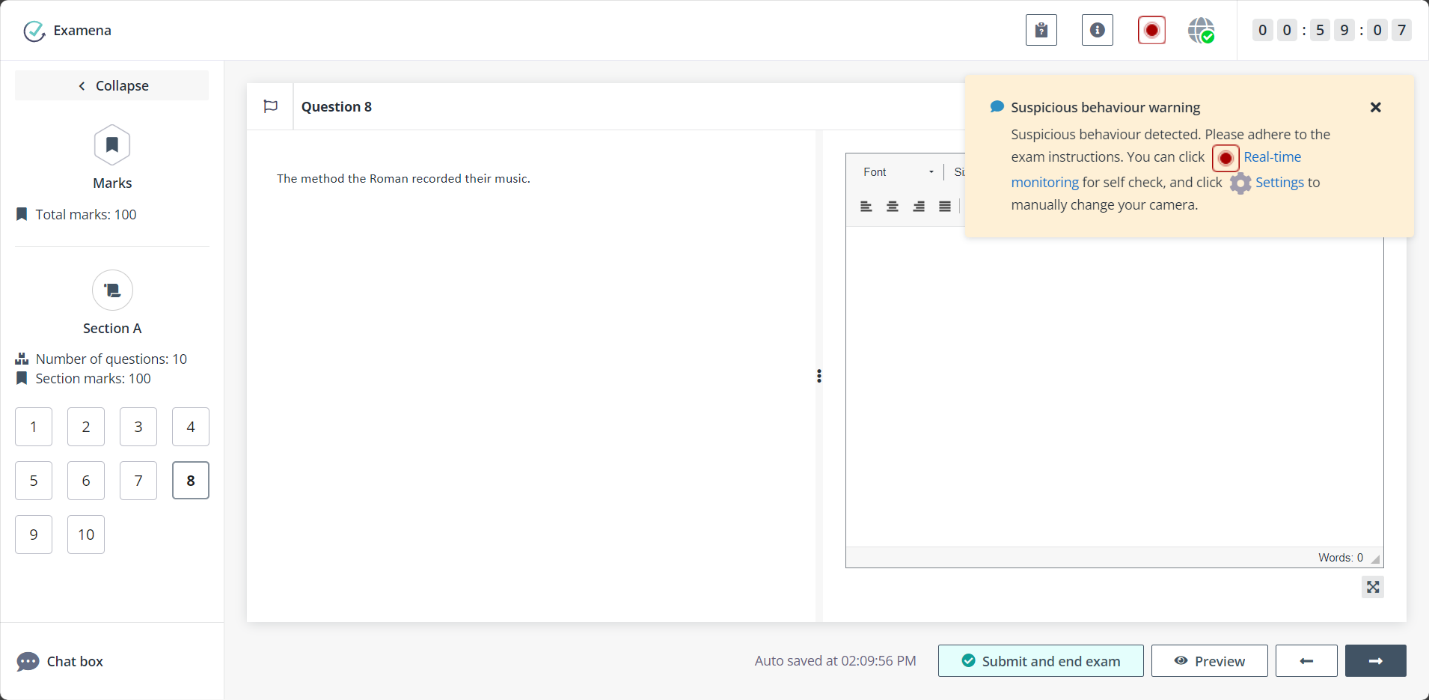
16. If you encounter any issues, you can chat with invigilators to provide details. You can call invigilators directly for explanation and troubleshooting.
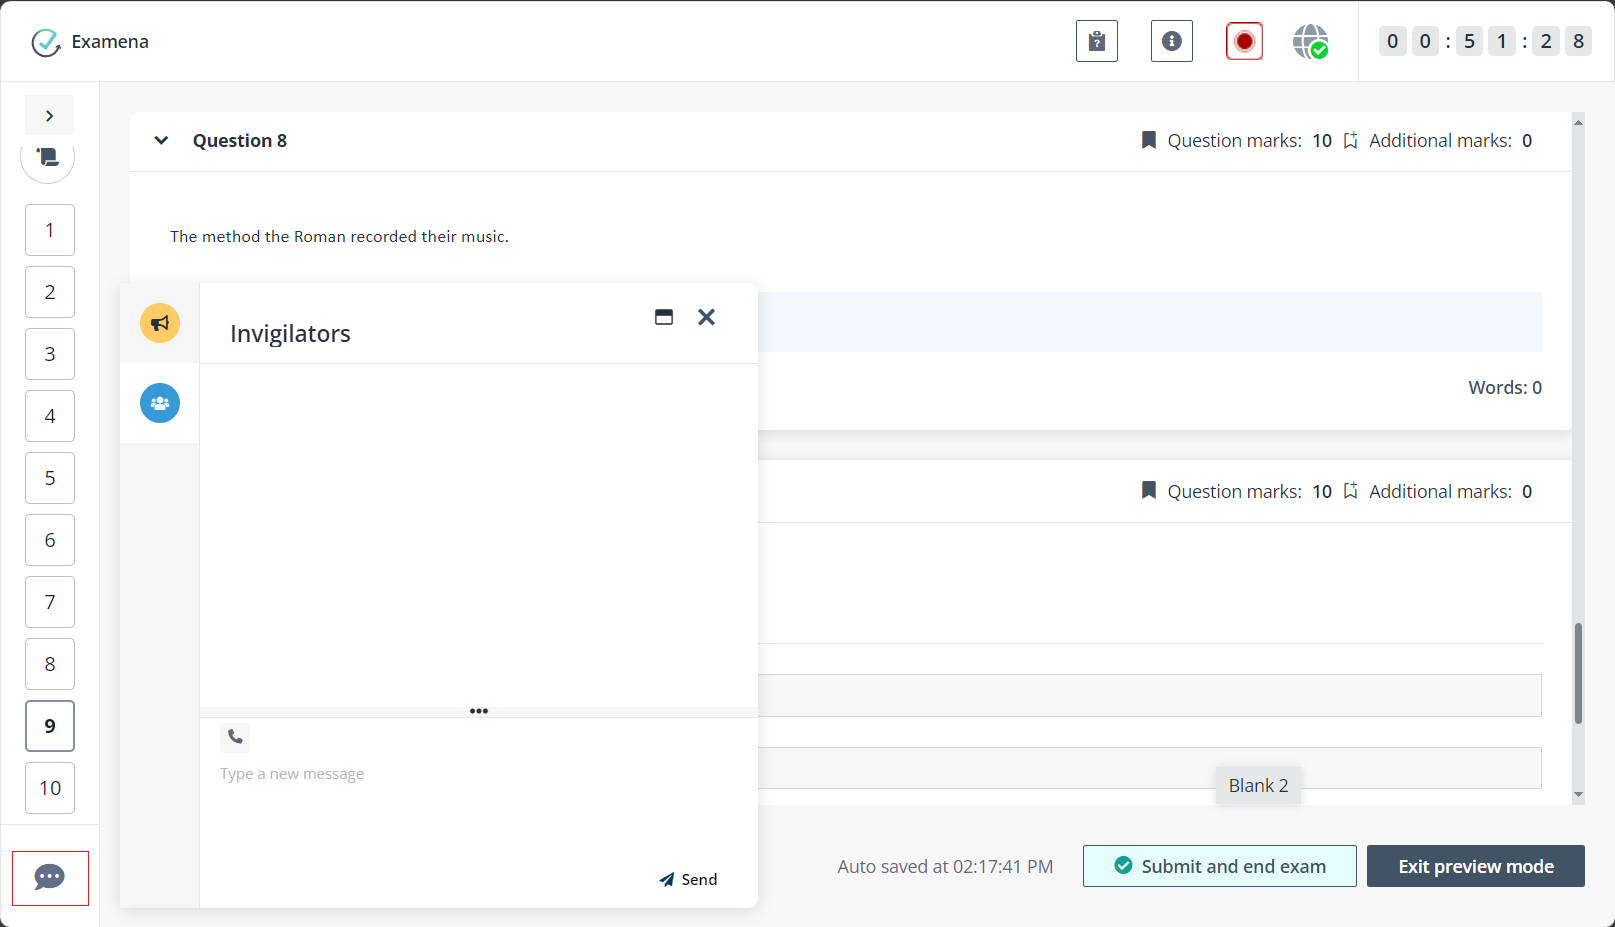
*Note: The chat box can be used only when it is configured for the exam.
17. After completing and reviewing all of the answers, click Submit and end exam to submit the paper and end your exam.
If you did not submit and end exam when the time is up, the exam will be automatically ended.
18. After the exam is ended, you can close the page directly or go back to the Home page to check for more exams in your calendar. You can access Examena later to check your scores after they are released.
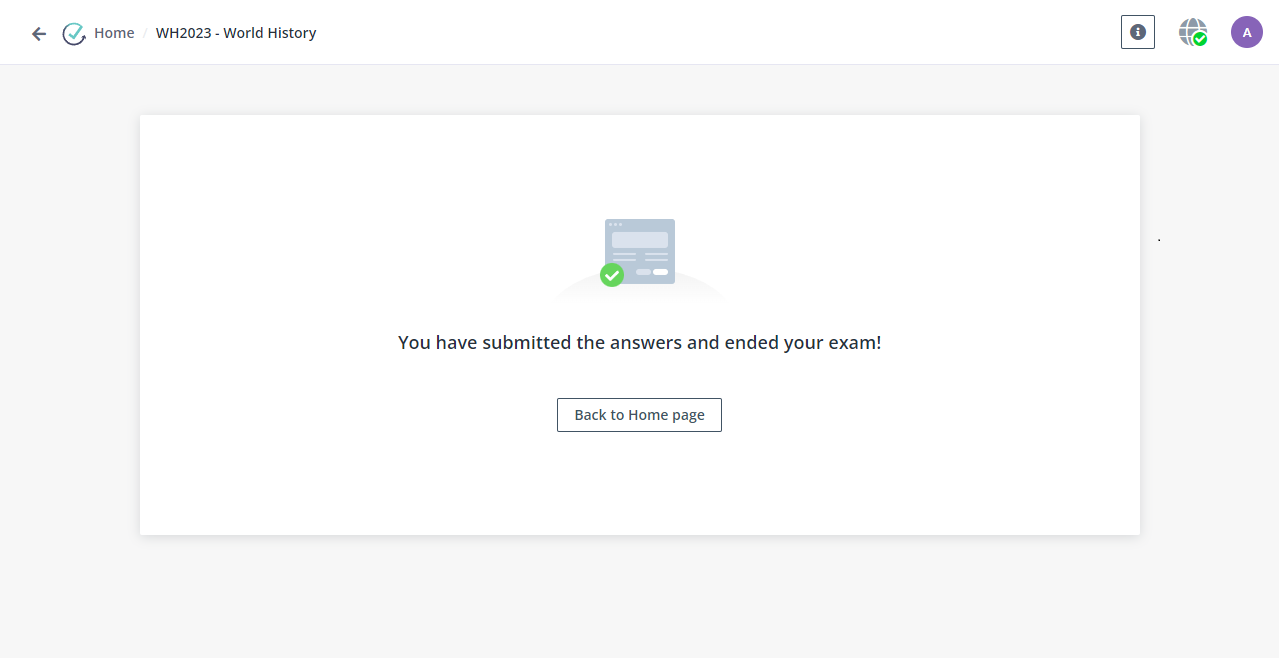
If the exam is configured to publish results automatically, you can view your score directly when the paper has been submitted. You can also select to Start new attempt if multiple attempts are allowed for the exam, or View exam results if the response details are configured to be displayed to candidates.
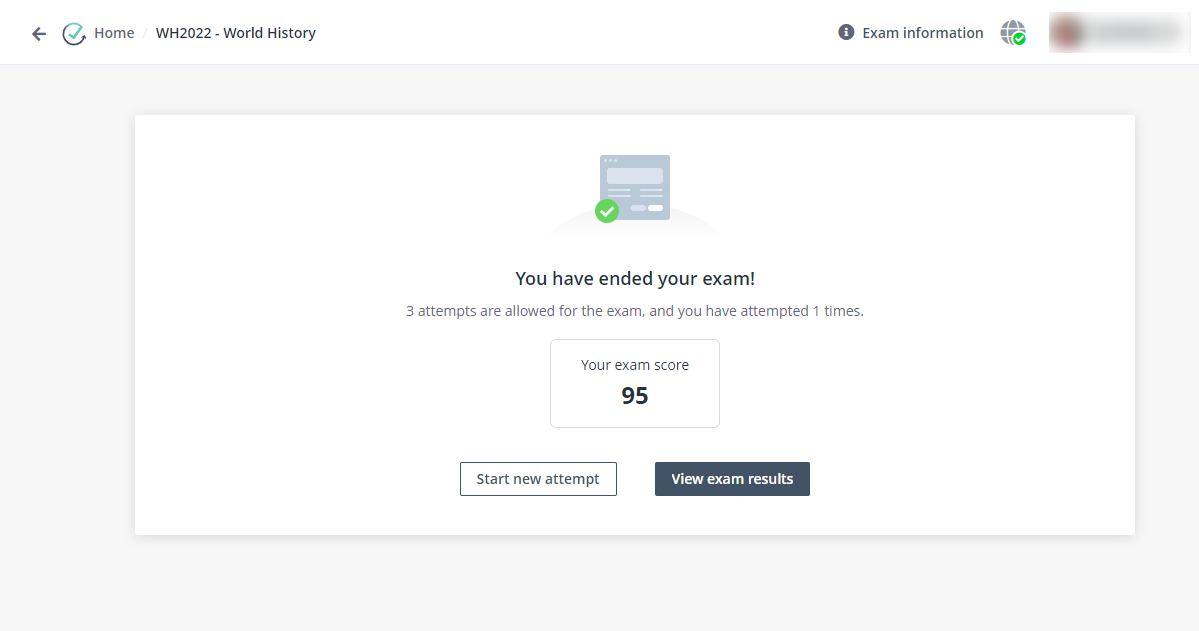
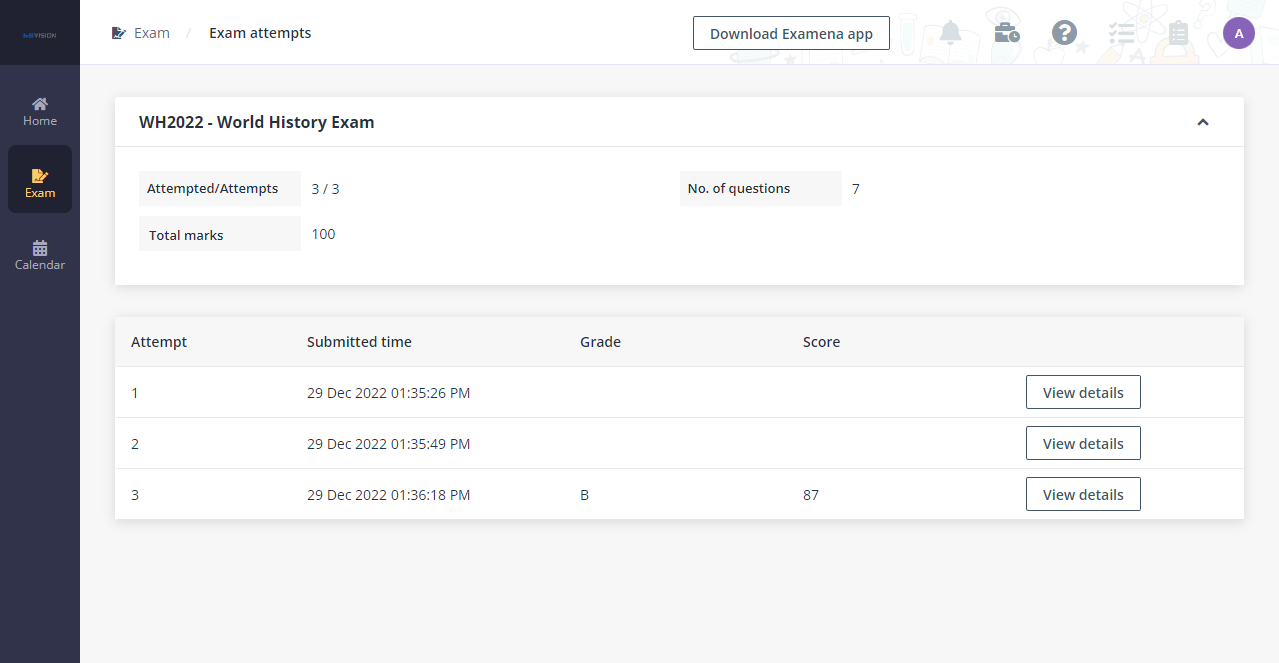
For the exam with multiple attempts, you can click View exam results to view details of your last attempt.
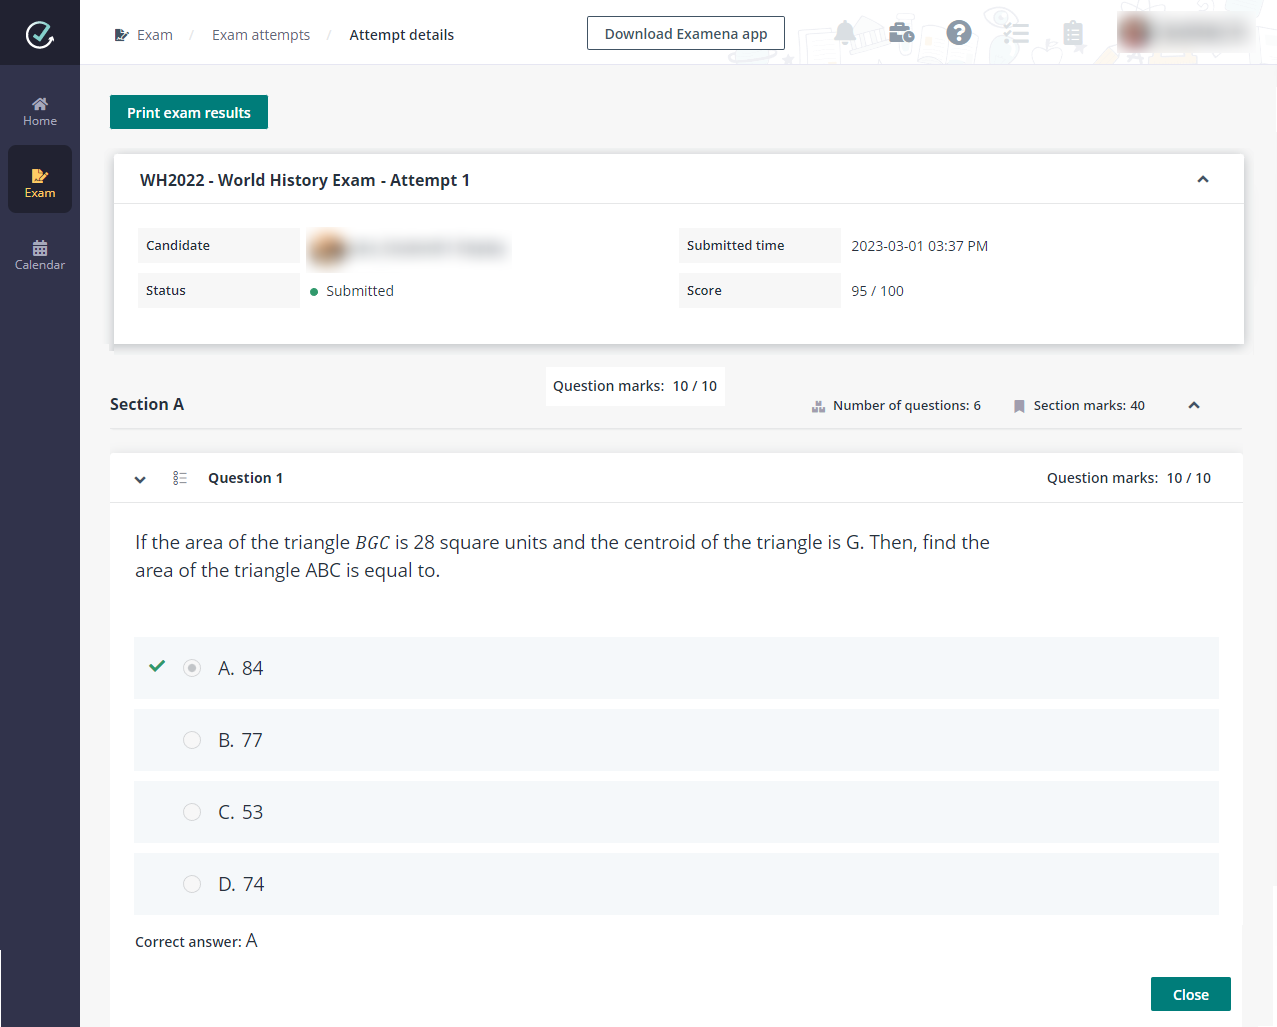
You can also click the attempts link in the exam card to access the Exam attempts page. You can click View details of an attempt to view details of the attempt, and print the exam results.
