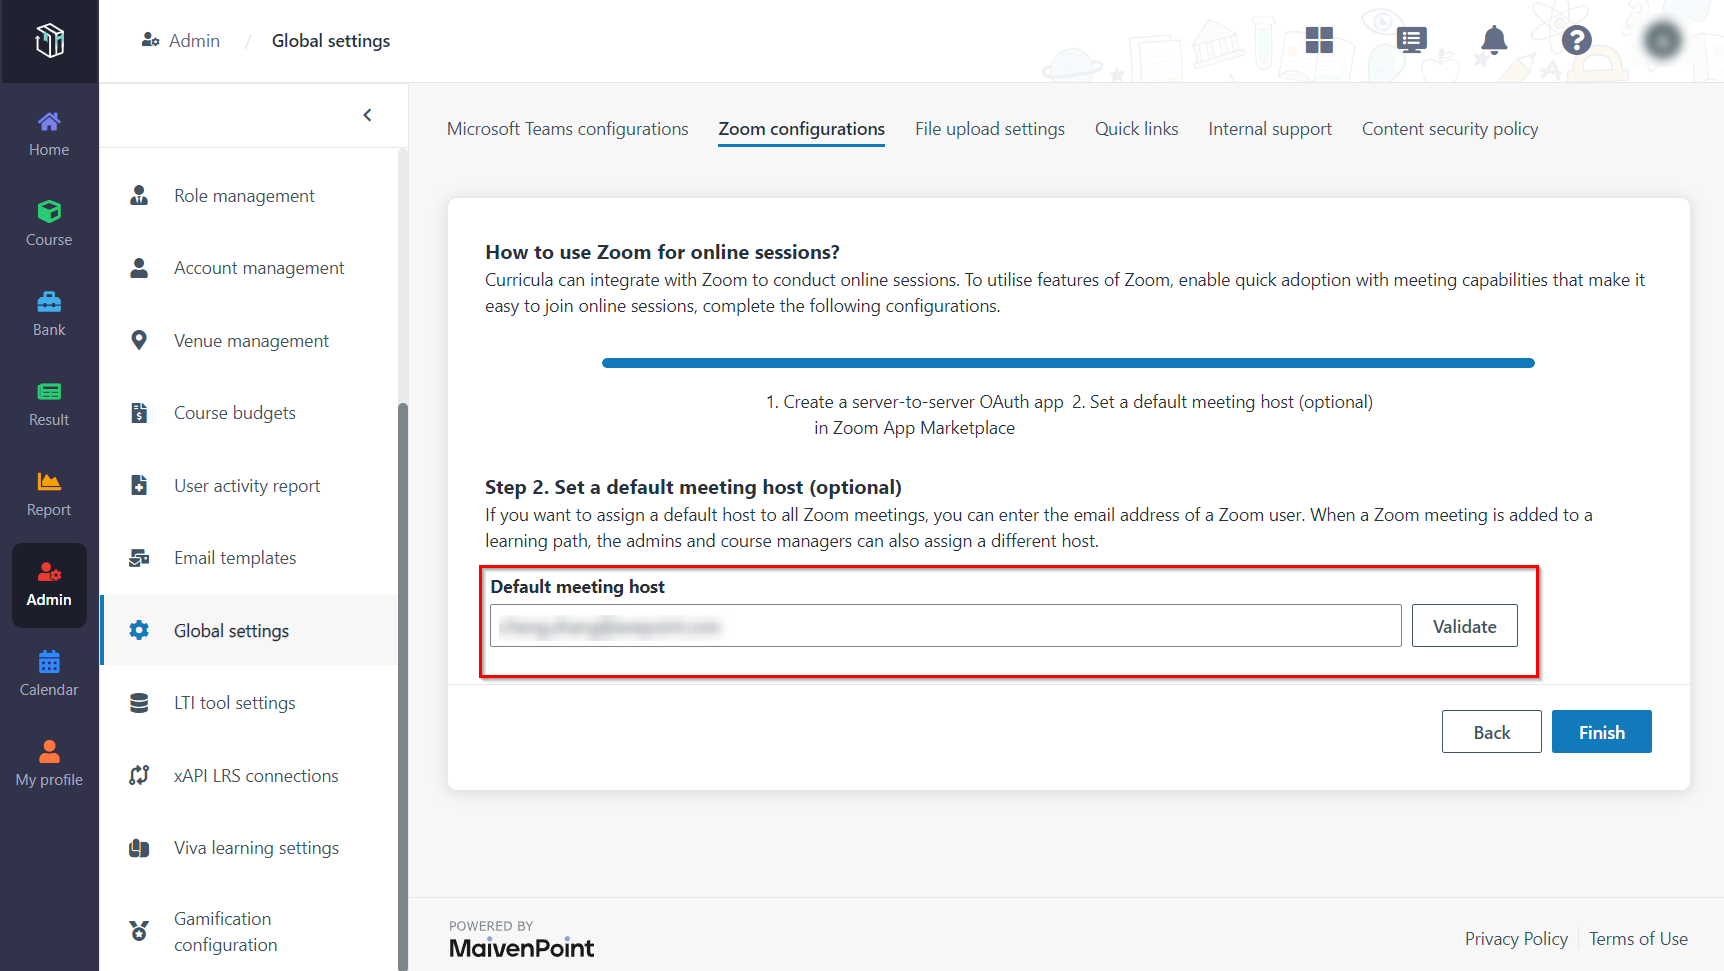
First, create a server-to-server Oauth app in Zoom App Marketplace
The integration with Zoom requires a server-to-server Oauth app. A server-to-server Oauth app supports server-to-server integration with Zoom services without a need for user interaction. Zoom can generate a set of unique credentials that can be used to generate the tokens. The tokens are used to authorise each request from Curricula.
Refer to the instructions below to create a server-to-server Oauth app in Zoom App Marketplace.
1. Use a Zoom account owner or admin to sign in to the Zoom App Marketplace.
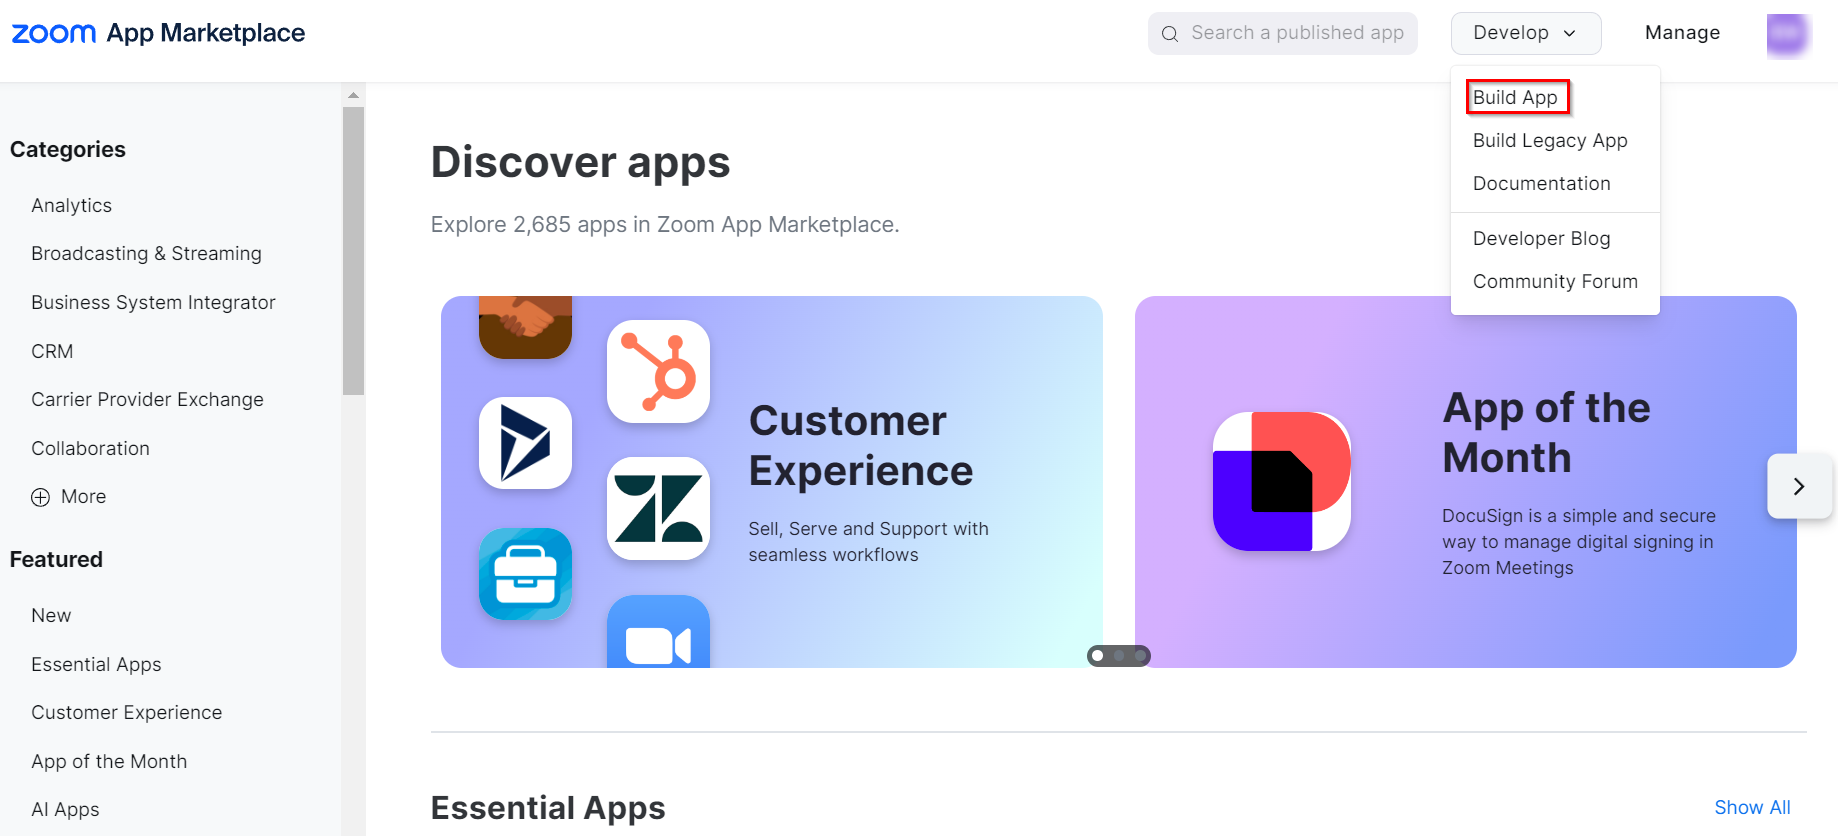
2. Click Develop in the upper-right corner and select Build App.
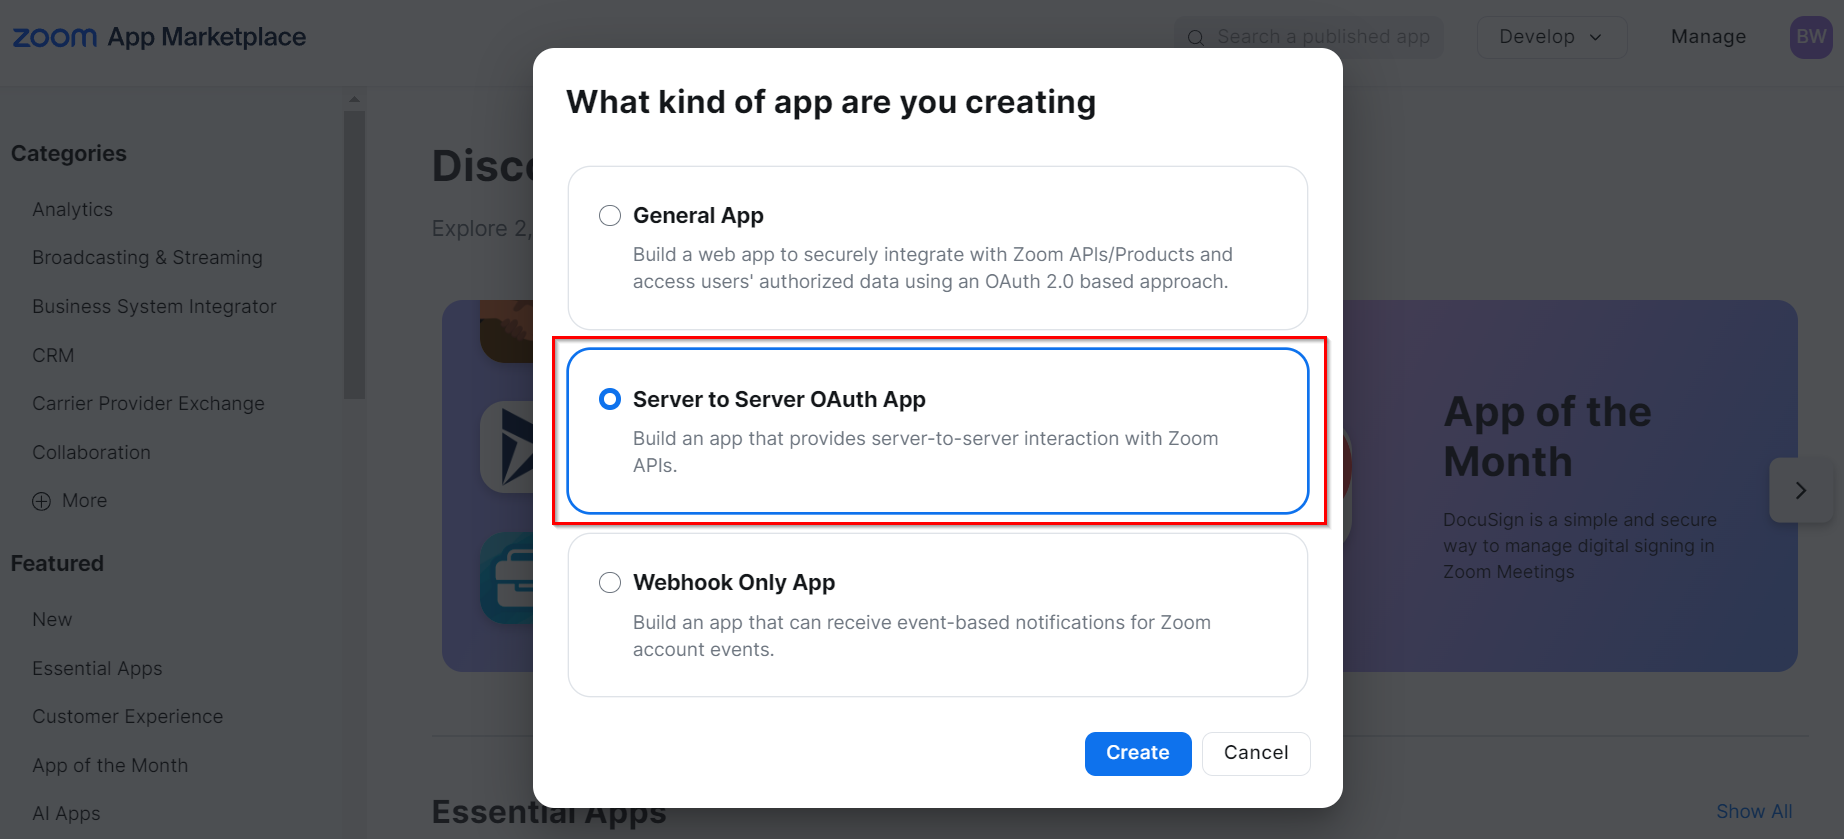
3. Choose the app type Server-to-server Oauth App and click Create.
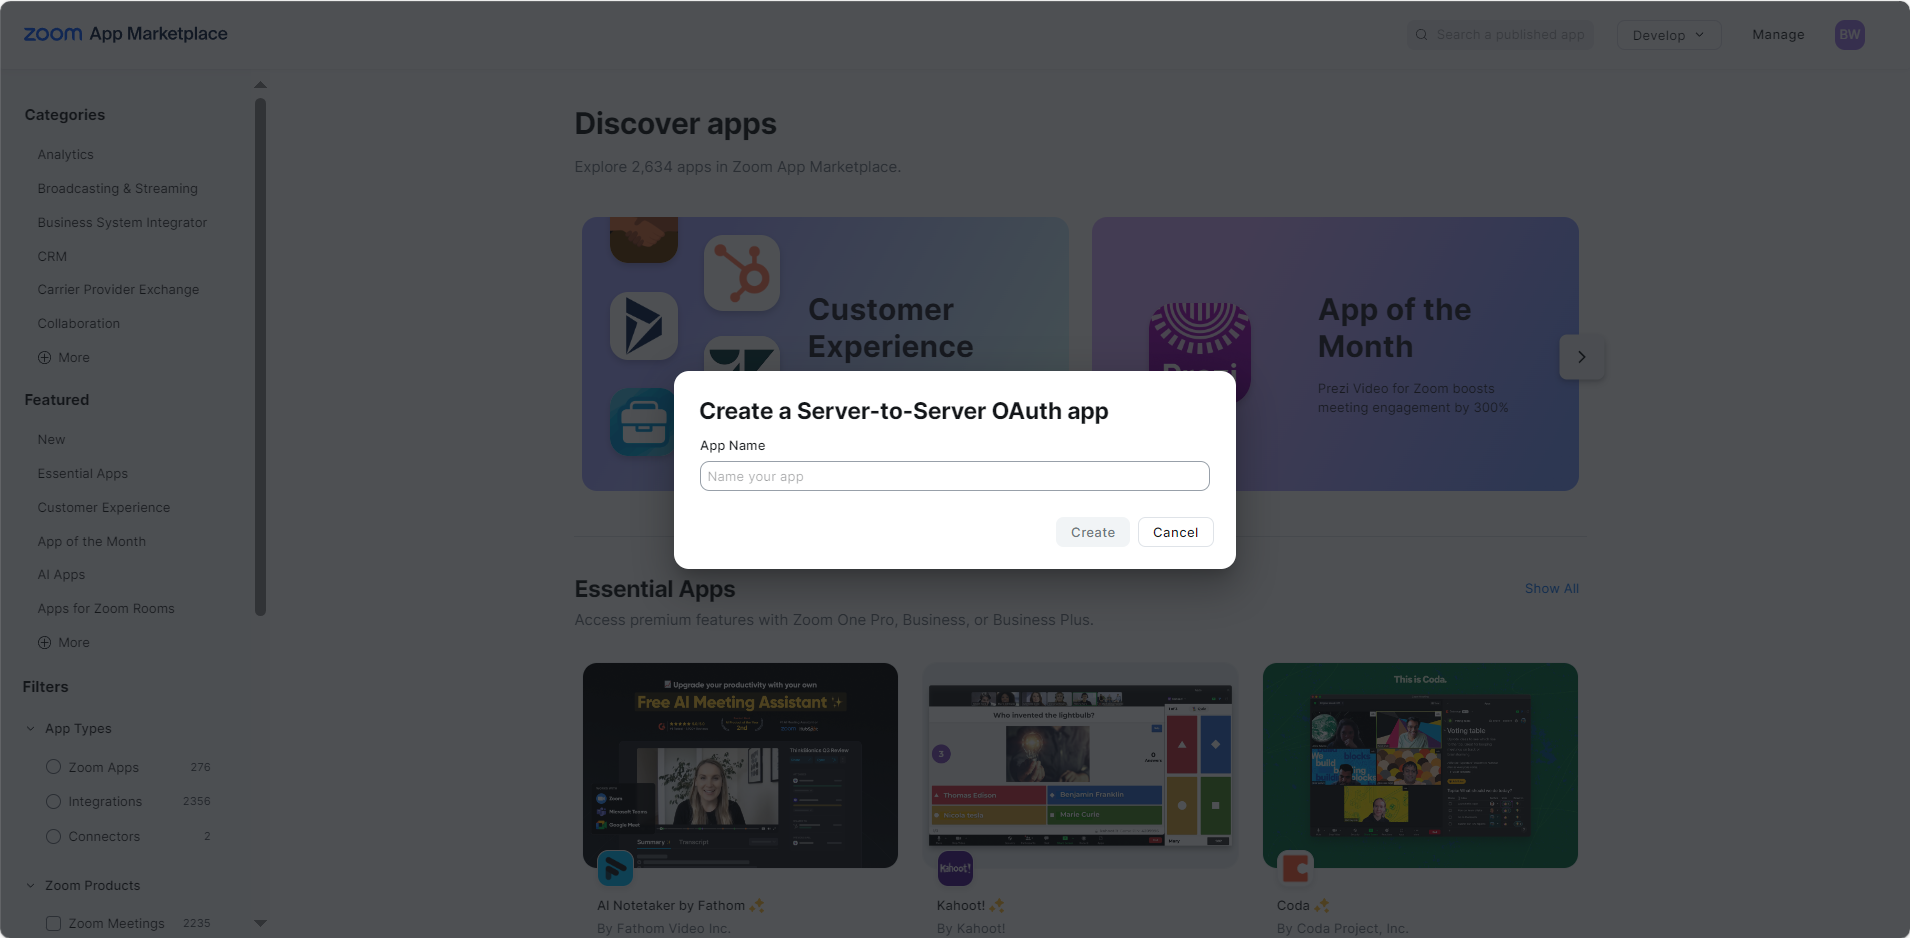
4. Enter the app name and click Create.
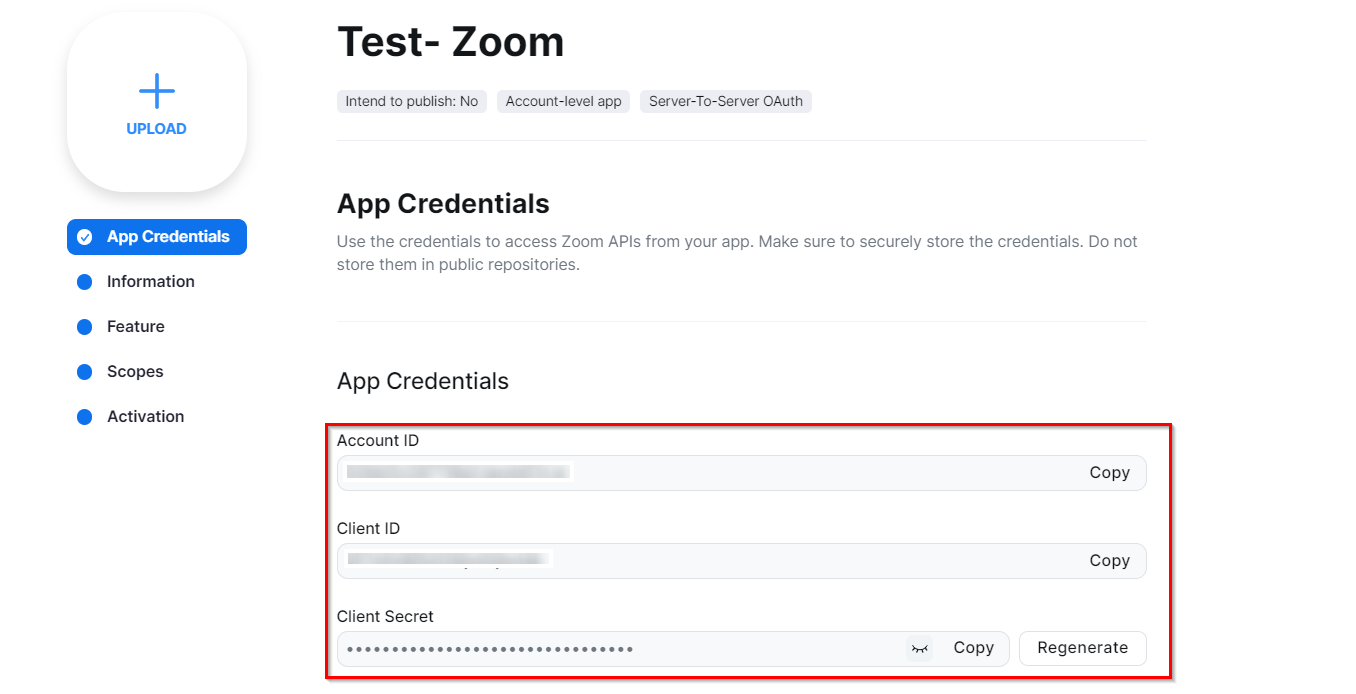
5. To support integration with Zoom, a set of unique credentials is generated by Zoom, which can be used to generate tokens. These tokens are then used to authorize each request from Curricula. Copy the Account ID, Client ID, and Client Secret and paste them into your desired location, such as Notepad. Then, click Continue.
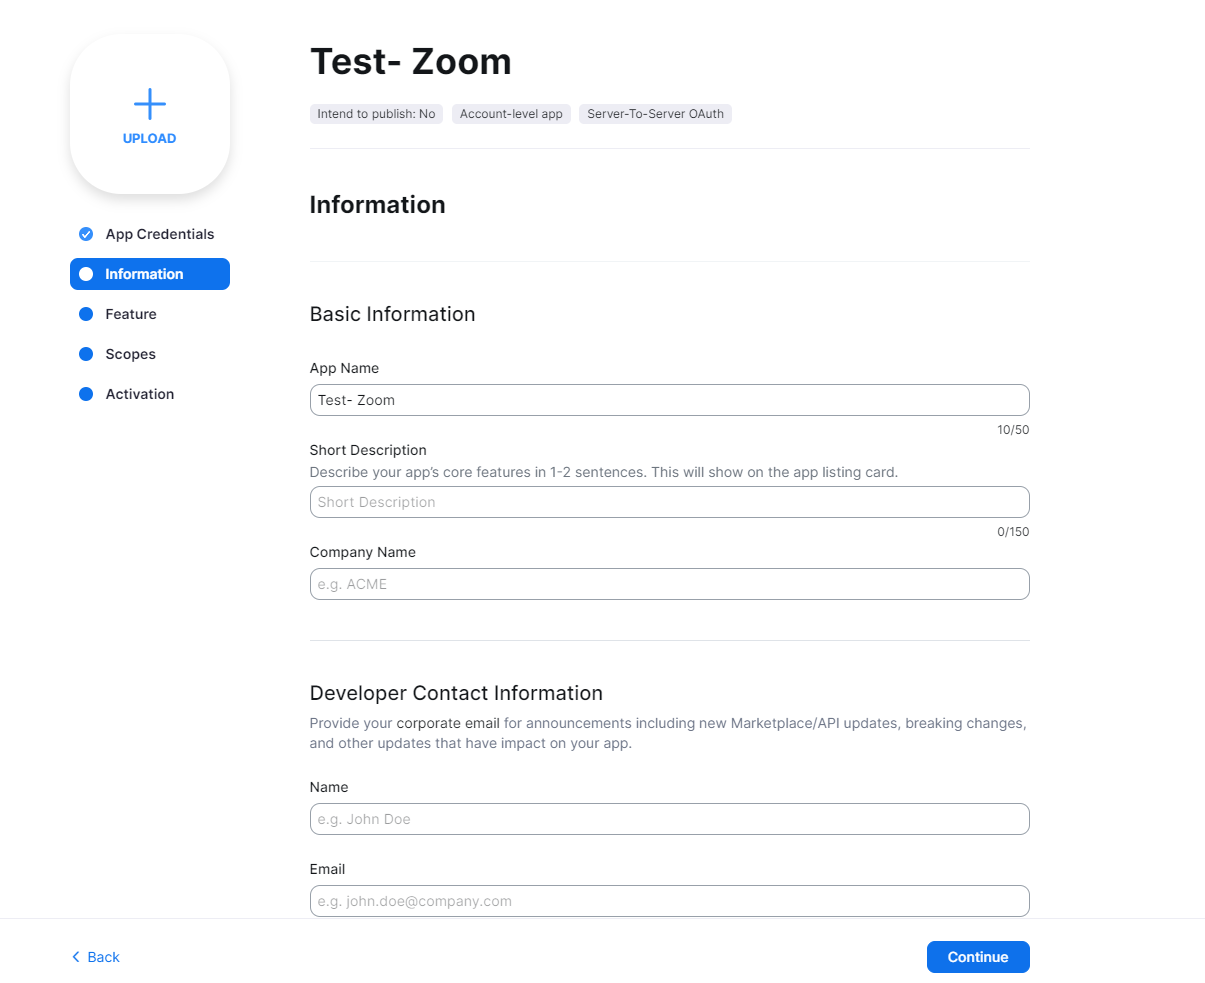
6. Fill in the basic information and contact information. Then, click Continue.
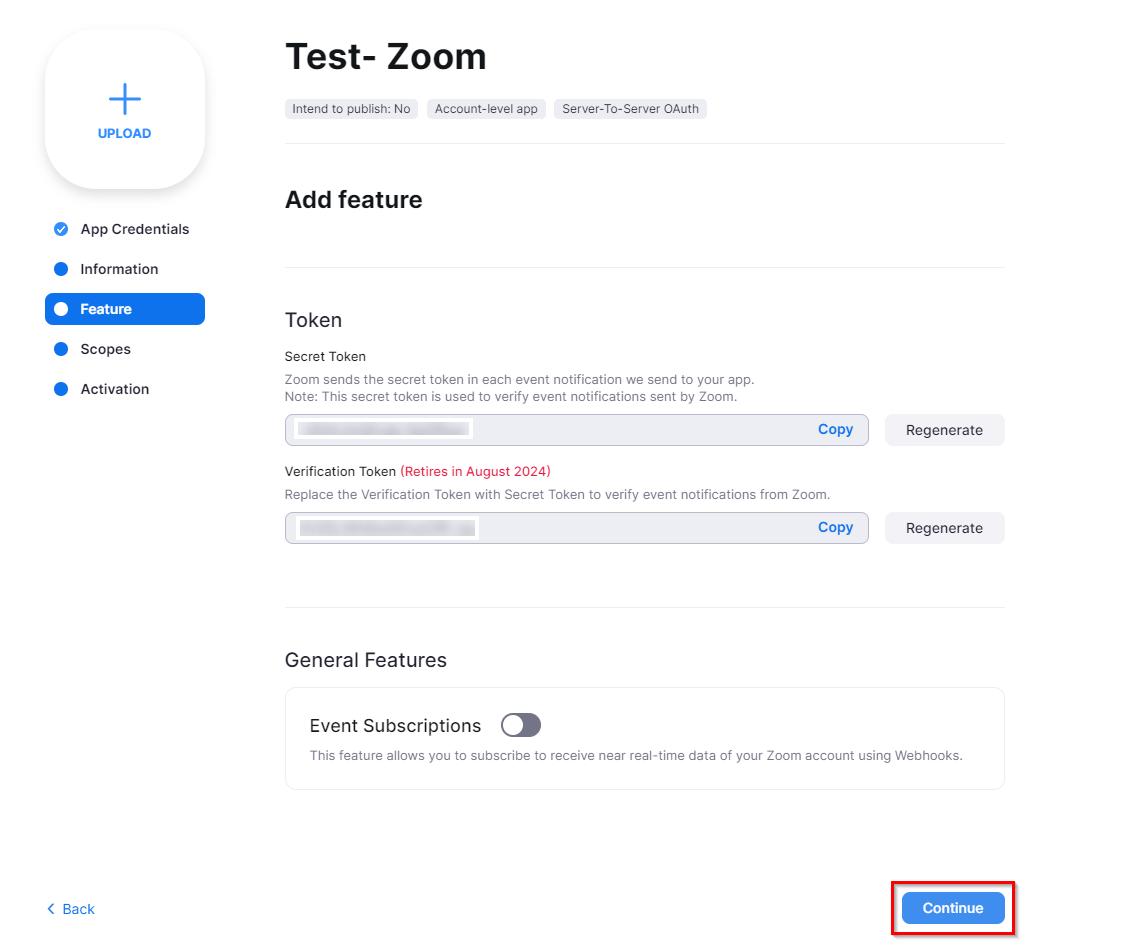
7. Click Continue.
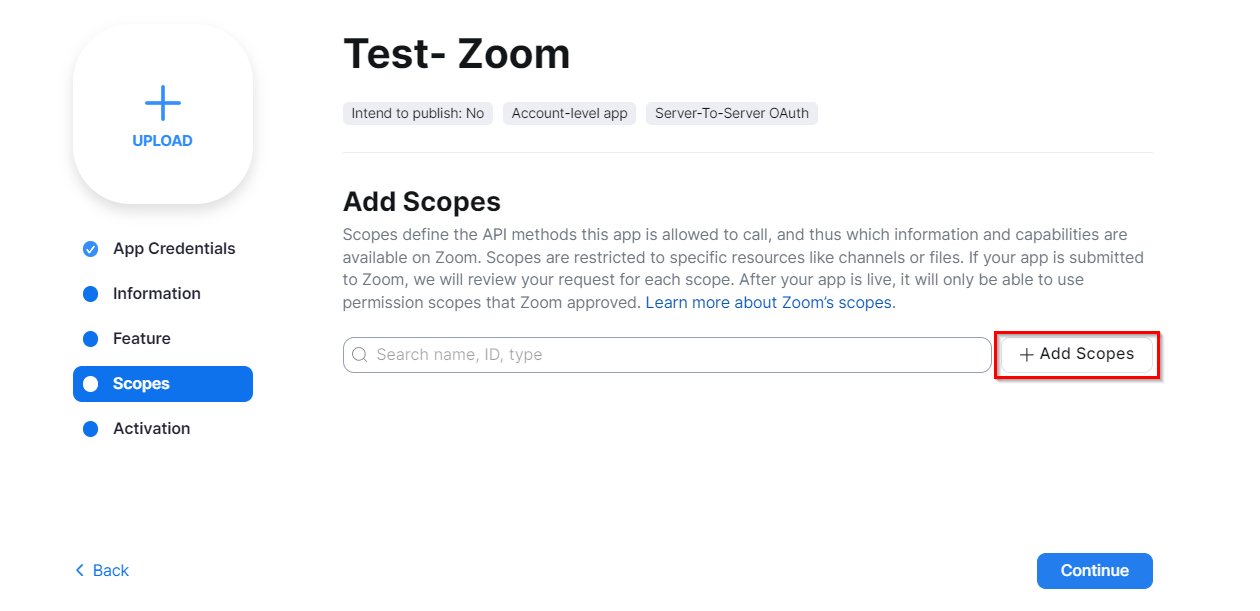
8. Click Add Scopes.
9. In the Add Scopes window, select Account in the Product list.
10. Under the Account scope, click View account info, select View an account’s settings (account:read:account_setting:admin), View an account’s lock settings, and View an account’s settings (account:read:settings:admin).
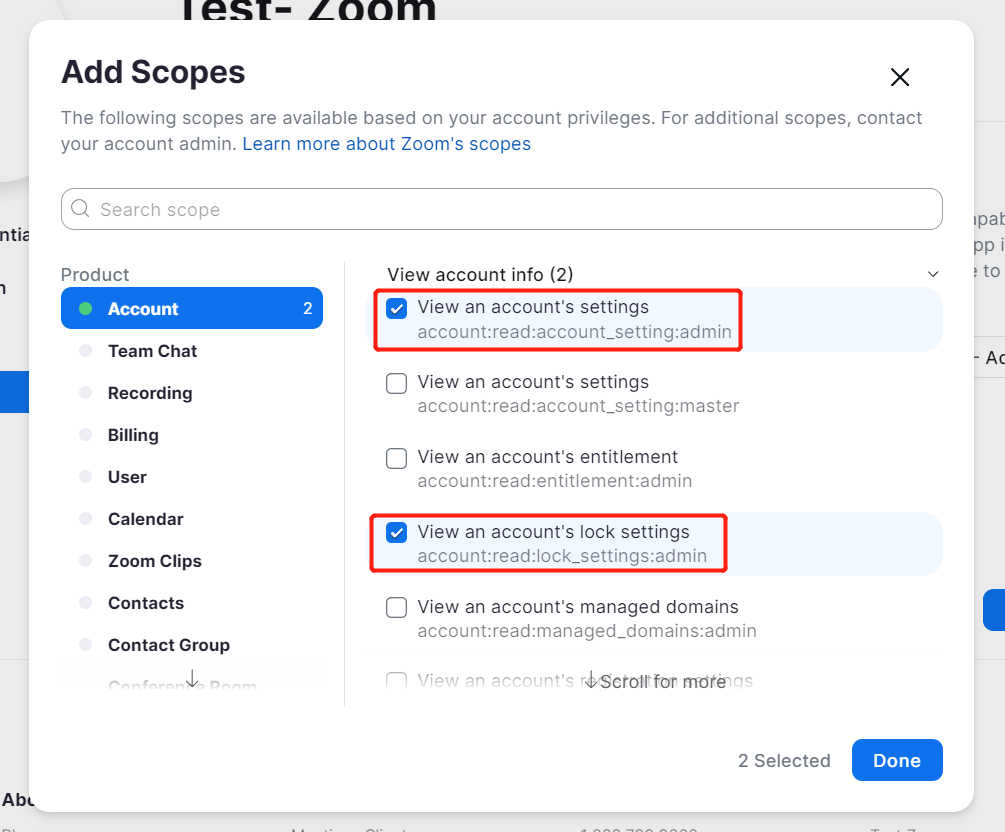
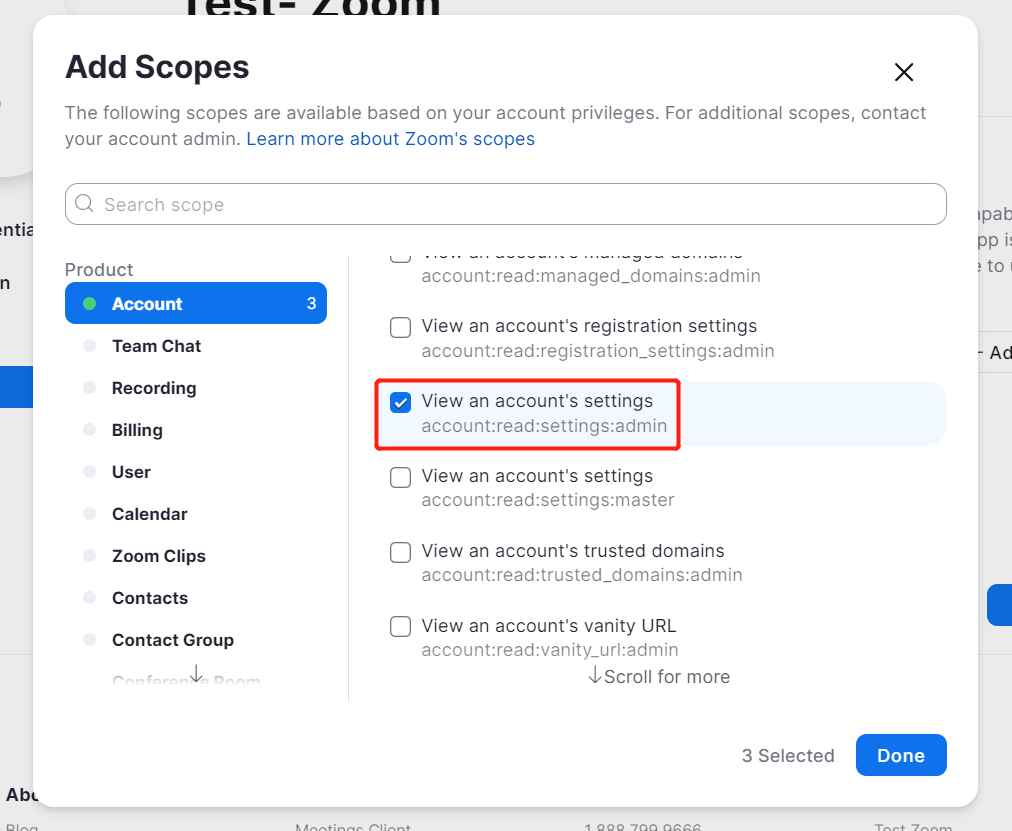
11. In the Add Scopes window, select Recording in the Product list.
12. Under the Recording scope, click View all user recordings and then select Returns all of a meeting’s recordings. Click View and manage sub account’s user recordings and then select Returns all of a meeting’s recordings.
13. In the Add Scopes window, select User in the Product list.
14. Under the User scope, click View all user information and then select Verify a users’ email, View users, View a user’s settings, and View a user.
15. In the Add Scopes window, select Dashboard in the Product list.
16. Under the Dashboard scope, click View all users' meetings information on Dashboard and then select View meeting participants’ metrics, View meeting participants’ quality of service, View meetings metrics, and View a meeting’s metrics.
17. In the Add Scopes window, select Meeting in the Product list.
18. Under the Meeting scope, click View all user meetings and then select View a meeting’s alert, View a past meeting’s participants, View a meeting, View a meeting’s participant, and View a past meeting. Click View and manage all user meetings and then select Delete a meeting, Update a meeting and Create a meeting for a user. Click View and manage sub account’s user meetings and then select Delete a meeting and Update a meeting, and then click Done.
19. When finish adding scopes, click Continue.
20. Click Activate your app.
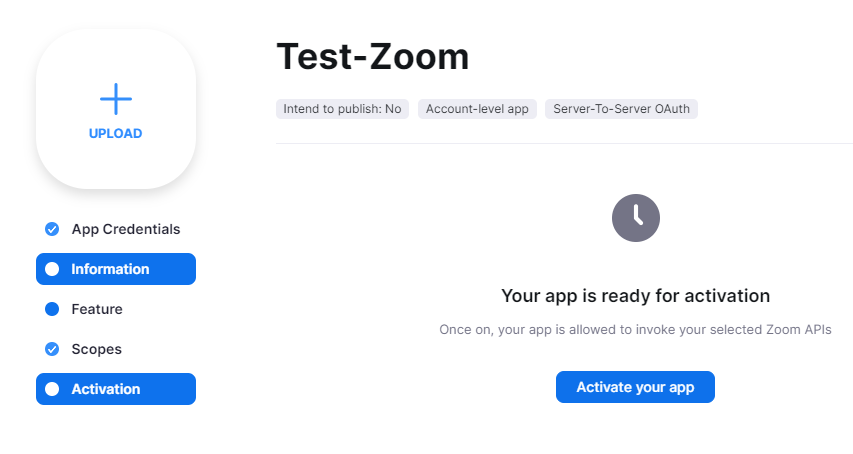
21. The app is all set to make requests to any Zoom APIs. To ensure the app can be authorised to make requests to Zoom APIs, make sure the app is activated.
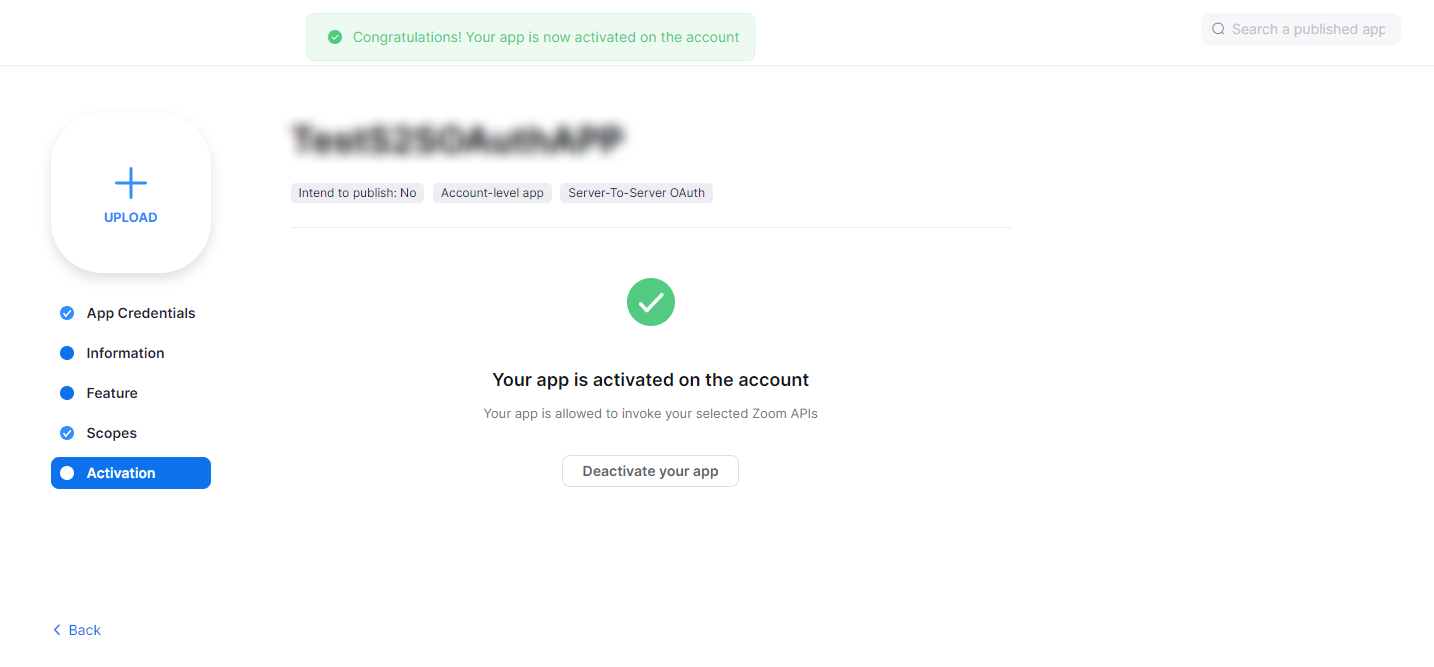
22. Sign in to Curricula and navigate to Admin > Global settings > Zoom configurations.
23. Copy the account ID, client ID, and client secret from the location where they are saved, and then paste them into the Account ID, Client ID, and Client secret fields.
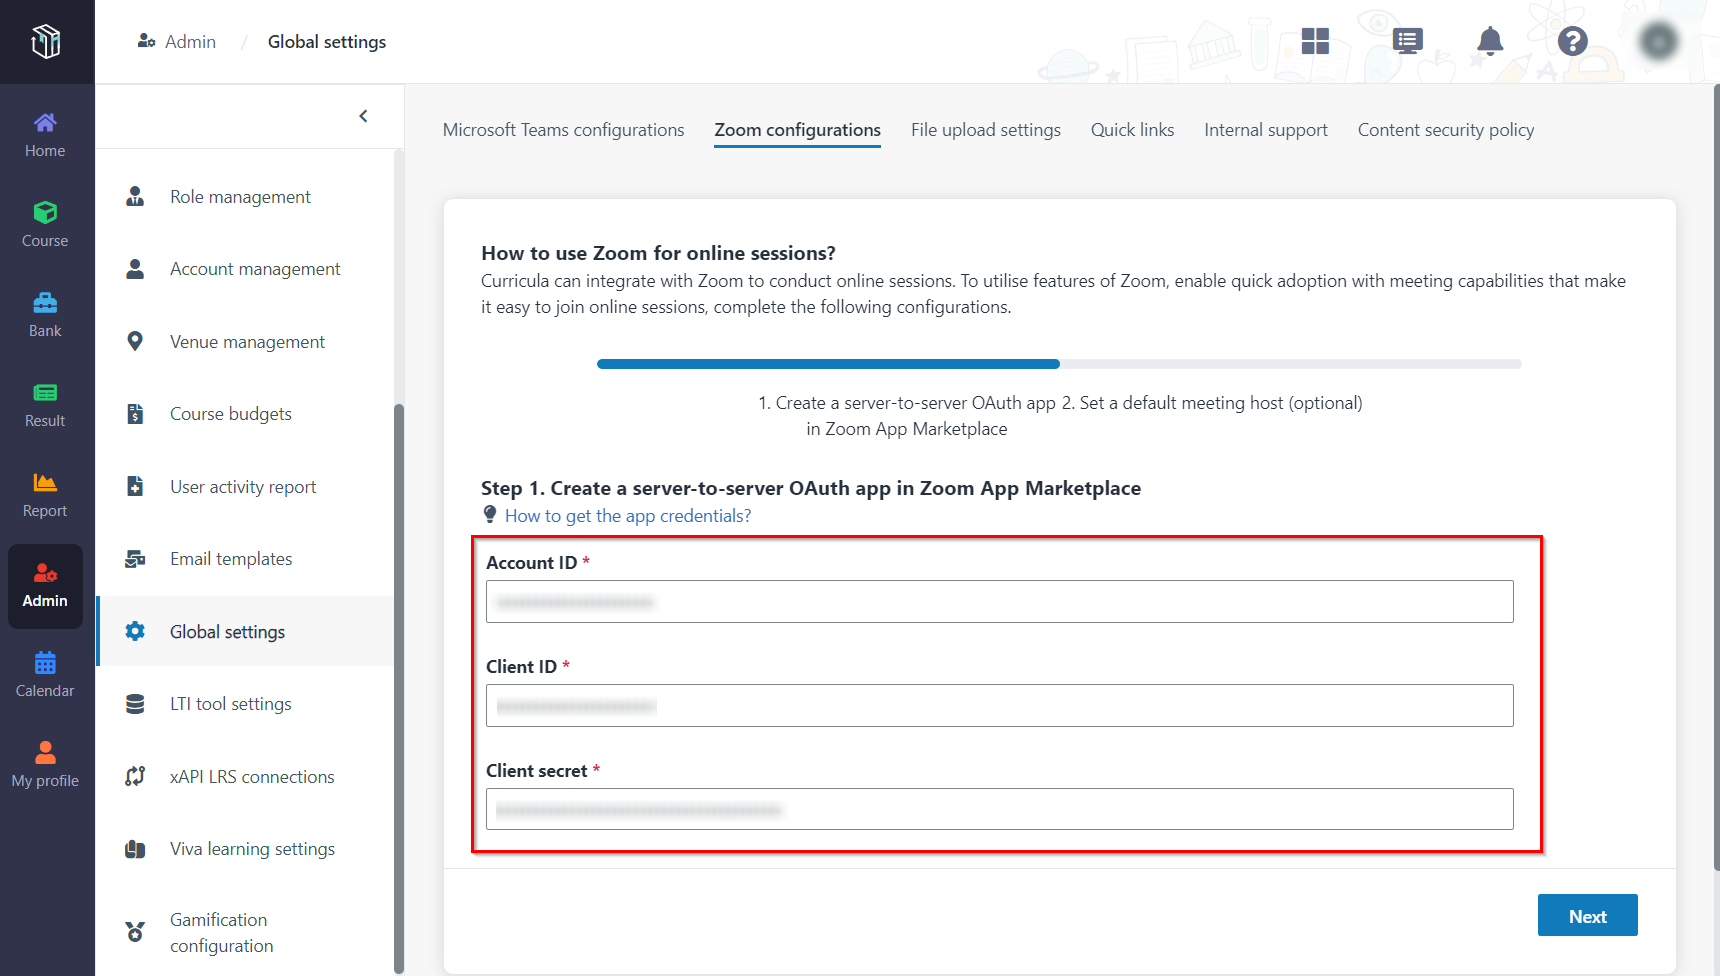
24. When the API key and API secret are ready, click Next.
