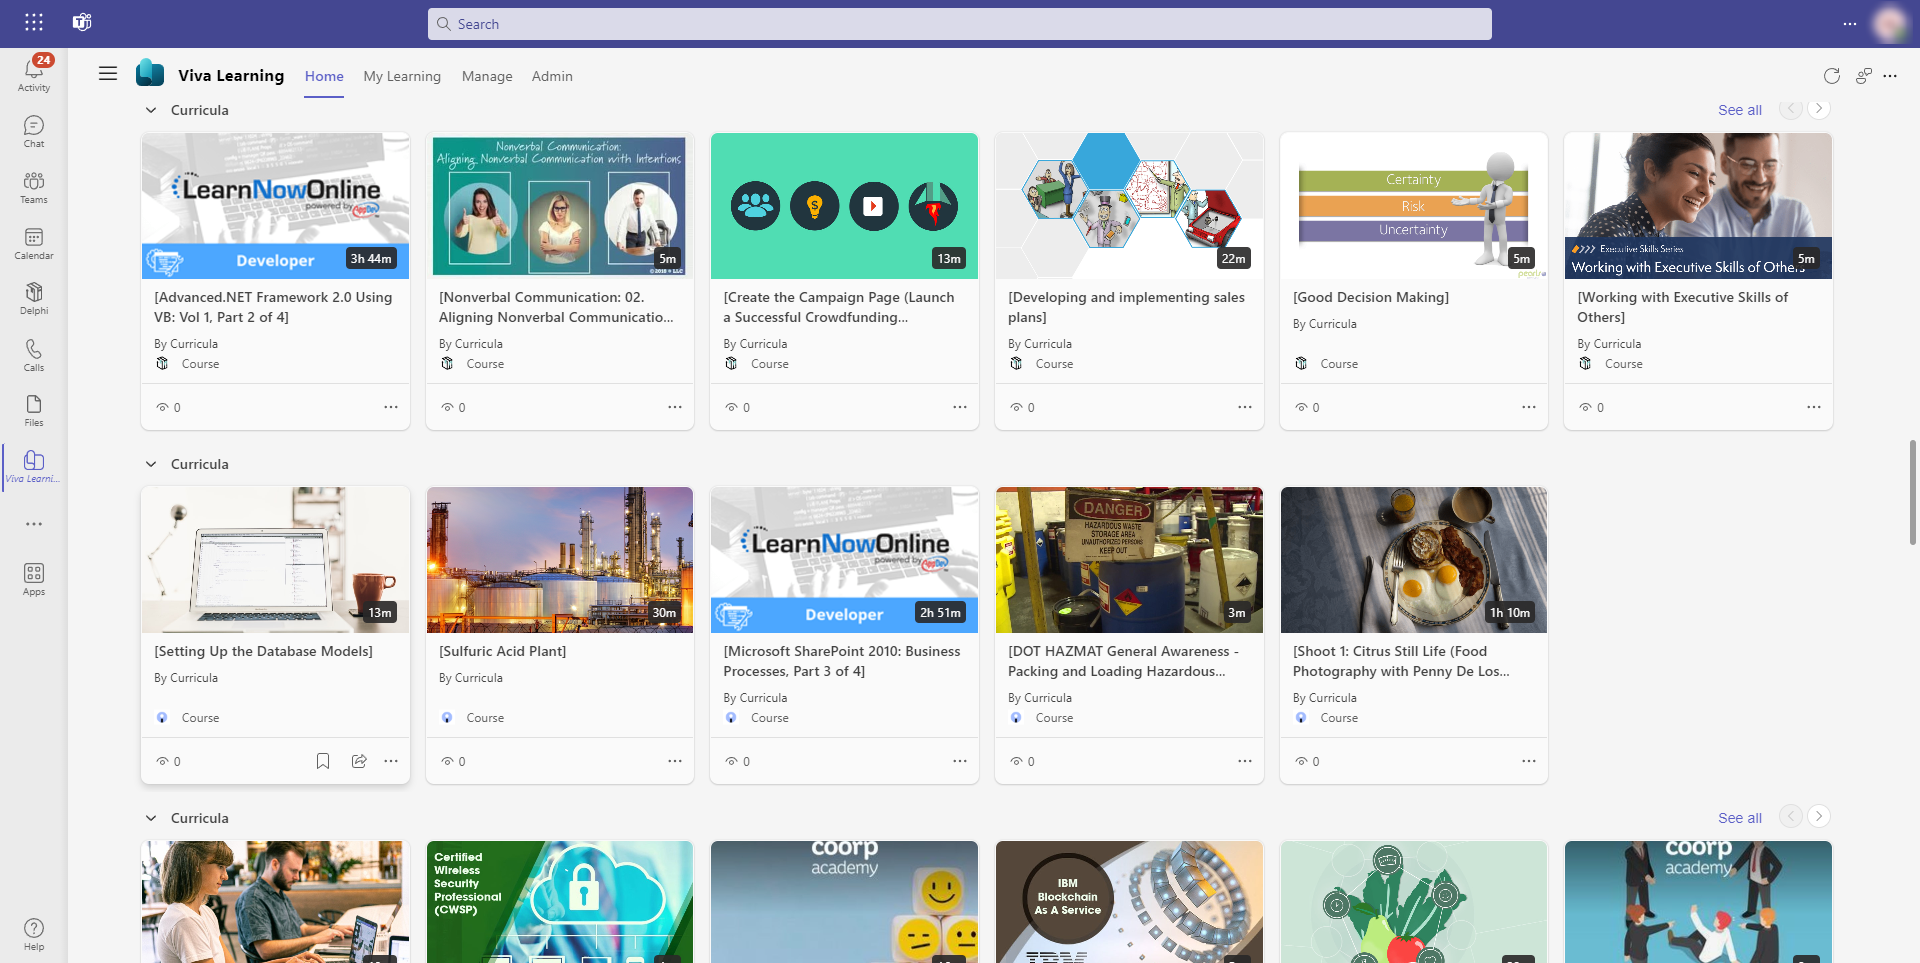
Curricula can integrate the self-enrolment courses with
Microsoft Viva Learning as a learning provider. With the integration, the
courses will be displayed on the Home page in Viva learning, so that
learners can find the courses when using Microsoft Teams and start learning in
Curricula by clicking the course cards.
To enable integration with Viva Learning to provide courses
as a learning provider, complete
the following configurations.
First, get the redirect URL
Follow the instructions below to get a redirect URL provided
by Curricula.
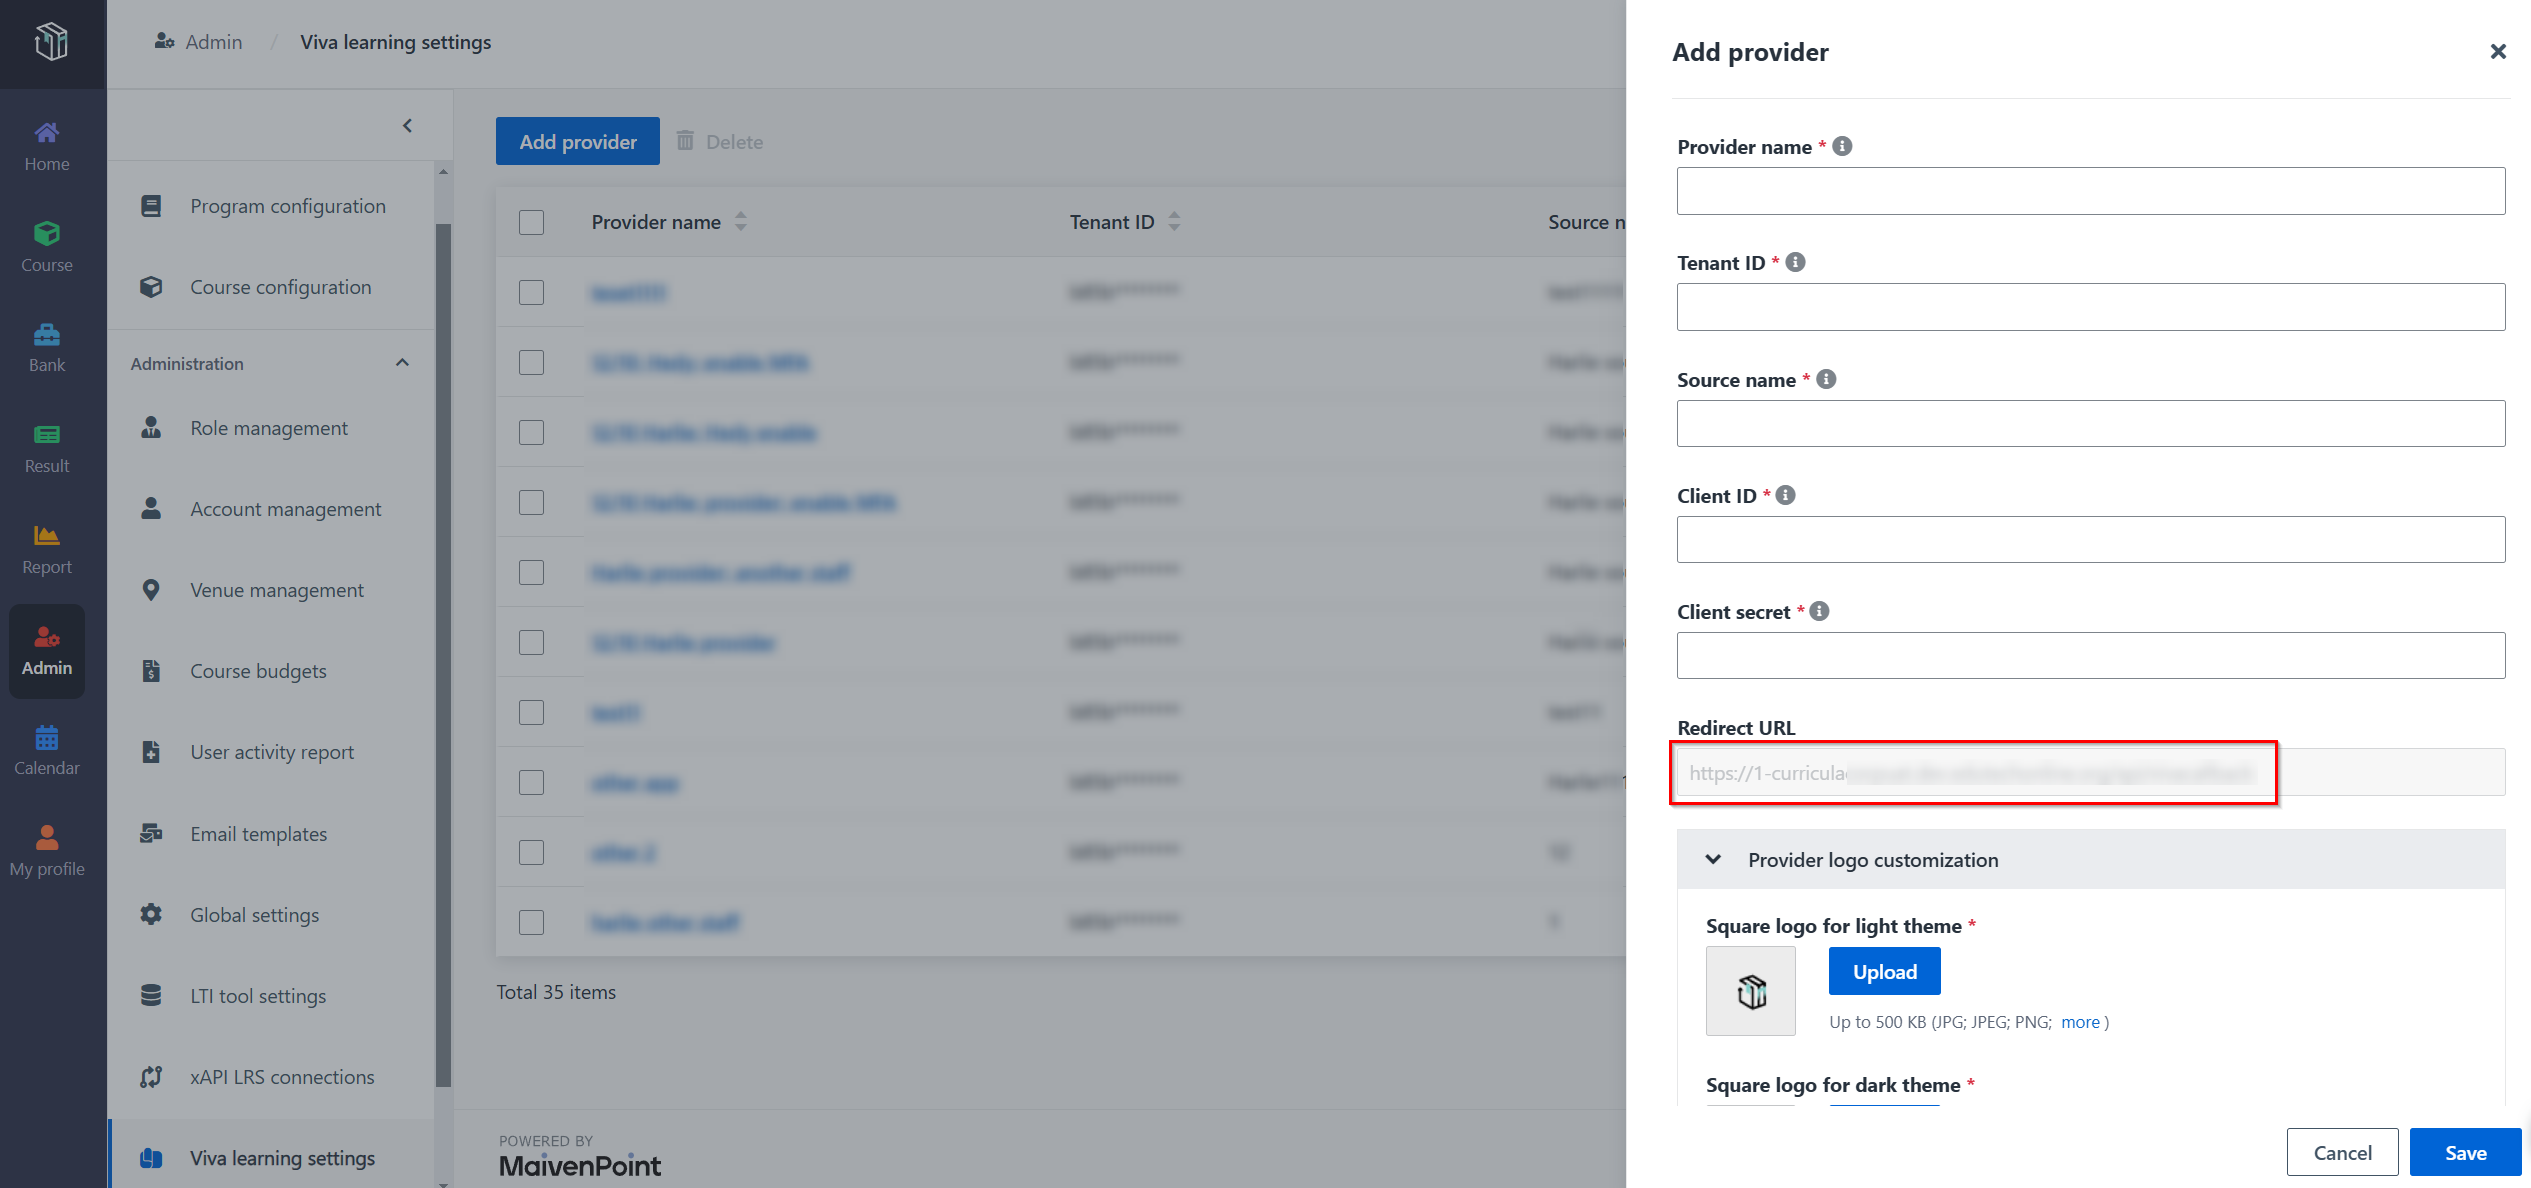
1. Sign in to
Curricula and navigate to Admin > Viva learning settings.
2. Click Add
provider.
3. In the Add
provider panel, copy the redirect URL and paste it into your desired
location, such as Notepad.
Second, complete the configurations in Microsoft
Azure
The application admin needs to create an application with
required permissions to perform the synchronisation from Curricula to Viva
Learning. Refer to the following steps to create an application in Microsoft
Azure and complete the required configurations.
1. Use a tenant
admin account to sign in to Microsoft Azure.
2. Click the portal
menu button in the upper-left corner and select All services.
3. Search for App
registrations in the search box and click to open the service.
4. Click New
registration, enter the name of the application, and then click
Register.
5. Copy the
Application (client) ID and paste it into your desired location, such as
Notepad.
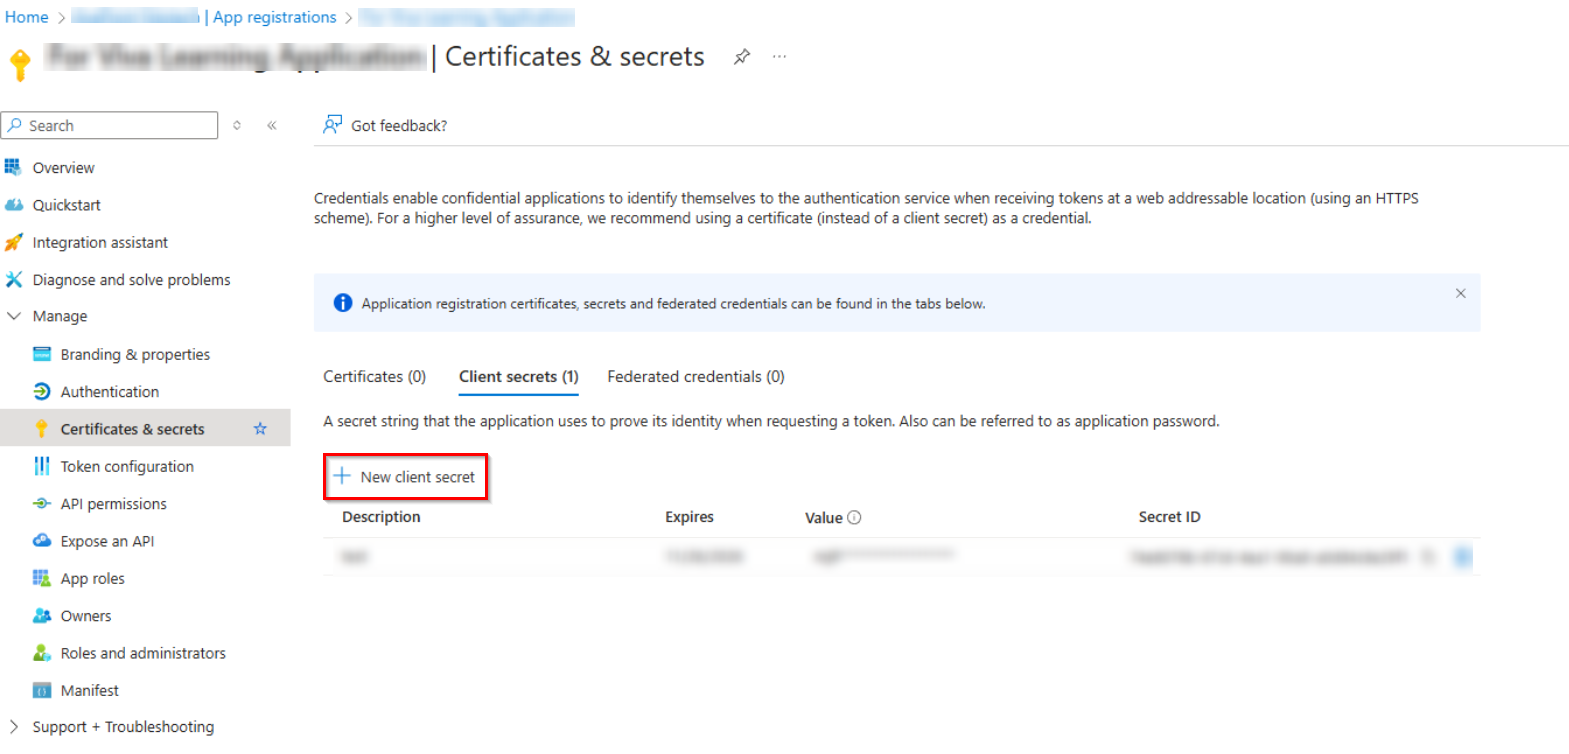
6. Click
Certificates & secrets in the left navigation, and then click +
New client secret to add a new client secret. It’s recommended to set a long
expiration period for the client secret.
7. Copy the
Client secret and paste it into your desired location, such as
Notepad.
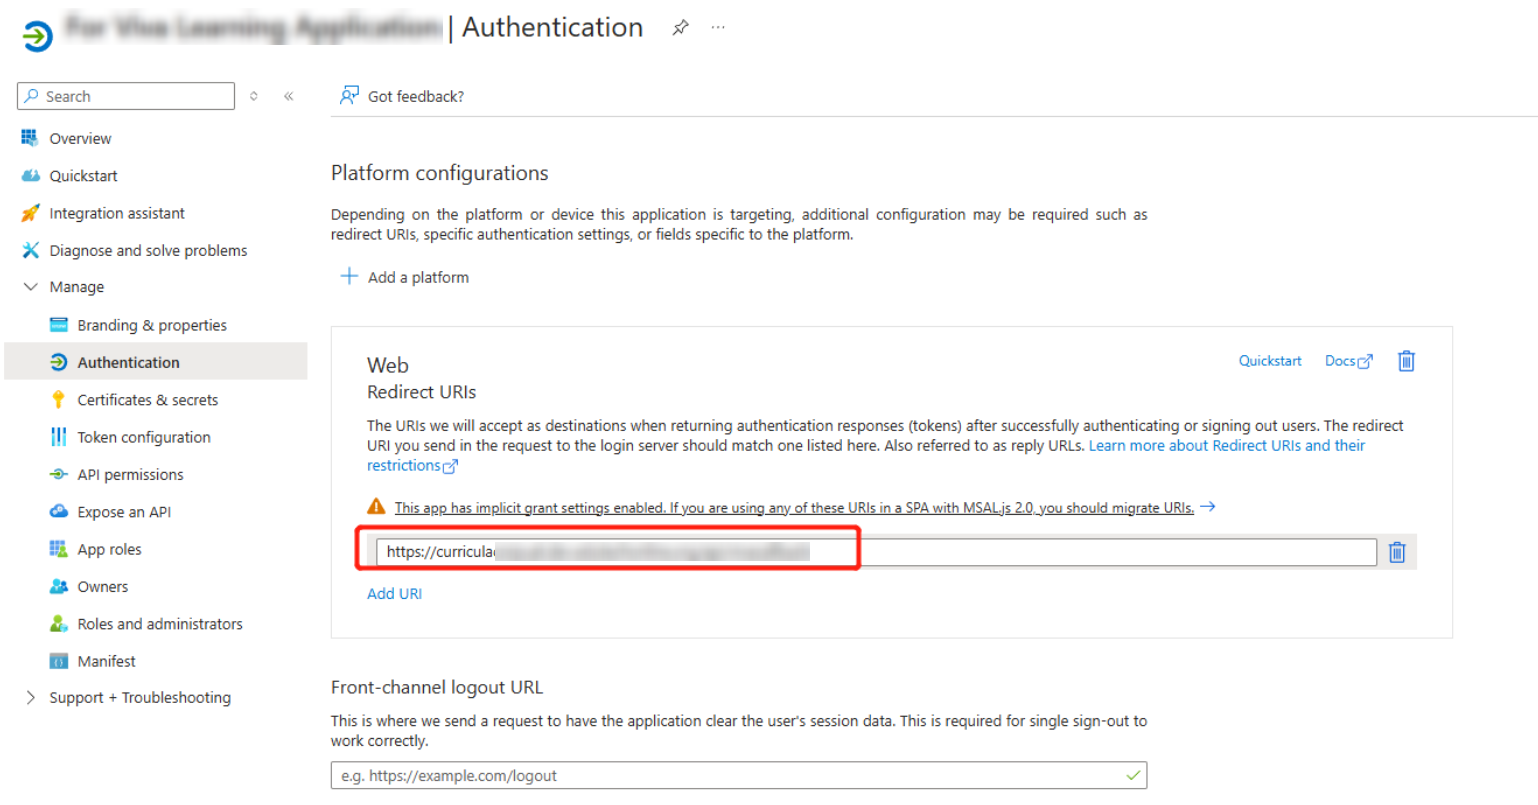
8. Click
Authentication in the left navigation.
9. Copy the redirect
URL from the location where it is saved, and then paste it into the Redirect
URLs section.
10. Select the Access tokens
(used for implicit flows) checkbox in the Implicit grant and hybrid
flows section. Click API permissions in the left navigation, and then
click Add a permission.
11. Click Microsoft
Graph, and then select Application permissions.
12. Select the following
permissions for the application: LearningContent.Read.All,
LearningContent.ReadWrite.All, and User.Read. Then click Add
permissions.
13. Click Grant admin consent
for Contoso and click Yes to confirm.
14. Navigate to
Authentication > Advanced settings > Allow public client
flows, select Yes to enable the mobile and desktop flows. Then click
Save.
Third, add a provider in Curricula
Refer to the instructions below to add a provider in
Curricula.
1. Navigate to the
Add provider panel where you get the redirect URL.
2. Fill in the
provider information and configure the provider logo customisation.
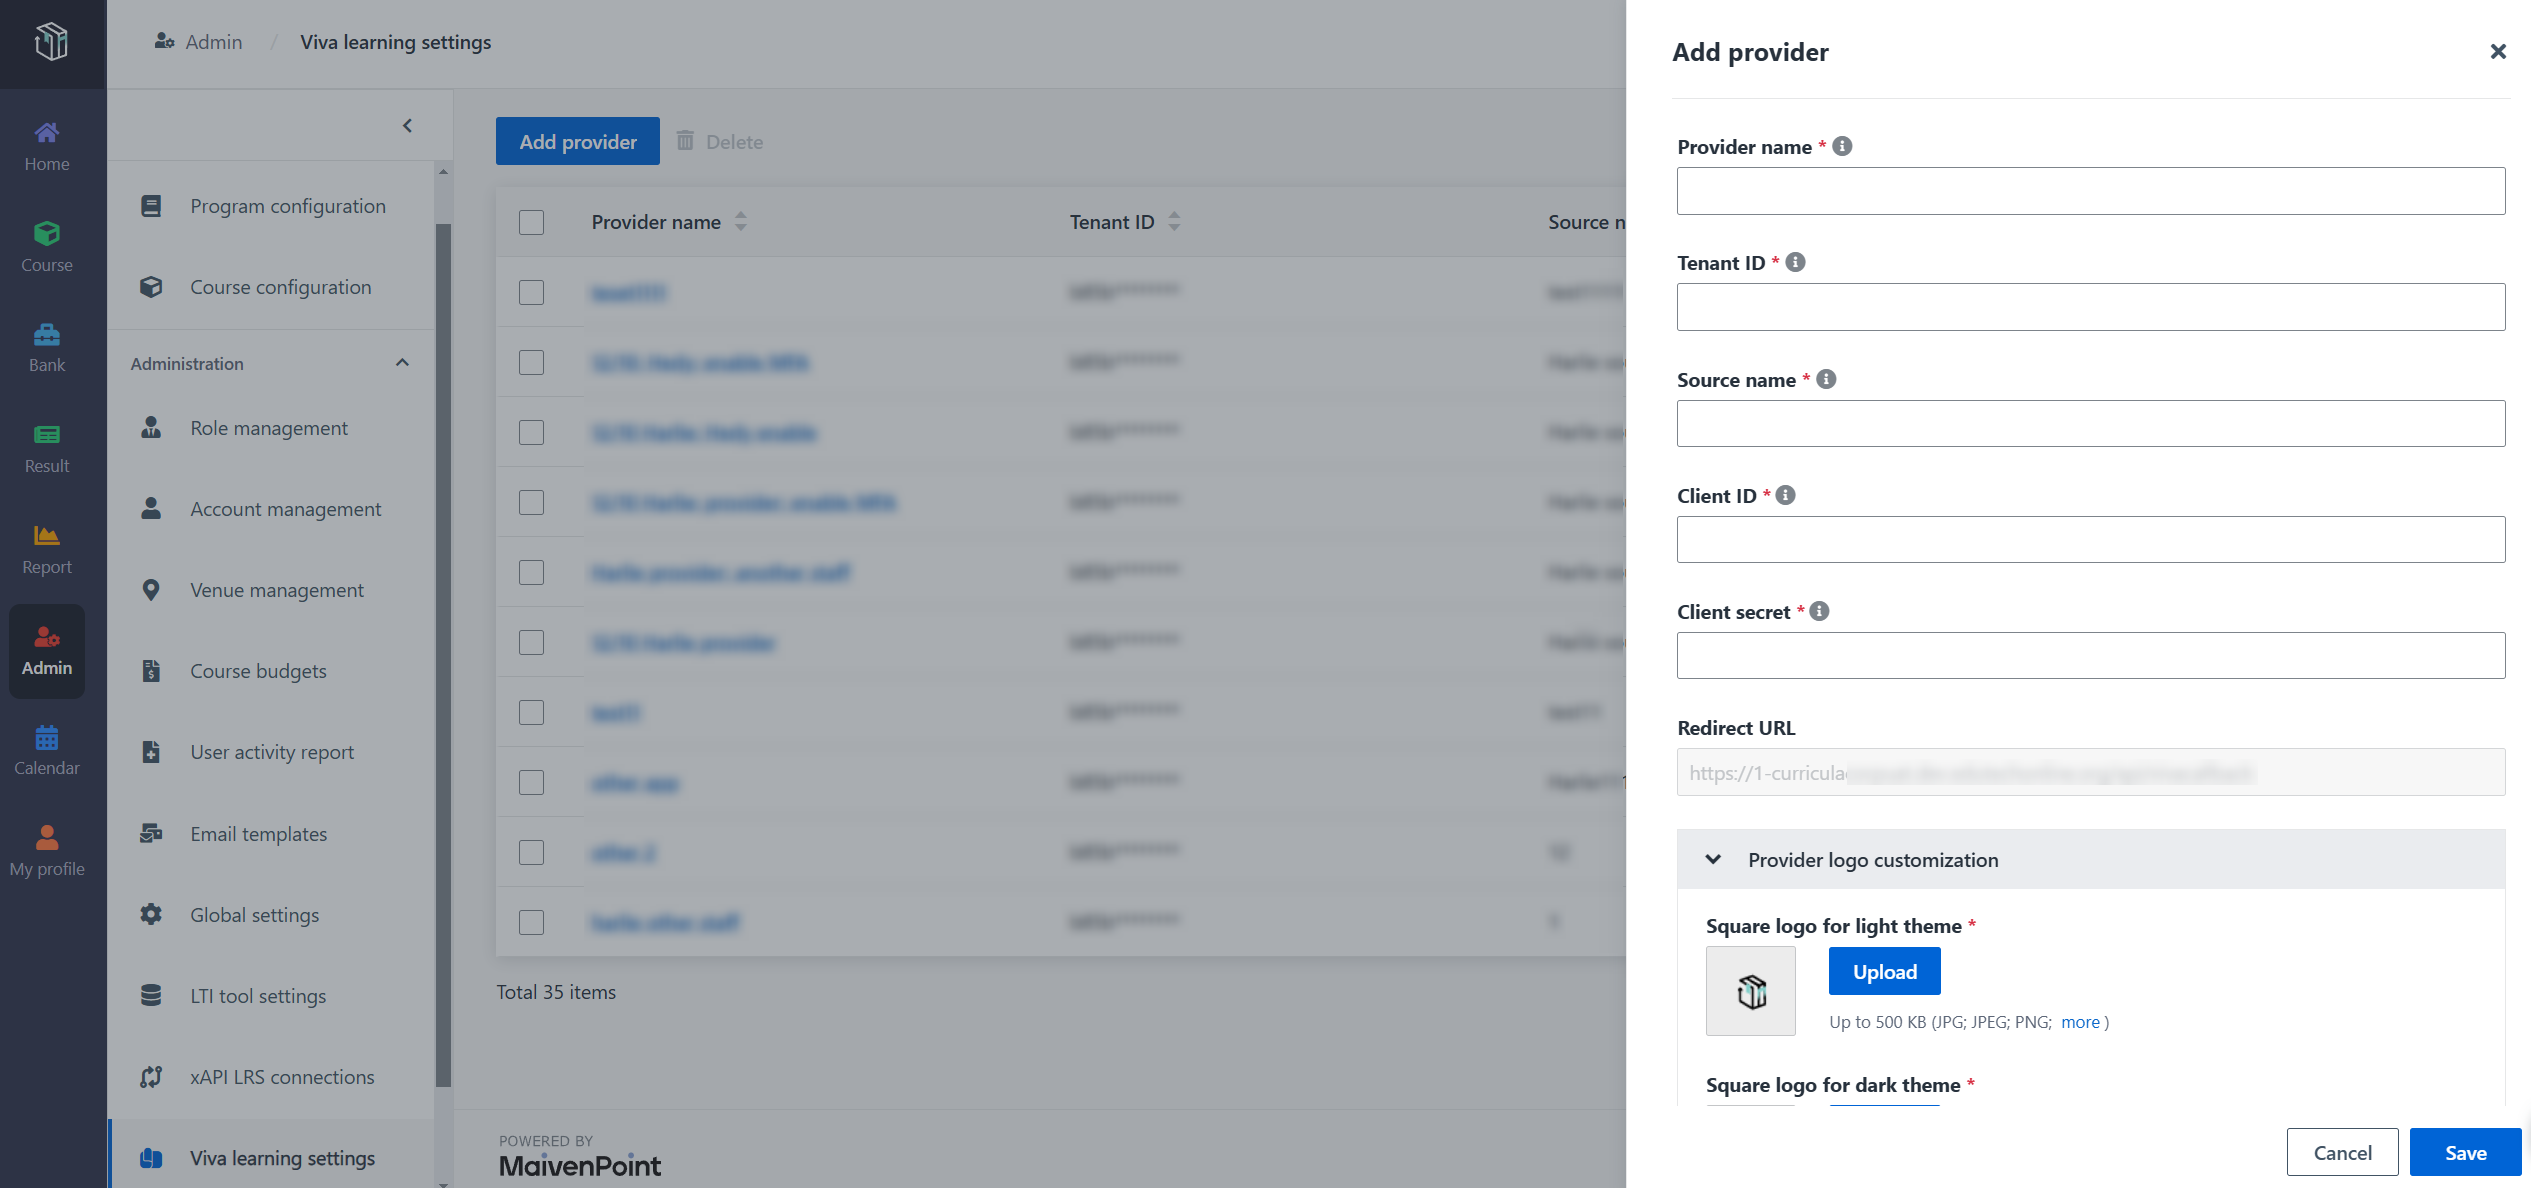
*Note: Copy the application (client) ID and client
secret from the location where they are saved, and then paste them into the
corresponding field.
3. Click
Save.
After adding the provider, click the provider name and access
the Courses page. You can select specific courses and click Sync
to decide which courses will be displayed on the Home page in Viva
Learning.
*Note: It may take several hours to synchronise the
courses to Viva Learning.
